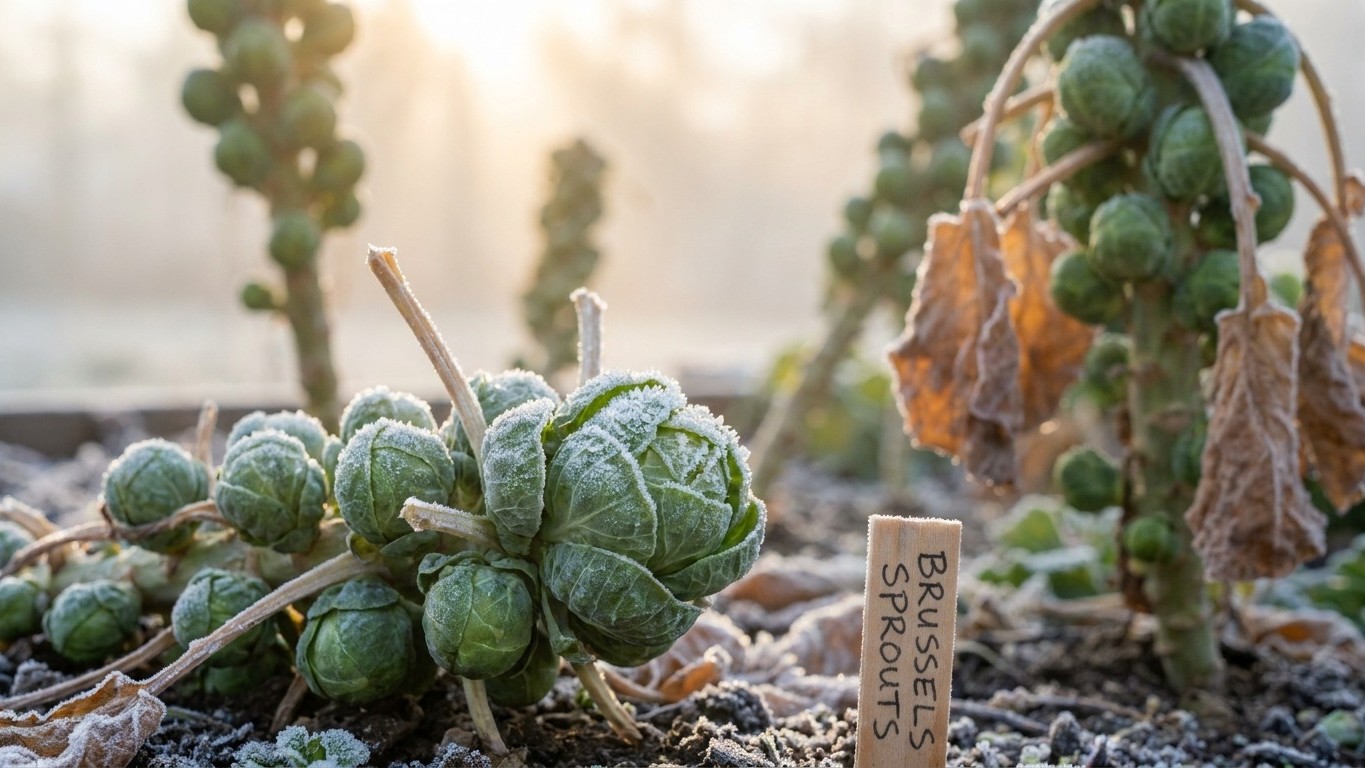

Brussels sprouts don’t follow the calendar every other vegetable in this garden follows. You start them in early summer, not spring, and you’re aiming for a harvest that comes after autumn’s first frosts rather than before summer’s heat. The reward for that patience: sprouts that taste noticeably sweeter than anything picked in warm weather, because cold does something to the sugars inside them that heat never will.
The short answer
According to Utah State University Extension, in its guide Brussel Sprouts in the Garden, this crop needs to go in the ground in early summer so it matures in the fall, after the plant has been through several frosts. That’s the opposite scheduling logic from tomatoes or peppers. You’re not racing the last spring frost to get a head start on heat. You’re timing backward from your own first fall frost, giving the plant enough weeks of cool, shortening days to bulk up sprouts along the stem before winter shuts things down.
The reason for the long runway is simple: Brussels sprouts require a long time to mature. This isn’t a 60-day vegetable you can squeeze into a short window. USU Extension notes that transplants themselves need about 6 to 7 weeks of growing before they’re ready for the garden, by which point they should have 4 to 6 mature leaves and a well-developed root system. Only once that transplant is established does the real countdown to harvest begin, and that countdown runs into autumn, not away from it.
What that means practically: figure out your area’s typical first fall frost date, then work backward. You want the plant in the ground and rooted early enough in summer that by the time nights turn cool, it has enough foliage and stem length to start pushing out sprouts. Get the timing wrong in one direction (too late) and the plant runs out of season before sprouts size up. Get it wrong in the other direction (too early, in real heat) and you run into a different problem entirely, covered in the next section.
Spacing matters here too, because Brussels sprouts plants get big. USU Extension recommends 12 to 18 inches between plants in the row, with rows spaced 2 feet apart. That’s more real estate per plant than most home gardeners expect from a vegetable that produces small, marble-to-golf-ball-sized sprouts. The plant itself grows tall and top-heavy over the season, and it needs that room to develop a stem that can support sprout formation from bottom to top without plants crowding each other’s light.
So the short version: start in early summer, expect a long season, target a fall harvest that follows frost, and give each plant generous space. Everything else, the topping technique, the harvest sequence, the storage rules, builds on that foundation.
What actually decides it
Three separate mechanisms govern whether a Brussels sprouts crop succeeds or disappoints, and they don’t operate on the same schedule. Understanding each one explains why the plant behaves so differently from its warm-season cousins.
Why frost sweetens the sprouts
This is the detail that makes the whole summer-sowing strategy worth the wait. USU Extension states plainly that Brussels sprouts taste better after they’ve been exposed to a few frosts, and gives the actual mechanism: the frosts cause the sugars inside the sprouts to become more concentrated. As fall progresses and cold exposure accumulates, flavor keeps improving. This isn’t folklore or a gardener’s superstition. It’s a physiological response to cold stress, and it means a sprout picked in October after a couple of frosts will taste measurably better than one picked in September before any cold has touched it. USU Extension goes further, noting that mature stalks can be left in the garden well into autumn, since exposure to cool-to-cold temperatures keeps improving sweetness and flavor the longer they sit out there.
Why heat works against the plant
Brussels sprouts have the lowest heat ceiling of any crop in this garden family. USU Extension puts the growth threshold at 70 F, above which growth slows and quality drops. High summer temperatures don’t just make the plant unhappy in a general sense, they reduce plant growth, decrease sprout quality, and cause internal tipburn. That’s a specific, measurable defect, not vague heat stress. It’s also the reason the timing matters so much: plant too early into a stretch of real summer heat, and you’re fighting the plant’s own biology before it’s even had a chance to size up. The flip side is reassuring, though. USU Extension notes the plant isn’t seriously damaged by temperatures below freezing, which is exactly why it can stay in the garden through repeated fall frosts without harm.
Why the stem ripens bottom to top
Left alone, a Brussels sprouts stalk doesn’t mature all at once. Sprouts near the bottom of the plant develop first. As those lower sprouts are harvested, the ones further up the stem continue to enlarge. That’s a built-in staggered ripening pattern, and it’s the mechanism behind the topping technique covered in the next section: since the plant naturally prioritizes the bottom of the stem, cutting off the growing tip at the right moment redirects the plant’s energy into finishing the sprouts still in progress, rather than continuing to push new growth upward indefinitely.
How to do it
- Start transplants indoors or in a nursery bed in early summer. Grow them for roughly 6 to 7 weeks, until each plant has 4 to 6 mature leaves and a well-developed root system, per USU Extension guidance.
- Set transplants into the garden with room to grow. Space plants 12 to 18 inches apart within the row, with rows 2 feet apart, so the tall, top-heavy stems have space to develop without crowding.
- Feed the plant while it’s building stem and leaf growth. Apply nitrogen at 4 and 8 weeks after transplanting, before sprouts begin forming, since this is the window when the plant needs it most.
- Watch the lower stem for the first sprouts to appear. This is the cue, not a date on the calendar, that tells you the plant has shifted into sprout production.
- Top the plant when the lower sprouts begin to form. Remove the growing point at the top of the stem at this stage. USU Extension explains this produces more uniform sprout development along the whole stem, instead of a long staggered harvest from bottom to top.
- Stop adding nitrogen once sprouts begin to form. This is the same moment as the topping step, and it matters just as much: continuing to fertilize heavily past this point causes loose sprouts and splitting.
- Keep moisture even through the heading stage. Fluctuating soil moisture while sprouts are maturing causes them to split open or develop bitter flavors.
- Let the plant ride out fall’s cooling temperatures and frosts. Mature stalks can stay in the garden well into autumn, since ongoing cold exposure keeps improving flavor.
- Harvest when sprouts reach about 1 inch in diameter, firm and compact, before they split open. Break or cut them off the stem, starting at the bottom and working up.
What goes wrong
- Loose, split sprouts from late nitrogen. High nitrogen levels after sprouts begin forming cause loose sprouts and splitting. The fix isn’t more feeding, it’s the opposite: stop nitrogen applications once sprouts appear, and rely on the two earlier feedings at 4 and 8 weeks after transplanting.
- Splitting or bitterness from uneven watering. Moisture fluctuations during heading cause maturing sprouts to split open or turn bitter. Consistent irrigation, not occasional heavy soaking, is what prevents it.
- Tipburn on inner leaves, even in calcium-rich soil. This looks like a nutrient shortage, but USU Extension is specific about the real cause: it’s a calcium deficiency in the plant tissue, not necessarily in the soil. Most Utah soils, for instance, are already very high in calcium, so plants have plenty available. The problem is transport: when plants go through stress from heat, water swings, or nutrient imbalance, calcium simply doesn’t get moved to the inner leaves properly. Adding more calcium to the soil doesn’t fix a transport problem. Uniform irrigation, moderate fertilizer applications, and mulch address the actual cause.
- Concentric sooty-black spots signaling Alternaria leaf spot. Avoid overhead irrigation, remove diseased leaves and plants promptly, and rotate crops season to season to keep the disease from building up in the soil.
- Worms and loopers hiding inside the heads. Cabbage worms and loopers tuck themselves into the developing sprouts, where they’re easy to miss until harvest. Regular inspection of the lower stem, where sprouts form first, catches infestations early.
- Seedlings disappearing to flea beetles. Flea beetles can kill young seedlings outright before they establish. This is a bigger risk at the transplant stage than later in the season, once the plant has bulked up.
- Crinkled leaves from aphids. Aphid feeding crinkles foliage and weakens the plant’s ability to push growth into the stem and sprouts.
- Bitter sprouts after storage, with no clear cause. This one isn’t a growing problem, it’s a storage mistake. Avoid storing Brussels sprouts with apples, pears, or other ethylene-producing fruits, since the ethylene triggers bitter flavors. It’s the same rule that applies to cabbage and lettuce: keep these vegetables away from ripening fruit in cold storage.
Common questions
When should Brussels sprouts be planted?
USU Extension recommends planting in early summer so the plant matures in fall, after several frosts. Rather than counting from a calendar month, count backward from your area’s typical first fall frost date, giving the plant enough weeks of summer and early fall growth to reach maturity as temperatures cool.
How much space do Brussels sprouts need?
Plant them 12 to 18 inches apart within the row, with rows spaced 2 feet apart. The plants grow tall over a long season and need that room to avoid crowding as the stem fills with sprouts.
Why remove the top of the plant?
Left alone, sprouts near the bottom of the plant mature first while the plant keeps growing upward. Removing the growing point at the top when the lower sprouts begin to form redirects the plant’s energy into finishing the sprouts already forming, producing more uniform development along the whole stem instead of a long, staggered harvest.
How long can Brussels sprouts be stored?
USU Extension states they can be stored for 2 to 6 months at 32 F and 95% relative humidity. Keep them away from apples, pears, or other ethylene-producing fruit during storage, since that exposure causes bitter flavors to develop.