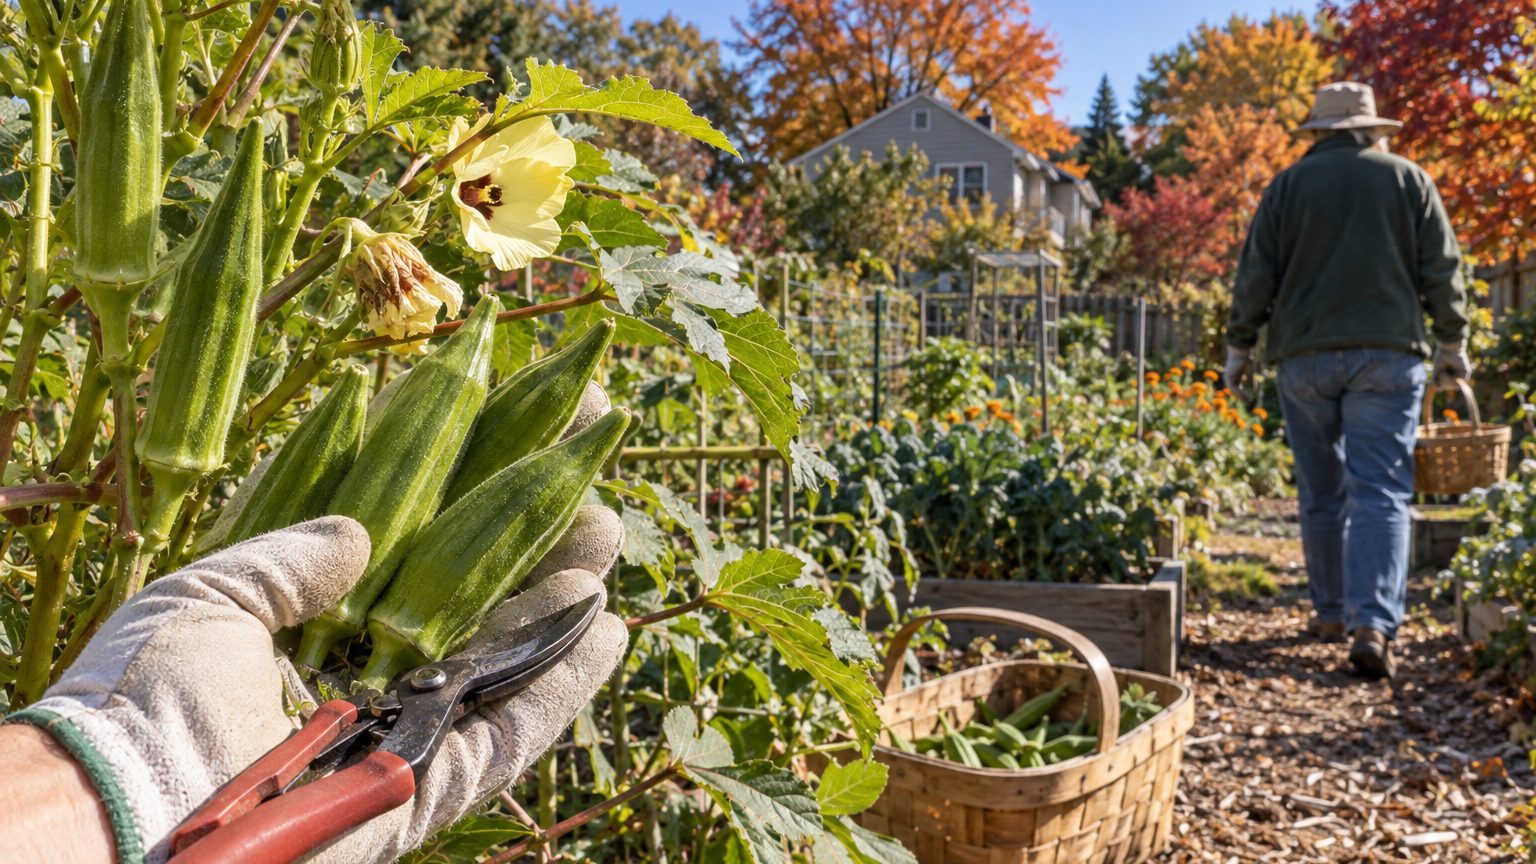

Pick okra pods when they are 2 to 4 inches long, which usually means 4 to 6 days after the flower opens, and pick every day or every other day once the plants get going. That’s the whole rule. A pod that looks fine on Monday can be tough and stringy by Thursday, and no cooking method fixes it. Most okra problems in the home garden trace back to a missed day of picking, not to soil or pests.
Okra is also unusual among garden vegetables in how fast it moves. In July heat, a pod can gain close to an inch in a day. Tomatoes ripen on their own schedule and wait for you. Okra doesn’t. For a full look at growing the crop from seed to frost, see Growing Okra: Heat, Daily Picking, and the Slime Question. What follows is the picking itself: how to judge a pod, how to cut it, and what to do when you fall behind.
Reading the plant: size, timing, and the snap test
Start with the flower. Okra is a relative of hibiscus, and its pale yellow blooms with a dark red-maroon throat open for a single day, then wilt by afternoon. The pod forms from the base of that wilted flower. Count from there: in warm weather you are looking at roughly four to six days before the pod reaches picking size. Cooler stretches slow the clock, and a week of 95°F days speeds it up.
Size is the quickest field guide. For common garden varieties such as Clemson Spineless and the red-podded types, 2 to 4 inches is the sweet spot. Small pods are tender, have soft immature seeds, and tend to be less fibrous. Past about 4 inches on a standard variety, the walls begin to toughen as the plant shifts energy toward the seeds inside. Some long-podded heirlooms (Cowhorn is one often sold) are said to stay tender at greater lengths, but treat that as a claim to test on your own plants rather than a promise.
Which brings up the most reliable check, the snap test. Hold the pod by its body and bend the tip. If it snaps cleanly, it’s ready. If it bends, resists, or you feel fibers stretching, it’s too mature. A pod that fails the test isn’t dangerous, just woody, and the cause and the rescue options are covered in Okra Pods That Are Woody and Inedible.
Color and surface tell you less than you’d think. Green varieties should look glossy and bright, red varieties like Burgundy hold their color but turn greener when cooked, and pods that look dull, ridged, or faded are heading past their prime. Wait for a firm, snappy feel rather than for the pod to “look big.” Okra hides well in the leaves, so the biggest culprit is usually the one you didn’t see.
The daily routine: tools, skin protection, and technique
Plan on a walk through the okra patch every morning during peak season. A 10-foot row can be checked in a couple of minutes, and the habit matters more than the speed. Many gardeners go out with a bucket and a pair of sharp pruners or a small knife, because pulling or twisting pods can tear the stem and damage the plant’s main trunk.
Cut the stem just above the cap, the little green star at the top of the pod, leaving a short stub of about half an inch. The stalk of a mature pod is tough and fibrous, so a clean cut with a blade works far better than yanking. Keep your cutting tool clean. A quick wipe with rubbing alcohol between plants is a cheap way to avoid passing disease around if you’ve seen leaf spots or wilting.
Then there’s the itch. Okra leaves, stems, and even some pods are covered in tiny hairs or spines that can irritate bare skin, and the effect worsens in humid weather when you’re sweating. Long sleeves, light gloves, and long pants are not overkill. Spineless varieties have far fewer prickles on the pods, but the leaves can still be scratchy. If you do get an itchy rash, a cool rinse with plain soap usually clears it up.
Work from the bottom of the stalk upward, since the lowest pods ripen first. As the plant grows taller, often well over 5 feet in a good season, you may need a step stool, or you can bend down the tallest branches. Many growers also snip off the leaf directly below the lowest harvested pod. This opens up airflow and light, and it makes the next round of pods easier to spot. Don’t strip the plant bare, though. The leaves above the pods are feeding the next flowers.
Don’t be embarrassed by a tiny harvest. Five or six pods per plant on a given day is normal, and a single plant won’t fill a skillet. This is why gardeners commonly plant a dozen or more okra plants for a family, or pick a little each day and store the pods until there’s enough for a meal.
When the pods outrun you
It will happen. A weekend away, a heat wave, or a long rainy spell, and you come back to pods the size of a hot dog. The first thing to do is to pick them anyway. Overgrown pods left on the plant send a signal that the plant has done its job, and flowering slows. Removing them restarts the cycle. Toss the tough ones on the compost pile, or keep a few aside for another purpose (see the last section).
Weather shapes the pace of the season. Okra is a heat lover that shuts down growth when nights dip into the 50s, and in the South, from Texas to Georgia, plants can bear from early summer straight through to the first fall frost. Farther north, in places like Michigan or Minnesota, harvest might not start until late July or August and may end after only a few weeks. A short season makes every missed day cost more, which is another reason to check daily.
In long-season states, there’s a trick for midsummer. When plants get leggy and tall, with the pods now well out of reach and production tapering off, cut the main stalk back to about 2 to 3 feet, add some fertilizer, and water well. New side shoots typically sprout within a couple of weeks, and the plant often gives you a second flush of pods lower down where you can reach them. It won’t work as well in a short-season garden, because the clock simply runs out.
If output falls off for no clear reason (the plants look stunted, the pods are few and small, the leaves yellow in midday), dig up one plant and inspect the roots. Swollen, lumpy galls are a sign of nematode damage, which is common in warm, sandy soils. The diagnosis and what to do next are in Knots on Okra Roots. Heavy pod loss can also come from inconsistent watering, so a deep soak of around an inch per week during dry stretches is a sensible baseline.
One more habit worth building: keep an eye on stink bugs and aphids as you pick. Pods with sunken, discolored spots or sticky residue are early warnings, and you’re already standing close enough to see them. Removing a pest on day one is much easier than discovering an infestation after a week away.
After the picking: storing, freezing, and the slime
Okra does not like to be fussed with once it’s cut. Leave the pods unwashed and dry. Moisture on the surface speeds up decay and encourages the slime that okra’s critics love to complain about. Put them in a paper bag or a loosely closed perforated bag in the refrigerator’s crisper drawer, and use them within about 2 to 3 days for the best texture. Okra is sensitive to cold, and pods held too long at low temperatures can develop dark spots and a mushy feel, so don’t treat the fridge as long-term storage.
If the harvest outpaces your appetite, freeze it. The National Center for Home Food Preservation recommends blanching okra before freezing, about 3 minutes for small pods and 4 for larger ones, then chilling in ice water, draining well, and packing into freezer bags. Whole pods hold their shape better than sliced ones, and many cooks freeze them whole, then slice while still frozen so the cut surfaces don’t ooze as much. You can also pickle small pods or dry-roast them for a snack, both good options for the surplus that arrives all at once in August.
Then the slime question. That mucilage is a natural thickener, the same quality that makes okra the backbone of gumbo. If you want less of it, the usual remedies work: cook whole pods rather than cut ones, use high, dry heat such as grilling, roasting at 425°F, or a hot skillet, and add a little acid like tomato, vinegar, or lemon juice. Cutting pods, then letting them sit before cooking, tends to make things worse. For gumbo, the thickening is the point, so you can simply embrace it.
As the season winds down, leave a few of the biggest, toughest pods on the plant. Let them turn brown, dry, and woody, and when they rattle and split open, you have seed for next year. Open-pollinated varieties will breed true from saved seed, but hybrids won’t, so check your seed packet before you count on it. Seed-saving pods should be marked with a bit of ribbon so you (or a hurried family member) don’t pick them by mistake.