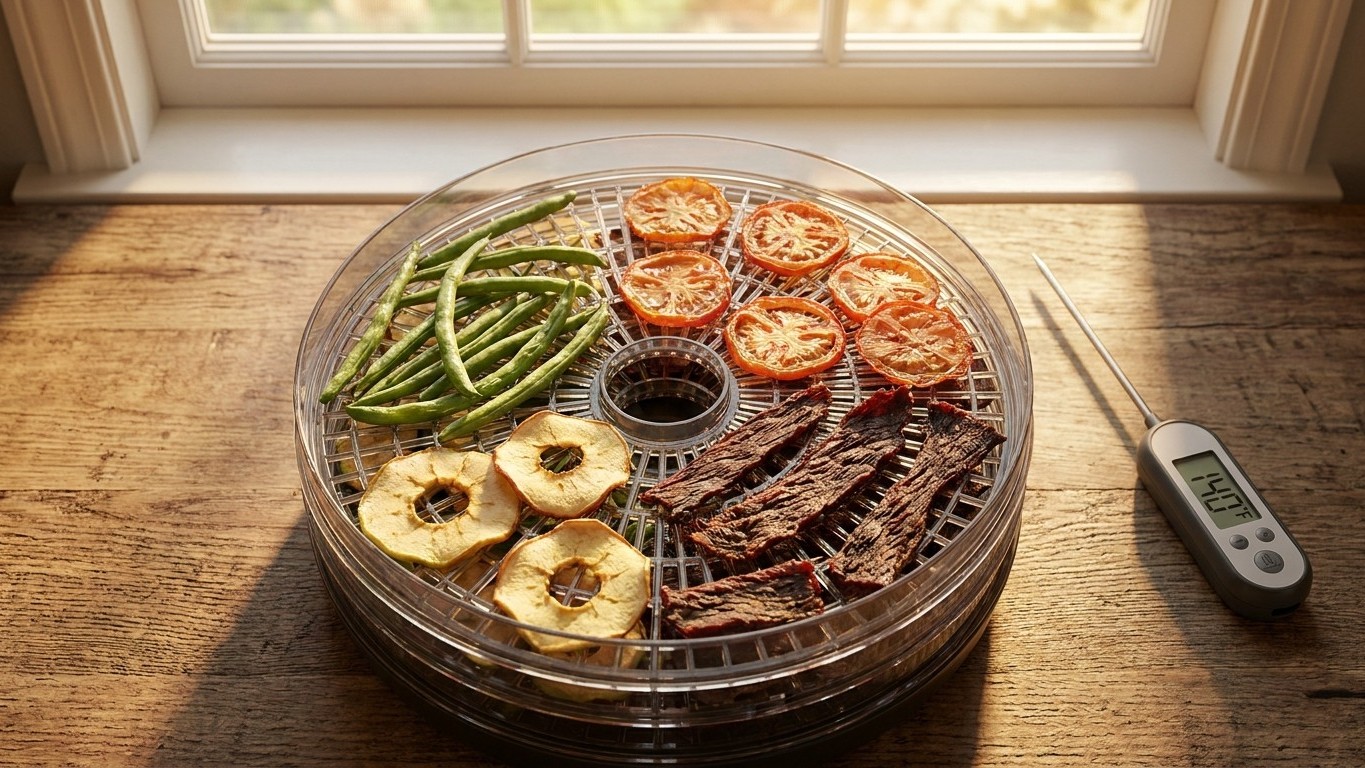

Dried food is dry enough when it passes the specific test for that food, not when a clock or a thermometer says so. The National Center for Home Food Preservation checks each food on its own terms, looking for a snap, a bend, or a leathery pliability, because a tomato slice and a green bean hold water in completely different ways. There’s no single percentage or minute count that covers every dehydrator load. The right threshold lives in the recipe for the food you’re drying, not in a general rule.
The short answer

The National Center for Home Food Preservation, housed at the University of Georgia, is the reference point most home cooks turn to for drying guidance, and it does not publish one blanket duration or moisture percentage that applies across the board. That gap isn’t an oversight. Green beans, apple rings, and jerky release water at different rates and reach a safe state at different textures, so NCHFP tests food groups separately and describes the finished condition in physical terms: does the piece snap cleanly, does it bend without cracking at the fold, does it feel leathery all the way through instead of just at the surface.
What NCHFP does spell out, concretely, is how the equipment itself behaves. A food dehydrator runs at 140°F, a fixed operating temperature built into most home units. That figure describes what the machine is doing, not when your food has finished drying. The two aren’t the same question, and mixing them up is where a lot of confusion starts.
Equipment design adds another layer. Horizontal-flow dehydrators push air across every tray the same way, keep flavors from bleeding into each other, and keep drips off the heating element. Vertical-flow units do none of that. So the answer to “is it dry enough” can be yes for one tray and no for the tray above it in the same appliance, at the same point in the same load. Knowing when dried food is actually dry enough means checking the food itself, cutting a piece open, looking at the center, and comparing what you see to the description written into the recipe for that exact food, rather than trusting a shared timer for the whole batch.
What actually decides it
Removing the water, not killing what’s already there
Drying preserves food by taking away the water that bacteria, mold, and yeast need to multiply. It does not heat the food to a temperature that kills those organisms outright. That distinction matters more than almost anything else in this process: dried food is not sterile. Whatever organisms were present before drying are still present after, simply dormant because they can’t grow without moisture. If a piece falls short of dry, those organisms have exactly the humidity they need to wake back up, whether that happens in storage, during a humid week, or once the food starts to rehydrate.
This is why a food-specific texture test carries more weight than a general drying window ever could. A snap or a bend isn’t a cosmetic detail, it’s a rough proxy for how much water activity remains inside the piece. A food that looks finished on the outside but stays soft or springy at the center hasn’t lost enough water where it counts.
Airflow and equipment design
How air moves through the dehydrator changes how evenly that water leaves the food in the first place. A horizontal-flow design routes air across each tray on its own path, which is why it keeps trays from tasting like each other and keeps juices from dripping onto the element below. A vertical-flow design pulls air up through a stack, so trays don’t all receive the same exposure. One tray can finish well ahead of another purely because of where it sits in the stack, not because the food on it was thinner or wetter to begin with. That mechanical fact is exactly why testing one piece from one tray and calling the whole load done is a mistake, and why multiple checks across positions matter more than a single glance.
How to do it
- Find the specific NCHFP recipe or guidance for the food you’re drying before you load a single tray.
- Cut and arrange pieces of similar thickness across the trays, with space between them so air can reach every surface.
- Note whether your dehydrator is horizontal-flow or vertical-flow, since that design decides whether trays dry evenly or need attention tray by tray.
- Run the appliance at its built-in setting, keeping in mind many units are fixed at 140°F rather than adjustable.
- Check doneness using the texture test described in the recipe for that food, whether that’s a snap, a bend, or a leathery feel.
- Test more than one piece, pulled from different trays and different positions on the same tray.
- Let tested pieces cool fully before judging them, since warm food reads as more flexible than it will once it reaches room temperature.
- Move on to conditioning and storage only after the coolest, most central piece of the batch matches the recipe’s description.
What goes wrong
- Judging a warm piece: heat makes food feel more pliable than it actually is once it cools. Let a test piece sit until it reaches room temperature before deciding it’s done.
- Testing only one piece near the door or the center rack: uneven airflow means one dry piece doesn’t guarantee the rest of the batch is. Pull samples from several trays and several spots on each tray.
- Assuming a vertical-flow dehydrator finishes all trays together: because airflow doesn’t treat every tray the same, trays need to be checked, and sometimes rotated, individually rather than as a single unit.
- Treating 140°F as a killing temperature: drying doesn’t heat food hot enough to destroy the organisms already on it. Dryness itself is the safeguard, not the heat, so skipping the texture test in favor of “it ran hot enough” leaves food unprotected.
- Overcrowding trays so pieces touch or overlap: air can’t reach hidden surfaces, leaving damp pockets under an outer layer that feels dry to the touch. Space pieces so air moves on every side.
- Storing food because the surface feels dry: the outside can lose water well before the center does. Cut a piece open and check the middle, not just the skin, before packing anything away.
Where the exact figures come from
This page describes how drying works and how equipment design affects it, but it does not hand out a duration, a temperature range, or a moisture target for any particular food, and it shouldn’t. Those figures need to come from a recipe that has actually been tested for that food, published by the National Center for Home Food Preservation. Applying a number that worked for one food to a different one skips the testing that figure was built on, and an untested duration or texture can leave enough moisture behind for harmful organisms to grow without any visible sign, no smell, no off taste, nothing you’d notice before it’s too late. Look up your specific food on the NCHFP site and follow what it says there, rather than borrowing a figure from a similar-looking food.
Common questions
Can I tell dried food is dry enough just by touching it?
Touch matters, but only when matched to the exact description for that food, a snap, a bend, or a leathery feel, and only on a piece that has fully cooled and been checked from more than one tray.
Does running the dehydrator at 140°F kill germs in the food?
No. That temperature dries the food, but it doesn’t reach a level that kills the organisms already present, which is exactly why dried food isn’t considered sterile.
Why does my dehydrator dry some trays faster than others?
It comes down to airflow design. Horizontal-flow units treat every tray the same way, while vertical-flow units push air through a stack unevenly, so trays higher or lower in the stack can finish at different times.
Where do I find the exact time and temperature for the food I’m drying?
The National Center for Home Food Preservation publishes food-specific guidance for this. That’s the source to check rather than relying on a general rule that wasn’t tested for your particular food.