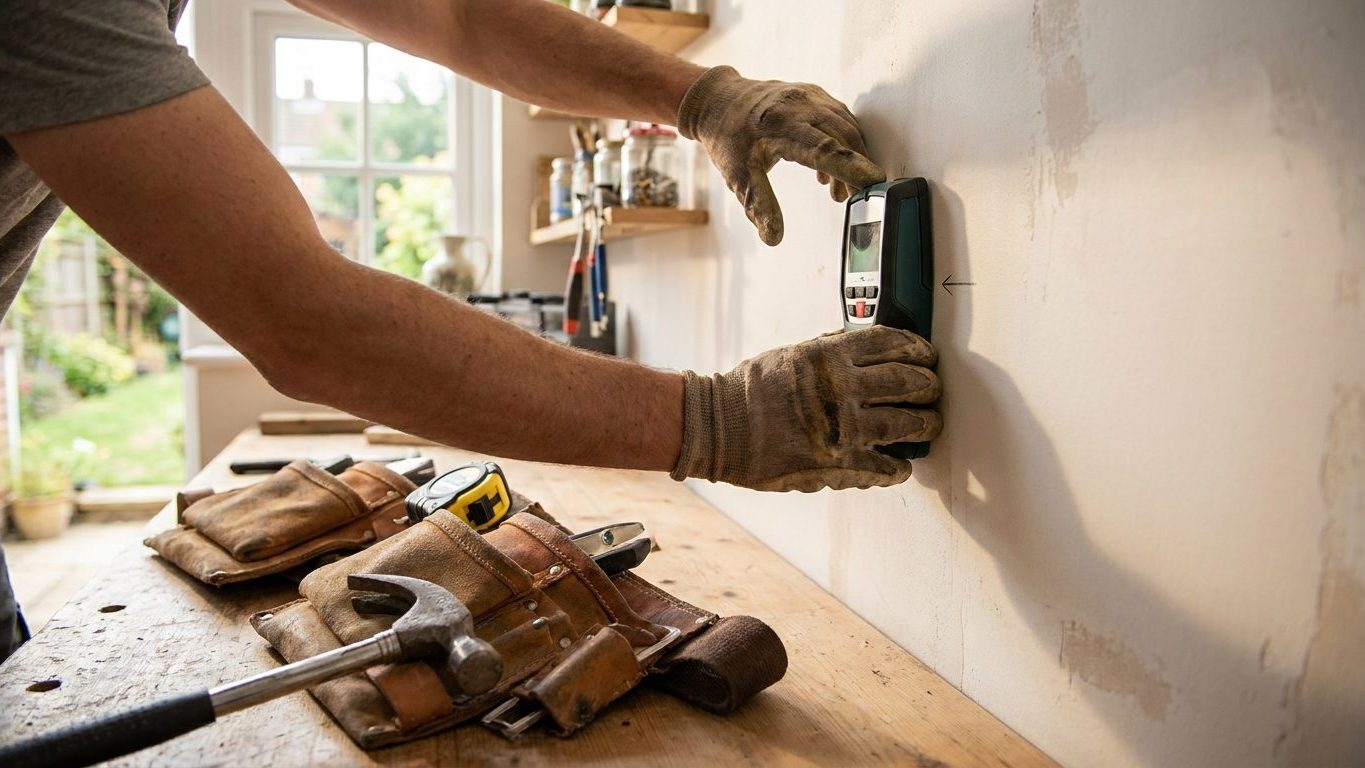

That hollow-sounding knock you get almost everywhere on a stud wall turns solid and dull the instant your knuckle passes over a timber stud, and that solid spot is the only place a heavy fixing will actually hold. Drill your pilot hole there, not at the center of a hollow patch, and confirm it with a stud-finder tool or a thin nail before you trust it with real weight.
What is actually going on

Behind the drywall or plaster you’re looking at, the wall is a timber frame. Vertical members called studs run from floor plate to ceiling plate, and the drywall is nailed or screwed to the face of that frame as a thin skin. Knock on the skin between two studs and you get a hollow, resonant sound because there’s nothing behind it but a few inches of air. Knock directly over a stud and the sound flattens out because you’re now hitting solid wood.
That difference matters because a screw driven into drywall alone has almost nothing to grip. Gypsum board crumbles around a screw thread under any real sideways pull, which is why a picture hook holds fine but a shelf bracket carrying real weight will slowly work the screw loose and eventually pull straight out of the board. A screw driven into the stud itself is anchored in solid wood, and wood holds a screw thread the way it always has, no different from framing a deck or hanging a door.
Stud spacing follows a common construction convention rather than a fixed rule. In most stick-built American homes, studs are set on a repeating spacing, commonly every 16 inches on center, sometimes every 24 inches in newer or non-load-bearing partition walls. Treat that spacing as a starting guess, never as something you can rely on without checking. Corners often carry doubled-up studs, older houses were framed by hand with far less consistency, and any wall that’s been remodeled may have studs added, removed, or shifted around a window or door opening.
What else lives inside that wall
Before any of this becomes a drilling decision, remember what else runs through the same stud bays:
- Electrical cable, usually run at a rough height convention near outlets and switches, but never guaranteed
- Water supply lines, especially near kitchens, bathrooms, and any wall backing a sink or toilet
- Occasionally gas lines feeding an appliance on the other side of the wall
Those routing habits are conventions, not promises, and an older house may follow none of them. Check before you drill, and if you can’t check, don’t drill there. This page assumes you’ve already worked out that the wall itself is a suitable place to hang the load in the first place, a decision covered in Hanging, Shelving and Fixing: The Wall Decides. Nothing here involves opening up a switch, outlet, or fixture. If a job needs actual wiring work, that’s a job for a licensed electrician, full stop.
Doing it
Finding a stud is a process of narrowing down, not a single test. Run through these in order and don’t skip the confirmation steps just because the first one looked promising.
- Sweep the wall with your knuckle. Knock in a slow horizontal line at the height you plan to fix into and listen for the sound to change from hollow to solid. Skip this and you’re drilling on a guess, which is how most missed-stud holes happen.
- Run a stud-finder tool over the same area. Electronic finders sense a change in density behind the wall, while magnetic ones only detect the metal screws or nails already holding the drywall to the stud. A magnetic finder will miss a stud entirely if there’s no fastener nearby, so don’t assume a blank reading means no stud.
- Look for physical clues you already have. Baseboard is nailed into studs at floor level, door and window casings mark a stud just to the side of the opening, and a faint vertical dimple or nail pop in older drywall often lines up with a stud edge underneath. Skipping this means ignoring evidence that’s already visible.
- Measure out from a confirmed stud using the spacing convention. Once you’ve located one stud with certainty, measure along the common spacing to estimate where the next one should fall. Treat it as an estimate to verify, not a fact to drill on.
- Drill a small test hole before committing. A pilot hole a size or two smaller than your final fixing will tell you immediately whether you’ve hit solid wood (the drill bites and resists) or empty cavity (it drops through with almost no resistance). A small test hole is easy to patch if you’re wrong. Skipping this step is how a full-size hole ends up in the wrong spot.
- Check for cables and pipes at the exact spot before the final hole. Use a non-contact detector where you have one, and if the wall backs onto a kitchen, bathroom, or any run that might carry a supply line, treat that spot with extra caution. If a stud doesn’t fall where you need the fixing, a rated hollow-wall anchor in the gap between studs is the honest alternative, rather than forcing the fixing point to match a stud that isn’t there.
What it looks like when it goes wrong
Most stud-fixing mistakes fall into one of a few recognizable patterns, and they don’t all carry the same consequence.
Cosmetic and correctable
A screw that spins freely and never bites means you missed the stud and landed in the cavity behind it. This is purely cosmetic. Back the screw out, patch the small hole, and move a few inches over to try again once you’ve re-confirmed the stud location. A screw driven too close to the edge of a stud can split the wood along the grain, which shows up as the fixing suddenly loosening under load a few weeks in rather than failing immediately. That’s correctable too, by moving the fixing point closer to the center of the stud and drilling a proper pilot hole first to stop the split from starting.
Safety failures, not cosmetic ones
If the drill suddenly binds, sparks, or an outlet or switch on that circuit stops working right after you drilled, stop immediately and don’t touch the hole again. That’s a sign you’ve caught electrical cable, and it needs a licensed electrician to assess and make safe, not a patch-and-move-on fix. A damp patch spreading from the hole, or a hissing sound, means you’ve hit a water or gas line. Shut off the relevant supply if you can do so safely and call a plumber or gas fitter immediately. These are not jobs to finish yourself, and they are not the same category of mistake as a split stud or a missed pilot hole.
A fixture that pulls straight out of the wall once loaded, taking a chunk of drywall with it, usually means the fixing was never actually in a stud at all, and an anchor rated for a lighter load was carrying more weight than it was ever meant to. That has to be redone properly, either by finding the real stud position or by stepping up to a heavier-rated anchor sized for the actual weight involved.
What to settle first
Before any drill touches the wall, a few things need to be settled, not assumed.
What the wall actually is
Not every wall behaves like drywall over wood studs. Older houses often have plaster over wood lath, which reads differently under a knock test and can crack if you drill carelessly near an edge. Some interior partitions, especially in multi-family buildings, use hollow metal studs instead of wood, and a metal stud gives a different resistance under the drill along with metal shavings rather than wood dust. Know which one you’re dealing with before you commit to a fixing method, since a wood-screw approach doesn’t translate directly to metal framing.
What’s inside it, and whether you can actually check
Cables and pipes follow rough conventions but no guarantees, especially in a house that’s been rewired or replumbed over the years by more than one previous owner. If there’s an attic, basement, or crawlspace nearby, a look from that side can sometimes confirm what’s running through a particular wall before you ever pick up a drill. If you can’t get that confirmation and something about the location feels risky, that’s the sign to leave it alone rather than push ahead on a guess.
Whether the load belongs on this wall, and whether it’s yours to drill
A heavy wall-mounted item, like a large cabinet or a substantial shelf unit, often needs to spread its load across more than one stud rather than relying on a single fixing point. And if you’re renting rather than owning the place, the decision isn’t only structural. Check your lease and see Hanging Things When You Are Renting before you drill any test holes, since patch requirements and what counts as acceptable wear vary by landlord and lease terms.
Common questions
Why does my stud finder keep giving different readings in the same spot?
Usually it’s a low battery, a wall surface it wasn’t calibrated for, or something behind the wall other than a stud, like a horizontal blocking piece or old wiring. Recalibrate the tool on a section of wall you’re certain is hollow, then re-test the questionable spot, and back that reading up with a knock test before you drill.
Can I just use a magnet to find a stud instead of buying a proper finder?
A magnet will find the metal screws or nails already fastening the drywall to a stud, which does mark the stud line if there happens to be a fastener nearby. It won’t detect a stud where no fastener was driven, so it’s a useful backup check rather than a reliable first method on its own.
What if the stud isn’t where I need to hang something?
That happens more often than people expect, especially around windows or in older framing. A hollow-wall anchor rated for the actual weight of the item is the honest fix rather than forcing the item’s mounting point to line up with a stud that isn’t there.
How deep should a screw go into the stud to be safe?
It needs to bite into solid wood well beyond the drywall thickness, and the exact screw length depends on the fixing hardware and the item’s weight, both of which vary by product. In most homes the stud itself is a couple of inches thick, so there’s real depth to work with once you’ve confirmed you’re actually in it rather than in the cavity beside it.