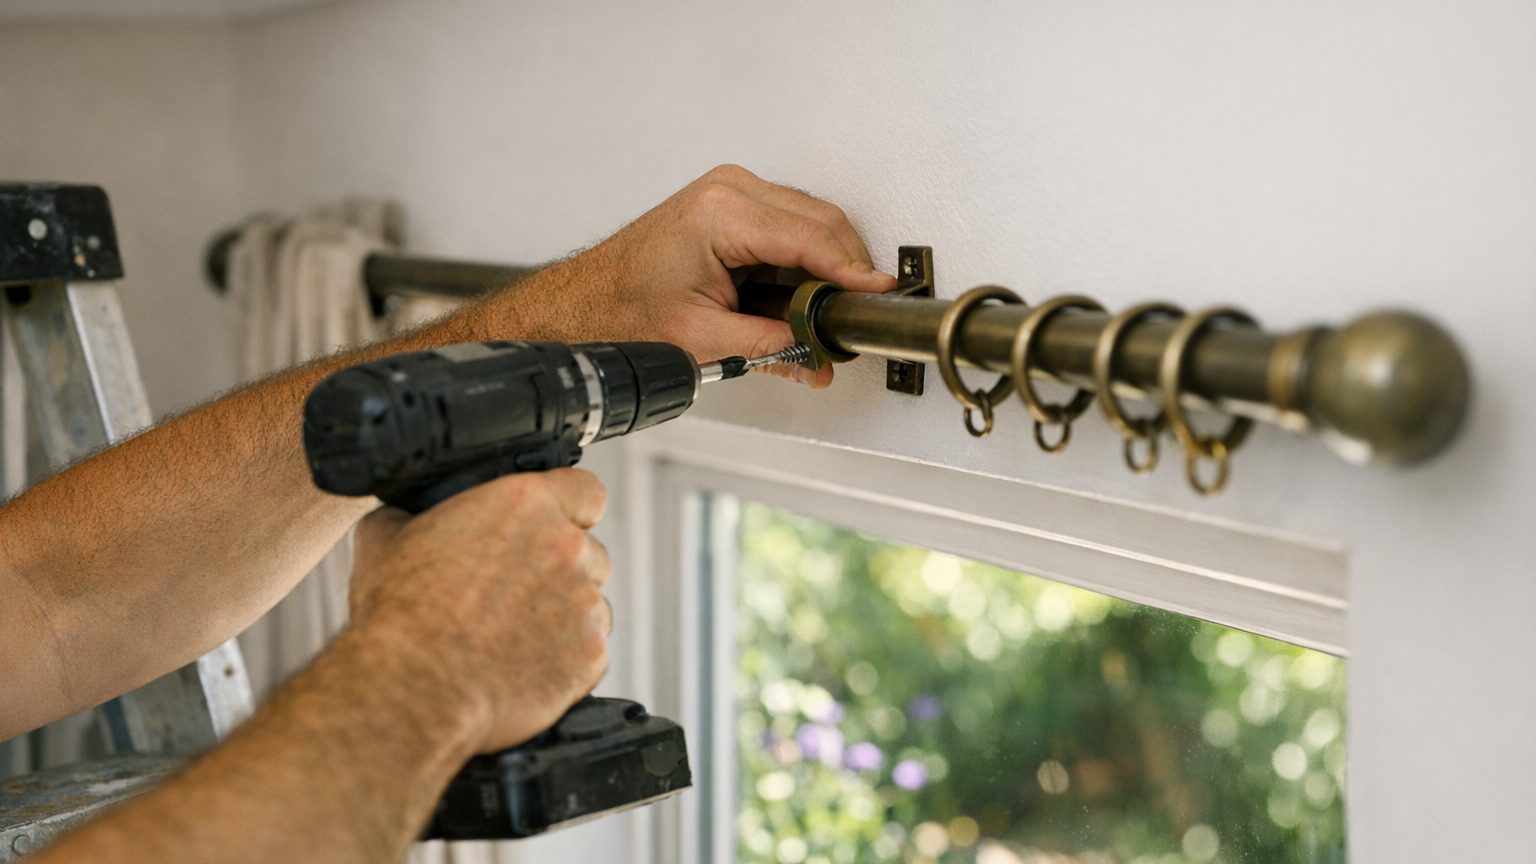

Curtain pole brackets get blamed when a rail comes down, but the bracket itself almost never breaks. What gives way is the wall behind it, because the stretch of wall above a window carries less solid backing than the wall to either side. Find where the framing or masonry is actually solid on both sides of the opening before you choose a fixing, and treat the wall as the thing to test first, not the hardware.
What is actually going on

The wall above a window opening is not built the same way as the wall around it. A lintel usually sits behind the plaster or drywall there, a beam whose job is to carry the weight of the wall above the window so the frame itself doesn’t have to. That lintel, and whatever studs, blockwork or fill sit around it, were placed to hold the house up, not to hold a curtain pole. The plaster or drywall skimmed over the top of a window is often on thinner or patchier backing than the wall running down either side of the frame, which is exactly the area where curtain brackets are usually asked to sit.
Every time curtains are drawn open or closed, the pull on a bracket is not straight down. It runs down and outward, toward the room, because the fabric swings on the pole as it moves before settling back against the wall. A fixing that would happily carry a static weight held flat against the wall can still work loose under that same weight if it gets tugged sideways twice a day for years. The size of the load matters, but so does its direction, and that combination is what separates a bracket that holds for a decade from one that starts to wobble within a season.
This is the same principle behind almost anything mounted on an interior wall, covered in general in Hanging, Shelving and Fixing: The Wall Decides. What the wall can carry decides what goes on it. The strength of the pole, the bracket or the screw only matters once the wall itself has been sorted out.
What’s hiding behind the plaster
Cables run inside most interior walls, and in some houses water or gas lines run there too. Electricians and plumbers tend to follow rough conventions about where those services sit, but a convention is not a guarantee, and a house that has been rewired, replumbed or extended over the years can ignore every one of them. Check before you drill, using a cable and pipe detector or by confirming the route with whoever last worked on that wall. If you cannot confirm what sits behind a specific spot, do not drill there. Move the bracket a few inches to one side instead of guessing.
None of this reduces to one number that applies to every wall. What a fixing will actually hold depends on the wall material, the fixing itself, how well it was installed, and the direction of the pull described above. The only figure worth trusting is the one printed on the fixing’s own packaging, rated for the specific wall type you have. A curtain pole on its own is rarely heavy, but a loaded pole coming away from a wall above head height is a genuine hazard, not a minor inconvenience. A fixing that looks doubtful once it’s in is one to replace, not one to test by hanging your weight on it.
Doing it
Once you know roughly what the wall is made of and where the solid parts are, the order of operations matters almost as much as the fixing you pick.
Before you drill
- Locate the solid backing on both sides of the window opening rather than guessing from how the wall looks. This confirms whether studs, blockwork or masonry actually sit where the brackets need to go. This is worth doing properly rather than by feel, and it’s covered step by step in Finding the Studs Behind a Hollow Wall. Skip this and a bracket ends up anchored in the thin patched area over the lintel, where there is nothing solid to grip.
- Mark the bracket positions level with each other using a spirit level, at the spacing the pole and curtain actually need. Bracket position depends on the width you settled on when measuring for curtains in the first place, since a pole cut to the wrong length throws off where the outer brackets can even sit. Skip the level check and the pole ends up visibly tilted the moment curtains are hung and gravity finishes what the eye missed.
- Drill a small pilot hole and pay attention to what comes out. Dust color and drilling resistance tell you plaster from drywall from masonry, and any unexpected give, cable, or damp patch means stop and reassess before going further.
Mounting the brackets
- Fit the outer brackets first. They sit near the ends of the pole, where the fabric’s weight and the sideways pull of opening and closing concentrate most. Skipping proper anchoring here is the single most common cause of a whole rail failing, because the outer brackets carry more strain than anything toward the center.
- Add a third, center bracket on any long or heavy run. Skip it and a long pole bows in the middle over time, because two end brackets alone were never designed to support an unsupported span that length.
- Hang the curtains and open and close them fully several times before calling the job done, rather than just tugging the bracket by hand. The real test is the sideways pull described earlier, not a straight downward tug, and a bracket that feels solid under one can still fail under the other.
What it looks like when it goes wrong
Curtain pole failures tend to show up in a handful of recognisable ways, and they don’t all mean the same thing.
The bracket pulling away from the wall

A gap opens between the bracket plate and the wall surface, screw holes enlarge and crumble, and the pole visibly leans forward under the curtain’s weight. This is a safety failure, not a cosmetic one, because a loaded pole above head height can come away from the wall entirely. It cannot be fixed by re-tightening the same screws into the same worn hole. The wall at that spot needs filling and a fresh fixing suited to what’s actually behind it, or the bracket needs to move a few inches to solid backing.
A pole bowing in the middle

A straight pole develops a visible dip in the middle once curtains are hung, more noticeable on long runs. This is mostly cosmetic if the end brackets themselves are sound, though a bow that keeps worsening points to genuine strain building up. It’s usually correctable by adding the center bracket that should have gone in the first time, rather than replacing the pole itself.
Screws spinning loose in the hole

The screw turns freely without tightening, and the plaster or drywall around the hole is crumbled and powdery. This means the original hole was oversized, over-drilled, or placed in weak material with no real backing behind it. Forcing in a longer screw doesn’t fix it. The hole needs filling and a new position found nearby with proper backing, or an anchor rated for that particular wall type.
The pole hanging crooked

One end of the pole sits visibly higher than the other, and curtains bunch unevenly to one side. This is purely cosmetic, not a safety issue, and it almost always traces back to brackets marked without a level. It’s easily corrected by loosening the low bracket and remounting it at the right height, with no need to redo the rest of the job.
What to settle first
What the wall is made of
Plaster and lath, drywall on timber studs, solid masonry, and drywall dot-and-dab over blockwork all behave differently under a fixing, and a fixing that works well in one often fails in another. If you’re not sure which you have, tap across the wall to feel for hollow versus solid sections, and check a hardware or DIY reference for how to tell them apart before buying any fixing at all.
What’s inside it
The check for cables and pipes matters more around a window wall than most other spots, because curtain poles are often added years after the original wiring went in, and a later socket or light run near the window can cut straight across the exact spot a bracket needs. Confirm the route before drilling, and if you can’t confirm it, don’t drill there.
Whether the wall should carry it at all
Some walls, particularly old lath and plaster in poor condition or a stud wall with minimal framing near the opening, may not be suited to a heavy pole and a full set of curtains no matter how carefully the brackets go in. The honest answer sometimes is to choose a different fixing point entirely, such as a ceiling-mounted track anchored into joists, or to get a building professional’s opinion before drilling anything. A fixing that’s in doubt gets replaced, not tested by hanging weight on it and hoping. A local hardware store or tradesperson can usually identify a wall type and point you to the right fixing faster than trial and error, and that conversation costs a great deal less than replacing a ceiling’s worth of plaster after a loaded pole comes down.
Common questions
Can I mount a curtain pole into drywall with no stud at all?
Sometimes, for a short, light pole with lightweight curtains, using an anchor rated for drywall on its packaging. For anything longer, heavier, or subject to daily pulling, backing into solid framing is far more reliable, and the outer brackets in particular should land on something solid rather than drywall alone.
What if the stud isn’t where the bracket needs to go?
Shift the bracket a little rather than force it onto a spot with no backing. A few inches either way rarely affects how the curtain hangs, and it’s a smaller compromise than a bracket with nothing solid behind it.
Is it safe to reuse the holes from the old curtain pole?
Only if the old fixing failed for a reason unrelated to the hole itself, like an outdated bracket style. If the hole is enlarged, crumbled, or shows signs the anchor pulled loose, fill it and find a new spot with solid backing rather than repeating the same failure.
Do heavier curtains always need a center bracket?
Not always, but any long pole benefits from one, since the middle of an unsupported span takes real strain even when the curtains themselves are fairly light. It’s a small addition against a visible sag later.