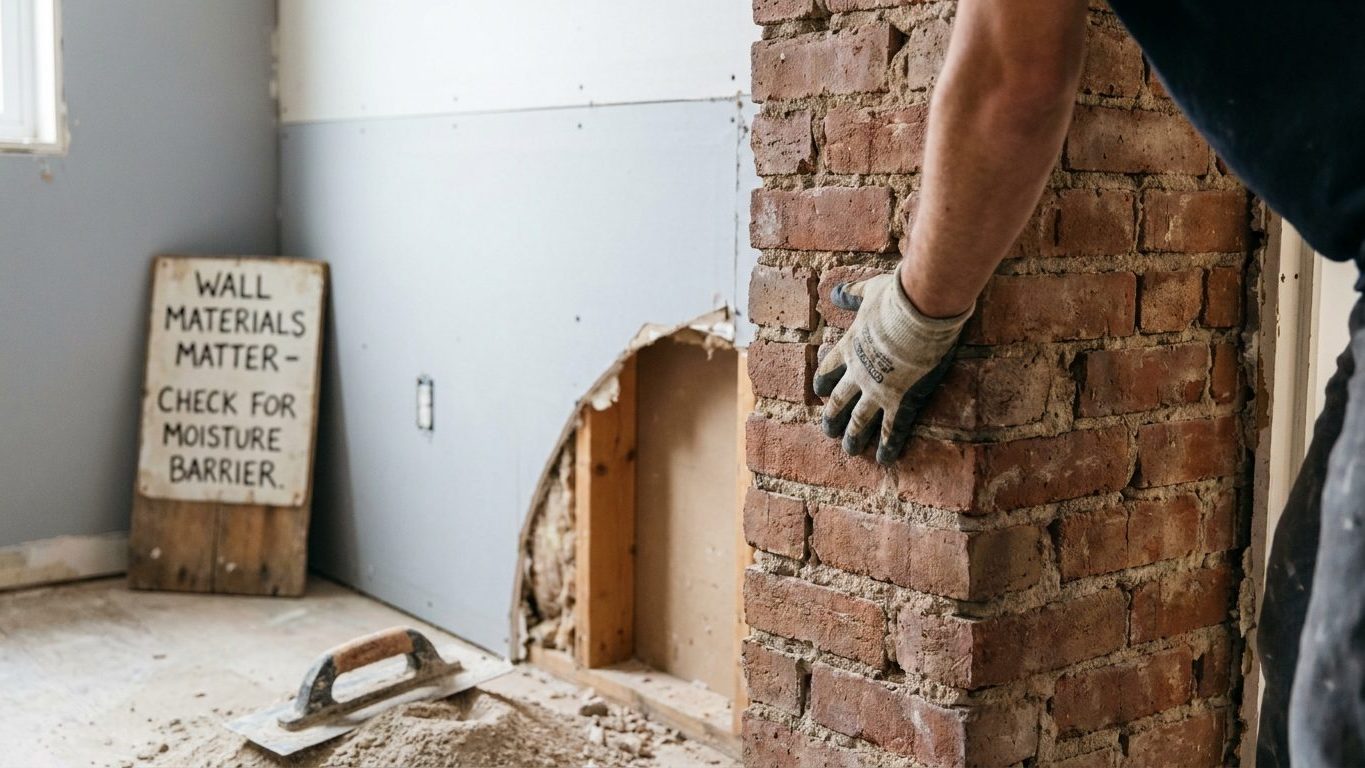

Drywall over empty stud bays holds a lightweight picture frame fine and lets a loaded shelf tear straight out, no matter how good the fixing is. Solid plaster on brick or block works the opposite way: weak-looking on the surface, strong once a fixing gets past it. Tap the wall before you buy anything. A hollow knock means drywall behind the paint, a dead solid thud means masonry, lath, or concrete, and each one takes a completely different approach.
What is actually going on

Every fixing question comes down to the same first answer: it depends what the wall is. A wall is not one material, it is a system, and the layer you can see and touch is almost never the layer doing the holding. The material behind the surface decides the mechanism a fixing relies on, and a fixing chosen for the wrong mechanism will fail even if it goes in perfectly straight.
Three different mechanisms
Hollow drywall (drywall) is nailed or screwed to a frame of wooden or metal studs with empty cavities between them. The board itself has almost no strength in tension, so a fixing either has to reach the stud behind it or use a cavity fixing that spreads its grip against the back face of the board once it is through the hollow. Neither the board’s surface nor its thickness carries real load on its own.
Lath and plaster, common in older houses, is a different animal again. Thin wood strips (laths) are nailed across the studs with small gaps between them, and wet plaster was pushed into those gaps so it curled and set behind the laths, locking itself in place. That plaster skin is thin, brittle, and cracks easily around a fixing unless the fixing reaches a lath or the stud behind it. It looks solid when you knock on it and behaves like anything but.
Brick and concrete block work by an entirely different principle: friction and expansion. A fixing sits in a drilled hole and grips by pressing outward against solid material on all sides. There is no cavity to worry about and no board to tear, but the material is harder to work and needs a bit designed for masonry rather than wood or metal. Poured concrete is the densest of the group and often needs a slower approach and a sharper bit to avoid the fixing simply spinning in a hole that never quite formed properly.
None of this identification work is optional, because cables and sometimes water or gas pipes run inside every one of these wall types, and the conventions about where they run (vertically above switches, horizontally at socket height) are conventions, not guarantees. Older houses in particular ignore them routinely. If you cannot check what is behind a specific spot with a cable and pipe detector, do not drill there. If a fixture needs wiring rather than just hanging, that work goes to a licensed electrician and stops being a job for this page.
Doing it
Working out what you have is a short process, and skipping any one step is exactly where fixings start failing later. The tap test comes first, always, because it costs nothing and rules out half the possibilities immediately.
- Tap across the wall in a grid pattern. A hollow, drum-like sound means drywall with an air gap behind it. A dead, solid thud means you are on brick, block, concrete, or directly over a stud or lath. Skipping this step means choosing a fixing type blind, which is how cavity fixings end up used on solid masonry and vice versa.
- Drill a small pilot hole in an inconspicuous spot and look at the dust and the feel of the drill. Fine white dust and a bit that drops through easily after a short distance points to drywall. A gritty red-brown dust and steady resistance points to brick. A pale gray, very fine dust with hard, even resistance points to concrete. If you skip this and just guess from the tap sound, you risk drilling straight through a lath into an unseen cavity and having no purchase at all.
- Look at exposed edges where a switch plate, an outlet cover, or a baseboard has already come off. This shows you the actual wall build without any extra drilling, and it is the fastest way to confirm lath and plaster, since the narrow wood strips are unmistakable once you see them.
- Locate the framework before committing to a heavy fixing. On hollow walls this means finding the stud, and the full method for that (knocking, using a stud finder, checking for nail lines in the baseboard) is covered separately at Finding the Studs Behind a Hollow Wall. Skipping this step is the single biggest reason hollow-wall fixings pull straight out under load.
| Wall type | How it identifies | What it can hold | What fails if you skip identification |
|---|---|---|---|
| Drywall on studs | Hollow tap, fine white dust, bit drops through fast | Light to moderate loads at a stud, light loads only with a cavity fixing between studs | Cavity fixing pulls the board apart under weight it was never meant to carry |
| Lath and plaster | Hollow-ish tap, thin wood strips visible at exposed edges | Only what the lath or stud behind it can carry | Plaster cracks and crumbles in a widening circle around the fixing |
| Brick | Dead thud, gritty red-brown dust, steady resistance | Heavy loads with the correct masonry fixing | Fixing spins loose in a hole drilled too smooth or too shallow |
| Concrete | Dead thud, pale fine dust, hard even resistance | Very heavy loads with the correct fixing and bit | Bit overheats or fixing never seats properly in an underformed hole |
What it looks like when it goes wrong
A failed fixing rarely fails quietly, and reading the failure tells you. The distinction that matters most is safety versus cosmetics, and the two get confused constantly because both can look like “the shelf came off the wall.”
On drywall, the classic failure is a fixing pulling clean out with a chunk of the board’s paper face still attached, leaving a ragged hole bigger than the original fixing. This is cosmetic if the item was light and nobody was near it. It becomes a safety issue the moment the item was heavy, mounted at head height, or holding something that could fall on a person or a pet. A heavy mirror or a wall-mounted shelf coming away from hollow board without warning is a safety failure, not a decorating inconvenience, and it means the original fixing never reached a stud or never had the rated capacity for the load.
On lath and plaster, look for a spreading web of hairline cracks radiating out from the fixing point. This is the plaster skin failing in tension even while the lath behind it may still be sound. Small cracking around a picture hook is cosmetic and patchable. A fixing that has visibly loosened, with the plaster crumbling and the item now hanging at an angle, needs to come out and be redone into the lath or stud rather than patched around, because the surrounding plaster has already lost its grip.
On brick and concrete, the failure to watch for is spalling, where the material around the drilled hole cracks and flakes away, usually because the hole was drilled too close to a mortar joint or an edge. A little surface flaking around an otherwise solid fixing is cosmetic. A fixing that spins freely in the hole, or a chunk of masonry that has broken away entirely, means the anchor point is gone and needs to be relocated, not just re-tightened. Patched holes, in any wall type, are covered step by step at Filling the Holes When Something Comes Down, including how to tell when a patch will actually hold versus when the substrate underneath needs attention first.
What to settle first
Before a single hole gets drilled, three things need answering, in this order. What the wall is made of comes first, because it determines every fixing choice that follows and cannot be worked out by guessing from paint color or wall thickness alone. Use the tap test and the pilot-hole test above, and if the wall build still isn’t obvious, check an exposed edge at a switch plate or baseboard before drilling anywhere near where the item will actually hang.
Second, what is inside the wall at that exact spot. This is not optional and it is not the same question as what the wall is made of. Even once you know you’re dealing with drywall on studs, a cable can still run through that stud bay, and in older homes a pipe can turn up somewhere a modern convention says it shouldn’t. Use a cable and pipe detector on the specific spot you intend to drill, not just somewhere nearby on the same wall. If you cannot get a clear read, choose a different spot rather than trust a convention that older houses were never built to follow.
Third, whether the load actually belongs on that wall. A hollow drywall wall between two rooms was built to divide space, not to carry a heavy mounted television or a loaded bookshelf, and finding a stud helps but does not turn a stud into a structural wall. Genuinely heavy or fixed loads usually belong on masonry, on a wall with confirmed solid backing, or need a fixing rated and installed specifically for that weight. When a project involves wiring anything, hand that part to a licensed electrician and treat this page as covering the mounting only, not the wiring. For everything else in the hanging and shelving process, from choosing the fixing to setting the height, the full sequence is laid out at Hanging, Shelving and Fixing: The Wall Decides.
Common questions
How do I know if my wall is drywall or plaster on brick?
Tap it. Drywall on studs gives a hollow, drum-like sound almost everywhere except directly over a stud. Plaster over solid brick or block gives a dead, solid thud everywhere you tap, with no hollow spots at all.
Can I use the same fixing on lath and plaster as I do on drywall?
No, and this is one of the most common mistakes. Standard cavity fixings made for drywall can crack the brittle plaster skin on a lath and plaster wall before they ever grip properly, because that plaster is thinner and older than modern board and has no consistent thickness behind the surface.
What if I can’t tell whether there’s a pipe or cable behind the spot I want to drill?
Don’t drill there. Move the fixing point somewhere you can get a clear reading with a detector, or open up a small inspection area first if the item’s position genuinely cannot move.
Is it ever safe to just guess and see if the fixing holds?
For something very light and low-risk, a failed guess just means a small hole to patch. For anything heavy, anything at head height, or anything near a spot where cables might run, guessing risks a real fall or a damaged service line, and it is worth the extra few minutes of testing first.