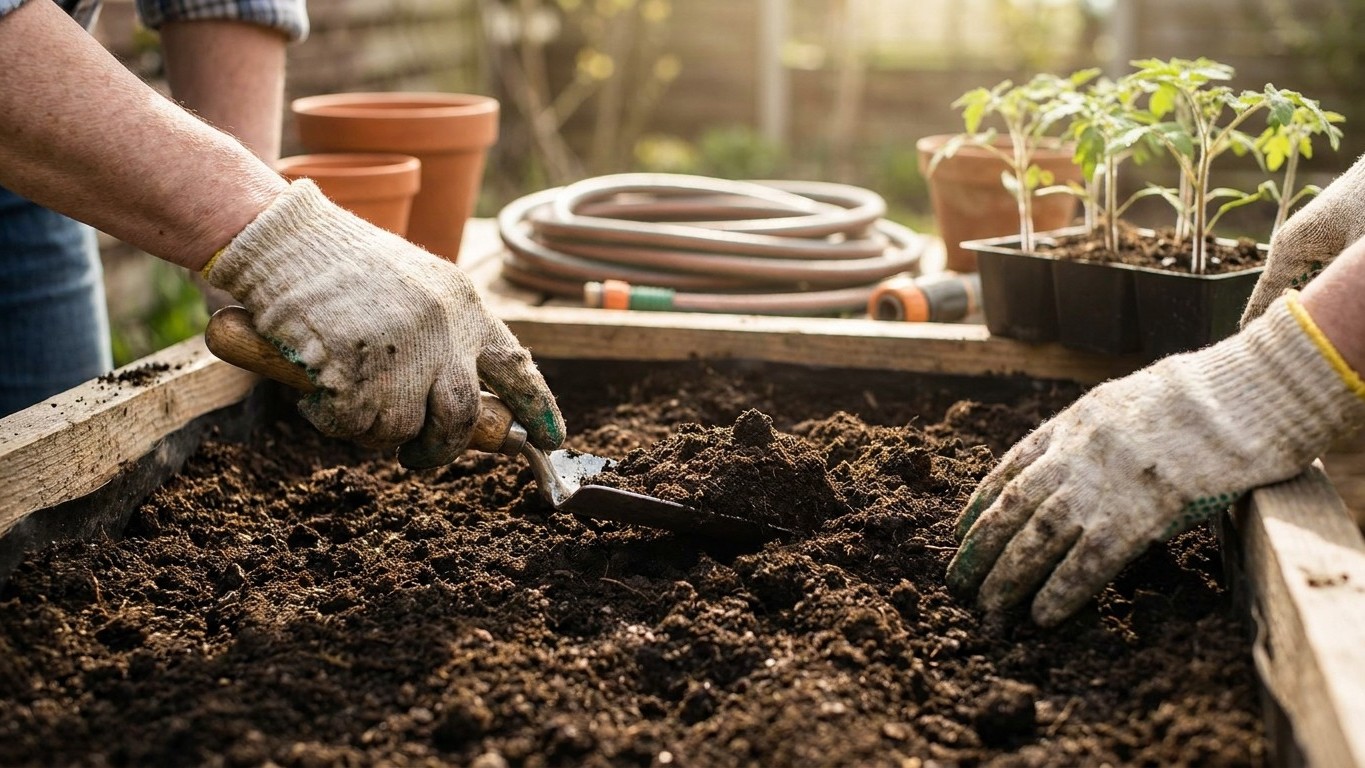

Want to know what your tomato bed actually needs? Test it before you add anything. Tomato roots will spread two feet deep and wide when the soil lets them, and that root system is what decides how much water and calcium the plant can pull up all summer, so poor structure now shows up later as blossom end rot, slow growth, and stunted vines. So before you dig, buy, or spread a single bag: pull a soil sample and find out what your ground is actually missing.
Why this matters
Tomatoes are heavy feeders with roots that will run two feet deep and wide if the ground lets them. Compacted or nutrient-poor soil stunts that root system before the plant ever sets a flower, and a stunted root system is the single biggest reason a transplant that looked fine in the pot sulks all summer in the ground. Soil preparation is not a cosmetic step. It changes how much water and calcium the roots can actually pull up, which is why blossom end rot and slow growth so often trace back to what happened in the bed weeks before planting rather than anything done after.
Skip this work and you can still get tomatoes, but you will be fighting the plant all season: constant fertilizing to make up for poor structure, uneven watering because the soil either sheds water or holds it in a soggy mat, and a root zone that never gets past the top few inches. Get the soil right once, before the plant goes in, and most of the season’s routine problems, from yellowing lower leaves to blossom drop to cracked fruit, become far less likely rather than something you’re constantly treating after the fact.
When to do it
Soil preparation happens before the plant ever sees the ground, not around it once it’s growing. The work is tied to the condition of the bed itself rather than a date. Soil is ready to amend when it crumbles in your hand rather than forming a slick, sticky ball, which tells you it has dried out enough from winter or spring wet to be worked without compacting it further. Digging or tilling wet clay does more harm than skipping the step entirely, since it creates dense clods that can take a full season to break down.
Coarse amendments like compost, aged manure, and lime need time to integrate, and in lime’s case, to actually shift pH, so they belong in the soil several weeks before transplanting, not the day you dig the hole. A second, lighter round of feeding usually comes later in the plant’s life, timed to what the plant is doing rather than the calendar. Many growers add a nitrogen boost once the vines are growing fast but before flowers appear, then switch to a phosphorus and potassium-leaning feed once the first flower clusters open, since heavy nitrogen at fruit set produces leafy plants with few tomatoes. Watch the plant, not the week number, once you’re past the pre-planting amendment stage and into the routine covered on the main tomato growing guide.
How to do it

Start with a soil test through your state’s cooperative extension service rather than a home pH kit alone. A lab test tells you actual phosphorus, potassium, and organic matter percentages, not just a color on a strip, and the results come back with specific lime and fertilizer amounts for your soil type rather than a generic range. Do this step before you buy a single bag of amendment, since adding lime or sulfur blind can push pH the wrong direction just as easily as it can fix it.
Tools and materials
- A digging fork or broadfork, for loosening soil without inverting the layers the way a tiller does
- A wheelbarrow or tarp for moving compost and manure
- A soil test kit or mailer from your extension service
- Finished compost, aged (not fresh) manure, and any lime, sulfur, or fertilizer the test recommends
Work the top eight to twelve inches of the bed with a digging fork, breaking up clods and pulling out rocks and old roots rather than flipping the soil upside down. Spread a two to three inch layer of finished compost over the surface and fork it in, along with any aged manure, lime, or amendment your soil test called for. Fresh manure has no place in this step. It is too high in ammonia and salts for a plant about to be transplanted, and it needs months to age down to something roots can tolerate, so save it for the compost pile rather than the tomato bed.
Rake the bed smooth once everything is worked in, so the surface is level and crumbly rather than lumpy or crusted. Done well, a handful from four inches down should smell earthy, hold together loosely when squeezed, then fall apart with a light poke rather than staying in a ball. If it stays greasy and compacted, work in more compost and give it more time before you plant.
| Amendment | What it does | When to add it |
|---|---|---|
| Finished compost | Adds organic matter, improves drainage and water-holding at once | Worked in before transplanting, every season |
| Aged manure | Adds nitrogen and organic matter slowly | Weeks before transplanting, never fresh |
| Garden lime | Raises pH in acidic soil, adds calcium | Weeks to months before transplanting, per soil test |
| Balanced starter fertilizer | Supplies immediate nitrogen, phosphorus, potassium | At transplanting, in or near the planting hole |
Once the bed is amended and raked, the next step is spacing and planting depth, which is where trenching comes in, covered in detail on the page about planting depth and spacing.
What goes wrong

The most common mistake is treating fertilizer as a substitute for soil structure. Dumping a high-nitrogen fertilizer into poor, compacted soil grows a tomato plant with lush leaves and a shallow root system, since the roots never have to spread to find nutrients. That plant looks impressive for a month, then falls over or wilts hard the first time it misses a watering, because it never built the deep root system that loose, amended soil encourages.
The mistake that looks like extra care
Adding fresh manure or excessive nitrogen right before transplanting looks generous but backfires. Fresh manure burns roots and pushes leafy growth right when the plant should be settling in and building roots, and heavy nitrogen at any stage before flowering trades fruit for foliage. The plant that gets this treatment often looks like the healthiest one in the garden for weeks, dark green and fast-growing, right up until it fails to set fruit when everyone else’s plants do.
Working wet soil is the other classic error, and it is easy to do when you are eager to get amendments in before a warm stretch. Tilling or forking clay while it is still damp breaks it into hard clods that dry into something closer to brick than soil, and those clods can persist for a full season no matter how much compost you add afterward. Test soil moisture with a squeeze before you dig: if it forms a tight, shiny ball that does not crumble when you poke it, wait.
Skipping the soil test and guessing at lime or sulfur is the quieter failure, since it does not show up as dramatically but leaves pH outside the range where tomatoes can actually access the nutrients already in the soil, so the plant looks slowly unwell all season for no obvious reason.
Doing it differently
Containers change this task completely, since there is no existing soil structure to fix, only a mix to build from scratch. A quality bagged potting mix formulated for containers, cut with extra compost, generally serves better than garden soil, which compacts hard in a pot and drains poorly. Container growers still benefit from a soil test on the compost or amendments they add, but the structural concerns of loosening compacted native ground simply do not apply.
Raised beds sit between the two. If you filled the bed with a purchased soil mix, its structure is usually already good, and the yearly task shrinks to topping up compost and checking pH rather than a full dig. Beds filled years ago with straight topsoil, though, need the same fork-and-amend treatment as ground soil, since they compact and deplete the same way over seasons.
Greenhouse and high tunnel soil deserves more attention, not less, because the same bed grows tomatoes year after year without winter freezing or rain to reset it. Salt buildup from repeated fertilizing is the main risk in an unheated structure used to stretch the season, covered in more detail on the page about extending the tomato season, and a soil test there should also flag salinity, not just pH and nutrients.
Variety type barely changes this task. Indeterminate varieties grow for months and pull nutrients the whole time, so they benefit slightly more from a slow-release amendment like aged manure worked in early, while determinate varieties, which set most of their fruit in a shorter window, respond well to the same prep with less need for a mid-season feeding boost. Neither type tolerates poor structure, so the core soil work does not change based on which you grow, and staking needs, covered on the page about choosing and installing a support, are a separate decision entirely.
Common questions
Do I need to add fertilizer if I already added compost?
Usually yes, though less than if you skipped compost entirely. Compost adds organic matter and a slow trickle of nutrients, but it rarely supplies enough phosphorus and potassium on its own for a heavy-feeding crop like tomatoes, so most gardeners still add a fertilizer suited to what their soil test shows is missing.
Can I just till in fertilizer instead of testing my soil?
You can, but you’re guessing at amounts and risking pH problems that fertilizer alone cannot fix. A soil test costs little through a cooperative extension service and tells you whether the issue is nutrients, pH, or both, which a bag of all-purpose fertilizer cannot diagnose on its own.
How long before planting should I prep the soil?
Coarse amendments like compost, manure, and lime need weeks to integrate and, for lime, to actually shift pH, so the earlier before transplanting you can get it done, the better. If you’re working right up against your transplant date, compost is more forgiving than lime, which needs real time to react with the soil.
My soil test came back with a pH that’s off. What do I actually do about it?
Follow the specific lime or sulfur amount the test report recommends rather than a generic bag rate, since the amount needed depends heavily on your soil type and how far off the pH actually is. Retest after amending, since one application does not always fully correct pH in a single season, especially in heavy clay.