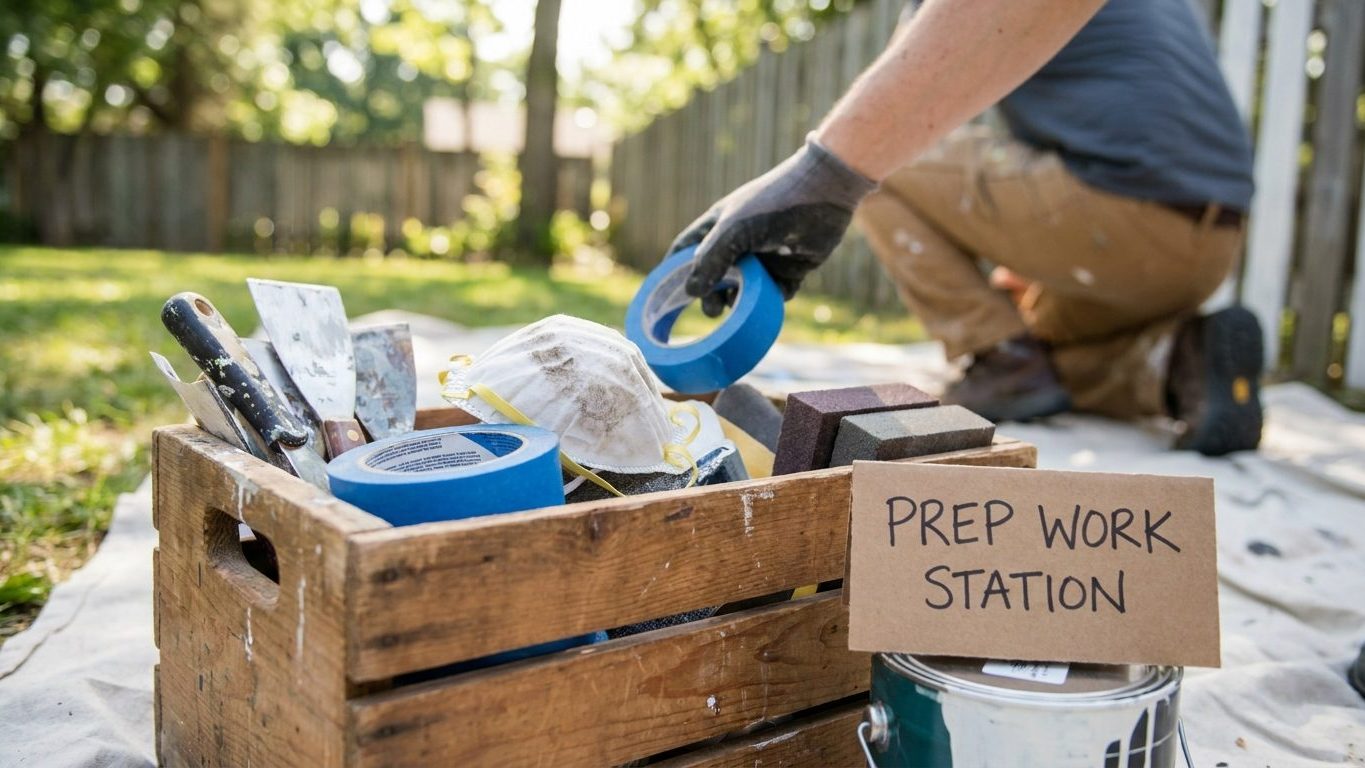

A wall that peels or flakes within a year didn’t fail because of the paint. It failed because something underneath it, dust, grease, a chalky old finish, wasn’t dealt with before the roller ever touched it. Check the surface itself before you touch a paint can: clean it, scrape anything loose, and knock down any gloss until it’s dull.
What is actually going on

Paint bonds to whatever is on the wall when it goes on, not to some idealized clean surface underneath it. That is the entire mechanism of adhesion: a coat of paint locks onto whatever it physically touches, and if what it touches is a film of kitchen grease, a layer of settled dust, or a chalky, degraded old coat, that is exactly what it bonds to. The paint has no way of telling the difference. It holds only as well as the layer directly beneath it holds, and no topcoat, however good the formula, can outperform the surface it was rolled onto.
This is why a quick coat over an unwashed or unsanded wall can look perfectly fine on the day you finish and start failing within a season. The failure isn’t cosmetic, it’s structural: the bond between paint and wall was compromised before the can was even opened, and nothing in the paint itself can make up for that later.
Glossy surfaces are a particular problem because a smooth, hard sheen gives a new coat almost nothing to grip. Chalky surfaces are the opposite problem: the old paint itself is crumbling into powder, and a new coat bonds to that loose powder rather than to the wall behind it. Either way, the new paint is only as strong as its weakest attachment point.
Old paint and old houses
Any of this work, scraping, sanding, even aggressive washing, can disturb an old paint film and send dust into the air. Homes built before 1978 may contain lead-based paint, and disturbing it releases lead dust that is dangerous to breathe or ingest, especially for children. Check the EPA’s guidance on lead-safe work practices before you sand or scrape anything in a house of that age.
Ventilation is not a comfort question here, it is a health one. Work in a room with the windows open and air actually moving through it, not just cracked for show. Sanding dust, scraped paint chips and the fumes off a fresh coat all need somewhere to go besides your lungs, and a closed room concentrates every one of those.
Doing it
Preparation isn’t one task, it’s a sequence, and jumping ahead in that sequence is the single most common reason a paint job goes bad later. Each step depends on the one before it. You can’t sand a wall you haven’t cleared, and you can’t prime over a patch that hasn’t finished curing.
Prep also takes up the majority of the total time a paint job requires, often more than the painting itself. That ratio surprises people who haven’t done this before, and it’s exactly why rushed jobs fail: the painting is the fast, satisfying part, tacked onto the end of a slow, unglamorous one.
| Step | Roughly how much of total prep time | What happens if you skip it |
|---|---|---|
| Clear the room and protect floors and trim | Small | Drips and dust settle into finished surfaces you then have to clean or refinish on top of everything else |
| Wash the walls | Small to moderate | Grease and grime stay trapped under the new paint and eventually show through as dull patches or peeling; see our guide to washing walls before painting for where this matters most |
| Scrape and sand loose or glossy paint | Large | New paint can’t grip a slick or flaking surface and lifts off in sheets within months |
| Patch holes and cracks, then let fillers cure fully | Moderate | Unfilled or uncured patches telegraph through the topcoat as shadows and edges under angled light |
| Sand patches flush and de-gloss again | Moderate | Patched areas absorb paint differently than the surrounding wall and flash as a visibly different sheen |
| Prime bare wood, patches and any stains | Small to moderate | Bare drywall paper soaks up paint unevenly, stains bleed straight through, and the color goes on blotchy |
| Caulk gaps at trim and inside corners | Small | Hairline gaps stay visible and go on collecting dust and moisture behind the new paint film |
Ventilation belongs in every one of those steps, not only the ones that involve strong smells. Sanding throws fine dust into the air whether the paint underneath is decades old or freshly patched, and a closed room with no airflow means you’re breathing what you just knocked loose.
Where the roller comes in
Once the surface is clean, sound, patched and primed, the actual application is genuinely the fast part. Choosing the right roller nap for the wall’s texture and the paint’s sheen still matters for how the finish looks, and our guide to choosing a roller nap covers that decision, but no roller choice fixes a wall that wasn’t prepped properly first.
If any single step above gets done half well, fixing it later almost always costs more time than doing it right the first time would have. That’s the real argument for slowing down at the start of the job instead of at the end of it.
What it looks like when it goes wrong
Bad prep announces itself within weeks, not years, and it tends to show up the same handful of ways every time, each one traceable to a specific step that got skipped or rushed.
What can and can’t be saved
Peeling and flaking is the clearest sign of an adhesion failure. It means the paint never bonded to whatever was underneath it, usually because that surface was glossy, dusty, or chalky when the coat went on. There’s no touch-up for this. The flaking area has to be scraped back to sound material, feathered at the edges, and reprimed before it gets repainted.
Alligatoring, a cracked pattern that looks like reptile skin, happens when a newer, more flexible coat goes over an older one that’s already failing underneath, or when a single coat was applied far too thick. This has to be scraped and sanded back to a stable layer. Painting straight over it just telegraphs the same crack pattern through the new coat within a short time.
Patches that weren’t sanded flush or primed before topcoating show up as flashing, dull or shinier rectangles that are mainly visible under raking light from a window or lamp. This one is sometimes correctable: a full additional coat, rolled evenly, can even out the sheen if the patch itself was sound underneath. If the patch was under-sanded or under-primed, the flashing comes back after that extra coat, and the patch needs to be redone properly.
Blistering, small raised bumps in the dried film, usually means moisture got trapped under the paint. A wall that wasn’t fully dry, a room with no airflow while the coat cured, or paint applied over a surface still damp from washing can all cause it. Blistered patches have to be scraped out and refinished. Painting over a blister just seals in whatever caused it in the first place.
Even ventilation shows up in the finish, not just in health terms. A room sealed up while paint dries traps humidity against the film, slowing the cure and leaving it soft or tacky longer than it should be, which then picks up fingerprints, dust and lint before it’s fully set. Cracking a window and keeping air moving is as much a finish issue as a safety one.
What to settle before you open the tin
The lead question
Before any prep begins, look honestly at the surface itself: is it glossy or flat, sound or already flaking, painted wood, drywall, or plaster. Each takes a different degree of scuffing or sanding, and this step assumes you’ve already worked out which surfaces in the room need attention, a decision covered in our overview on interior painting preparation.
The age of the building decides how carefully you need to move. Homes built before 1978 may contain lead-based paint, and any sanding, scraping or scuffing disturbs it and puts lead dust into the air, even if you can’t see or smell anything unusual. Check the EPA’s guidance on lead-safe practices before starting.
The EPA’s Renovation, Repair and Painting rule requires certification only for paid contractors working on pre-1978 housing. If you’re doing the work yourself in your own home, that rule doesn’t apply to you, but the exemption is a legal one, not a medical one. The dust is exactly as harmful to you and your family as it would be to a hired crew, so the same precautions are worth taking regardless of who’s holding the sander.
A home lead test kit can tell you something is present, but it is not a conclusive answer either way. If there’s any doubt about the age or paint history of a surface, the EPA’s website is the place to check before you pick up a scraper, not a sanding disk, and ventilation and dust containment should be arranged before that first pass, not improvised once it’s already underway.
Common questions
Do I still need to prime a patch if my paint has primer built in?
Yes, in most cases. A paint-and-primer product is still primarily paint, and it isn’t formulated to seal a porous filler compound the way a dedicated primer is. Skipping it on patched areas is one of the most common causes of flashing.
Can I skip sanding if the old paint still looks fine?
Not if it’s glossy. A hard, shiny surface can look perfectly sound and still refuse a new coat, because the problem isn’t the old paint’s condition, it’s how little grip a smooth sheen gives anything applied on top of it. A light scuff sand is what creates that grip.
How do I know if my house has lead paint without paying for expensive testing?
Start with the building’s age. If it was built before 1978, treat any existing paint as a possible lead risk and check the EPA’s guidance on lead-safe practices, which covers containment and cleanup as well as testing options. A store-bought test kit can be a useful first check, but don’t treat a negative result as the final word.
Do I really need to wash the walls if they look clean?
Yes, especially in kitchens, bathrooms, and rooms near a stove or fireplace. Grease, cooking residue, and airborne grime build up as an invisible film long before a wall looks dirty, and that film sits directly between the wall and the new paint whether you can see it or not.