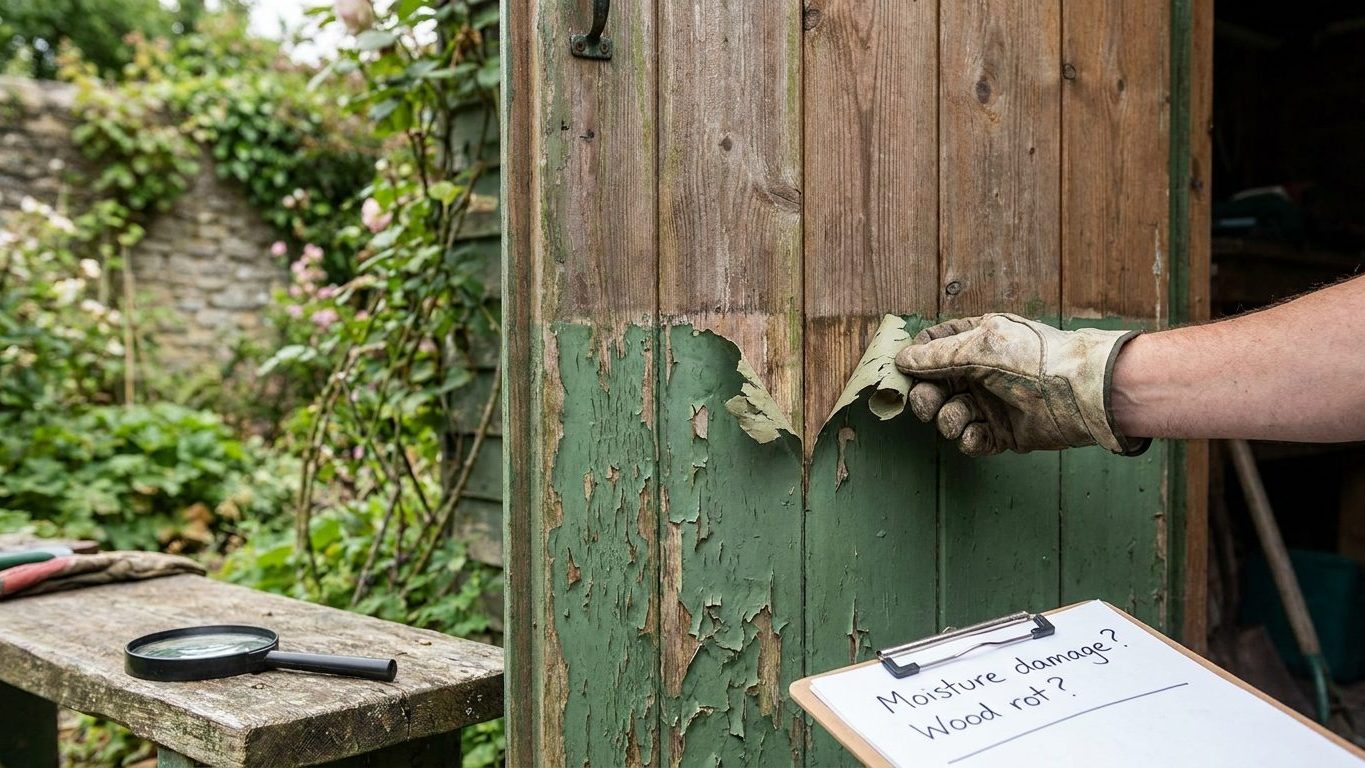

That curled paint chip you just picked off the windowsill has a story in its underside. Flip it over: bare wood on the back means the paint never gripped the substrate at all, while a second color clinging to the flake means an older coat let go instead. Check which surface is exposed before you scrape another inch, because that tells you how far back the repair has to go.
What is actually going on

Every case of peeling paint is a failure at one interface, and there are only three that matter: paint separating from bare substrate, paint separating from an older coat underneath it, or a whole sandwich of layers coming away together in sheets. Each points to a different cause, and each calls for a different amount of work before you can repaint.
Peeling to bare wood or bare plaster means the paint film never bonded to what was under it. Usually that is moisture pushing through from behind, oil or wax left on the surface, or paint applied over dust and chalk that acted like a release layer. Water is the most common culprit on exterior trim and in bathrooms, because it travels through the wood or masonry and breaks the bond from behind long before the paint itself looks tired.
Peeling to an old coat, where the new paint lifts clean off an intact layer beneath it, is almost always a surface-prep problem rather than a moisture problem. Glossy old paint that was not dulled before recoating, a coat applied over grease or soap film, or paint chemistry that never suited what was underneath can all produce this. The old paint stays put. Only the new layer goes.
Peeling in sheets, where several layers come away together right down to bare material, usually means the original bond was never sound and every coat applied since has just been riding along on top of a bad foundation. This is common on old houses where decades of paint have gone on over each other without anyone ever dealing with the underlying moisture or contamination problem.
If the peeling paint is on a house built before 1978, treat every layer you disturb as if it may contain lead. Scraping, sanding, or otherwise breaking up old paint releases lead dust that is invisible and does not settle out on its own. The EPA’s Renovation, Repair and Painting rule requires paid contractors working on pre-1978 housing to be lead-certified, but a homeowner working on their own home is exempt from that rule. The exemption is legal, not medical: the dust is exactly as harmful to a family living in the house whether or not the work is covered by the rule. A home test kit can suggest lead is present, but it cannot rule it out with confidence. Check the EPA’s guidance before you disturb any old paint on a home built in that era.
Whatever the interface, do this work with real airflow. Open windows on two sides of the room if you can, run a fan pulling air out rather than recirculating it, and take breaks outside if you are working in a small or closed room. Dry sanding without ventilation concentrates both paint dust and whatever solvent vapor is still in the old film, and that is true even in houses with no lead risk at all.
Doing it
Reading the failure correctly saves you from redoing work later. The table below matches what you see with what caused it and the prep step that would have stopped it.
| What you see | Likely cause | Prep that prevents it |
|---|---|---|
| Paint lifts to bare wood or plaster in patches | Moisture from behind, or contamination on the raw surface | Find and stop the moisture source first, then clean and prime bare material before painting |
| New coat peels clean off an intact old coat | Old paint was glossy, greasy, or chemically mismatched with the new paint | Wash, dull the sheen by sanding, and prime over glossy or uncertain old coats |
| Several layers peel together down to bare material | The original coat was never soundly bonded and everything since has ridden on top of it | Remove back to the last sound layer, not just the top one, before repainting |
The sequence that fixes it
Once you know which case you are dealing with, the order of work is the same one that would have prevented it in the first place.
- Scrape off everything that is already loose. Skip this and the new coat bridges over hollow spots that will telegraph through and fail again within a season.
- Sand the edges of the remaining sound paint until they are feathered flat, not just knocked back. Skip this and every old paint edge shows through the new coat as a visible ridge.
- Wash the whole surface to remove dust, grease, and chalk. Skip this and you are painting over the exact film that caused the failure in the first place.
- Let the surface dry fully before priming. How long that takes depends on the material, the weather, and the humidity, so go by how the surface feels and behaves rather than a fixed number of hours.
- Prime any bare spots and any glossy or questionable old paint. Skip this and the new topcoat is bonding to whatever was already failing, so it fails the same way again.
- Recoat only once the primer has cured according to what its own container says, not a guess based on how the room feels.
None of this work is worth doing in a sealed room. Sanding and scraping throw dust that lingers in still air for hours, so keep windows open and air moving out of the room the whole time you are working, not just while the dust is visible. If you are also dealing with a door or window that has swollen or stuck in the same area, it is worth sorting out before you repaint it, since painted doors and windows that stick shut often share the same underlying moisture problem as the peeling paint around them.
What it looks like when it goes wrong
Some of what shows up after a repaint can be sanded out and touched up. Some means stripping back to bare material and starting again. Knowing which is which before you commit a whole day to a fix matters.
Timing after the job tells you something too. A defect that shows within days points to a prep or moisture problem that was already there before you started. One that shows up months later, especially with a change of season, points to ongoing moisture cycling through the wall rather than a mistake in the painting itself.
Defects you can usually correct
- Feathering marks, where you can still see the ridge of the old paint edge under the new coat, usually sand down and recoat clean without removing anything else.
- Flat, dull patches where primer sat over bare wood and never fully sealed can be sanded lightly and recoated with an extra coat of finish paint.
- Light lap marks from overlapping wet and dry paint can often be blended with a light sand and another full coat.
Defects that mean going back a stage
- Alligatoring, a cracked, reptile-skin pattern across the whole surface, means the paint film below has failed structurally. Sanding the surface smooth and recoating over it just reproduces the pattern within a season. It has to come off.
- Blistering, raised bubbles in the new paint, usually means moisture or trapped solvent under the film. Popping and touching up a blister treats the symptom. The bubble comes back unless the underlying moisture problem is found and stopped.
- Peeling that returns to the same spot after a scrape-and-repaint means the original cause, usually moisture, was never actually addressed. Repainting the same spot a second time without fixing the source is wasted paint.
The honest rule is that anything confined to the top coat, an edge, a lap mark, is a surface problem and a light correction fixes it. Anything that shows a pattern across the whole surface, or keeps returning in the same place, is telling you the layer underneath is not sound, and no amount of sanding the top coat changes that. Going back to bare material at that point is not overkill. It is the only fix that holds.
If you are unsure how much paint the correction will need once you know how far back you have to go, it is easier to work that out honestly after scraping than to guess beforehand, since working out how much paint you need depends on how much bare surface you actually end up with.
What to settle before you open the tin
Before you open a can of paint, settle what the surface actually is, how sound it is under the peeling, how much airflow the room has, and how old the building is.
Check these before you start
- What is under the peeling paint. Scrape a small test area first so you know whether you are dealing with bare material, an old sound coat, or a whole stack of failed layers, before you commit to a plan for the whole wall.
- The age of the building. If it predates 1978, treat the existing paint as a potential lead hazard. Disturbing it by sanding or scraping releases lead dust that settles on surfaces and in soil and does not go away on its own. Check the EPA’s guidance on lead-safe work practices before you start any scraping or sanding on a home from that era.
- How much airflow the room actually has. A closed room with one window is not enough for sanding or scraping. Set up cross ventilation or a fan exhausting to the outside before you make the first pass with sandpaper.
- Whether the underlying moisture problem is fixed. If the peeling was caused by water getting in, from a roof leak, a bad gutter, or condensation, repainting over it without solving that first just buys you the same failure again on the same schedule.
On the legal side, the EPA’s Renovation, Repair and Painting rule applies to paid contractors working on pre-1978 housing, requiring them to be certified in lead-safe work practices. A homeowner doing the work themselves in their own home is exempt from that requirement. That exemption changes who has to be certified. It does not change what the dust does to a body breathing it, so the same precautions are worth taking regardless of who holds the scraper.
A home lead test kit can tell you that lead is present. It is not reliable enough to tell you that it is absent, so treat a negative result as inconclusive rather than as clearance to skip precautions. For anything beyond a small touch-up on an older home, or if the peeling covers a large area, it is worth getting a professional assessment before you start, and reading through interior painting preparation in full covers the steps that apply regardless of what caused the original failure.
Common questions
Can I just scrape off the loose paint and paint over the rest?
You can, but only after checking why the loose paint let go in the first place. If it was a moisture problem, the same section will peel again on the same schedule no matter how carefully you scrape and prime it this time.
Is it okay to skip priming if the old paint looked fine?
Skipping primer over bare wood or glossy old paint is the single most common cause of new peeling. If any bare material or shiny original finish is showing after scraping, prime it before the topcoat goes on.
Does peeling paint always mean a moisture problem?
No. Peeling that stays confined to the top coat and lifts off an intact older layer is usually a surface-prep issue, not water. Moisture is the likely cause when the paint lifts all the way to bare wood or plaster, or when the same spot keeps failing after repairs.
How do I know if my old paint has lead in it?
A home test kit can tell you lead is present but cannot reliably tell you it is absent, so a negative result is not proof of safety. Check the EPA’s guidance for houses built before 1978, and consider a professional assessment if you are planning any significant scraping or sanding.