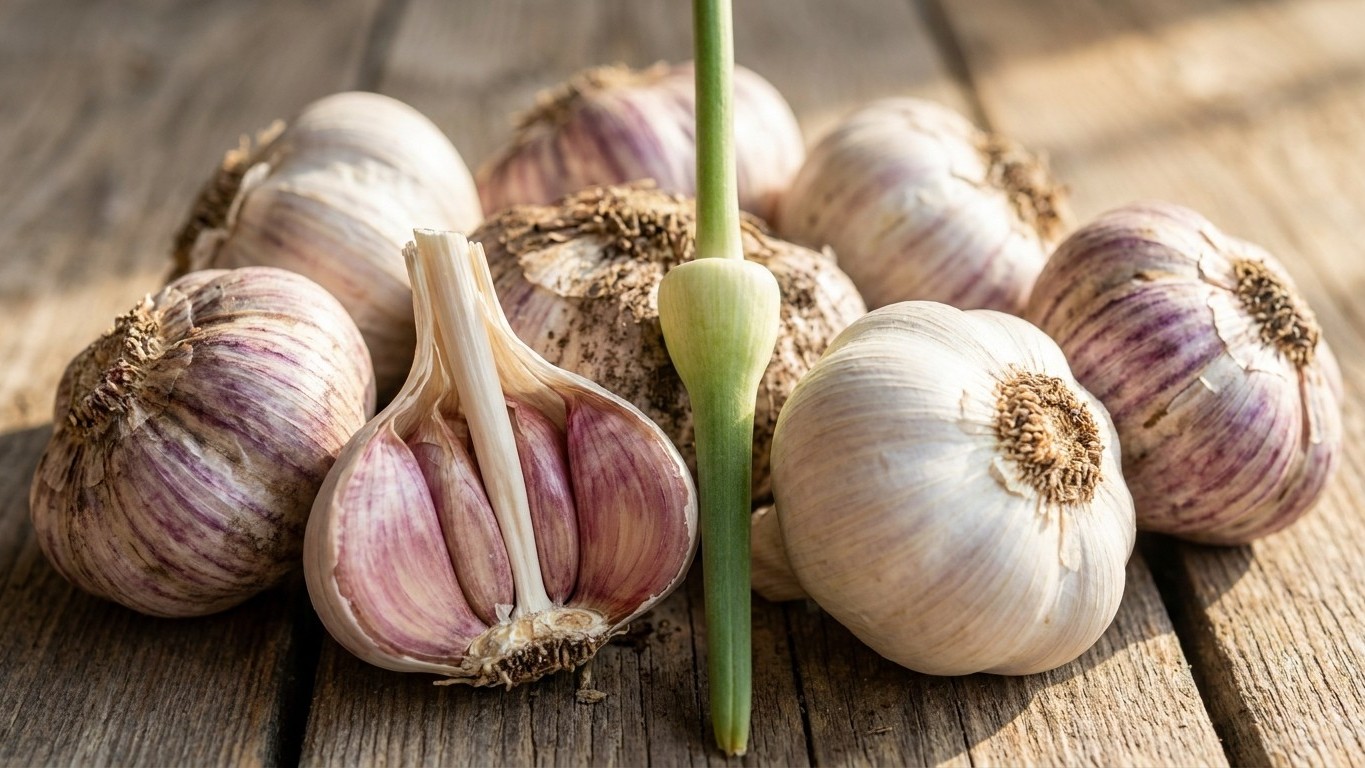

Idaho garlic comes out of the ground the summer after fall planting, once the bottom leaves have browned while four or five up top stay green. There’s no fixed date for this: in the Boise valley that might land in July, while in the higher Panhandle or eastern Idaho plateau it runs later, since the growing season itself is shorter and colder up there. Cure the bulbs in a dark, airy, dry spot for three to four weeks before trimming and packing them away.
When garlic is ready to lift in Idaho
The leaf count is the real signal, not the calendar page. Garlic stores its future wrapper layers in those leaves, one leaf per papery skin around the bulb. Pull too early and you get a bulb with thin, unformed skins that won’t hold through winter. Wait too long and the wrappers split open in the ground, exposing cloves to soil moisture and rot organisms before you’ve even dug them.
Idaho complicates this more than most states because the elevation range is enormous. The same variety planted at a low valley farm and at a mountain-adjacent garden can mature weeks apart, simply because the second site has fewer frost-free days to work with. That gap traces back to fall planting timing too. Growers commonly aim to get cloves into the ground a few weeks ahead of the season’s first hard freeze, so the roots establish before the soil locks up. For the Boise area, NOAA’s 1991-2020 Climate Normals put the first fall freeze (32°F) somewhere between October 7 and October 21, based on station USW00024131. That’s a midpoint, not a guarantee. In roughly half of all years, the actual frost lands later than that window, and in the other half it comes earlier. Treat it as a planning reference, not a safe date to circle on the wall calendar.
Because Boise sits in a relatively mild, low valley compared to most of the state, that same frost window doesn’t transfer to higher ground. Mountain valleys and much of the Panhandle and eastern plateau see earlier, harder frosts and a shorter frost-free stretch overall, which shrinks the bulb’s growing window the following summer. A garlic patch at 5,000 feet elevation simply doesn’t have as many warm days to size up bulbs as one at 2,700 feet.
When leaves start signaling readiness, dig one test bulb rather than trusting appearance alone. Brush off the soil and check that cloves are distinct and plump, not fused into a single round mass (a sign it’s still too early) and that the outer wrapper is intact, not flaking away in sheets (a sign it’s overripe). Lift the rest with a garden fork rather than pulling by the neck, which tears wrappers and bruises the bulb right where you need it strongest for curing.
Curing it, and where to hang it here
Curing is the step that turns a freshly dug bulb into something that survives a pantry shelf for months. It’s simple in principle: dry the whole plant, roots, neck, leaves and all, in a spot with airflow, shade, and no moisture, until the neck constricts tight and the outer skins turn papery.
Idaho’s dry summer air actually works in a gardener’s favor here. Low humidity speeds curing compared to muggier climates, but it also means direct sun can scald bulbs fast, so shade matters more than it might elsewhere. A covered porch, an open-sided shed, a garage with the door cracked for airflow, or a barn all work, as long as the space stays out of direct sunlight and gets some cross-breeze. Attics and sealed closets trap heat and moisture and should be avoided.
Don’t wash the bulbs before curing. Soil clinging to the roots isn’t a problem; trapped moisture under a wet skin is. Brush off loose dirt with a dry hand or soft brush and leave the rest. Hang plants in small bundles of six to ten, tied loosely by the stems, or lay them in a single layer on a mesh rack or old window screen propped up on blocks. Crowding bulbs in a pile, even in a well-ventilated room, invites mold in the necks where air can’t reach.
How long curing takes
Three to four weeks is the general range, though thicker-necked varieties and larger bulbs can run longer. You’ll know curing is finished when the neck above the bulb feels dry and papery rather than green and pliable, the roots are brittle and shrunken, and the outer wrapper layers rustle like onion skin instead of feeling waxy or damp. Only after that point should you trim roots down to about a half inch and cut stems, leaving an inch or two above the bulb, or braid softneck types before trimming.
Storing it through a Idaho winter
Once cured, garlic wants three things for long storage: cool temperatures, moderate humidity, and darkness. The commonly cited target range is 32-50°F with 45-60% relative humidity, conditions that slow sprouting and shrinkage without pushing the bulbs into the kind of cold, damp environment that promotes rot.
That range is trickier to hit in an Idaho winter than it sounds, because the state swings between two extremes. An attached garage or unheated mudroom might drop well below freezing on the coldest nights, especially away from the milder valley floors, which can damage cloves. A finished basement, on the other hand, often runs warmer and drier than the target range, which shortens storage life by encouraging early sprouting. A cool closet on an exterior wall, an insulated but unheated pantry, or a root cellar dug into a bank tend to land closer to the mark. Avoid the refrigerator for whole bulbs meant for eating or replanting; the cold, humid environment there tends to trigger early sprouting rather than prevent it.
Mesh bags, loosely woven baskets, or braided ropes hung from a beam all allow the airflow that solid plastic containers and sealed jars don’t. Check stored bulbs every few weeks through the winter and pull any that feel soft, show mold at the neck, or have started sprouting, since one failing bulb in a bag can spread trouble to its neighbors.
Set aside the largest, healthiest bulbs from this year’s harvest as seed stock for the next planting, ahead of that fall frost window described above. Garlic grown this way tends to adapt somewhat to local conditions over a few seasons, which matters more in a state with as much climate variation as Idaho has.
What goes wrong here
University of Idaho Extension documents several pests relevant to home gardens across the state, including aphids, carrot rust fly, Colorado potato beetle, cutworms, grasshoppers, imported cabbageworm, onion maggot, pea leaf weevil, squash bug, tomato hornworm, and wireworms. Among these, onion maggot and wireworms are the ones garlic growers most need to watch, since both target bulb and root tissue directly. Onion maggot larvae tunnel into the base of young plants and can hollow out developing bulbs, while wireworms bore feeding channels that open the door to storage rot later on. Damage from either often isn’t obvious until curing, when a bulb that looked fine at harvest turns soft or discolored a few weeks in.
Timing mistakes cause more losses than pests, though. Harvesting too early leaves bulbs with thin skins that shrivel and dry out fast in storage. Harvesting too late lets wrappers split in the ground, exposing cloves to soil-borne mold spores before the bulb ever reaches the curing rack. Both mistakes are easy to make in Idaho given how much the maturity window shifts with elevation and planting date, which is part of why the leaf-color and test-dig method matters more than any fixed date on a calendar.
Curing errors show up later, usually as soft spots or mold discovered mid-winter. Direct sun during curing scalds bulbs the same way it would a tomato left on a windowsill. Overcrowded curing racks trap humidity around the necks, the exact spot where rot organisms get a foothold. And bulbs cured too briefly, packed away while the neck is still slightly green, tend to mold from the inside out, a problem that isn’t visible until you cut one open. For pest identification specific to a county or region, the University of Idaho Extension offices are the resource to check before assuming a storage failure was caused by disease rather than an insect.
Common questions
Should I grow hardneck or softneck garlic in Idaho?
Both are grown across the state, and the choice usually comes down to climate at a specific site rather than a statewide rule. Colder, higher elevations tend to favor hardneck types, which generally tolerate harsher winters better, while milder valley locations can support either type successfully.
Can I plant garlic bought from a grocery store?
It’s possible, but grocery store garlic is often treated to prevent sprouting on the shelf, which works against a gardener trying to get it to root. It may also carry diseases not common to local seed stock. Certified disease-free seed garlic from a nursery or seed supplier is the more reliable starting point.
How do I know if a bulb won’t store well before I even try?
Check for bruising, cuts, or soft spots right after curing, and set those bulbs aside to use first rather than storing them long term. Any bulb with a green, unfinished neck or a wrapper that’s already flaking should also go into the near-term use pile instead of the storage bag.
Does storage life differ much across Idaho depending on where I live?
The garlic itself stores the same way regardless of location, but finding a spot that naturally sits in the 32-50°F range is easier in some Idaho homes than others, depending on how the house handles winter cold and summer heat. A root cellar or cool basement corner in a colder region may need less help staying in range than the same setup in a warmer valley home.