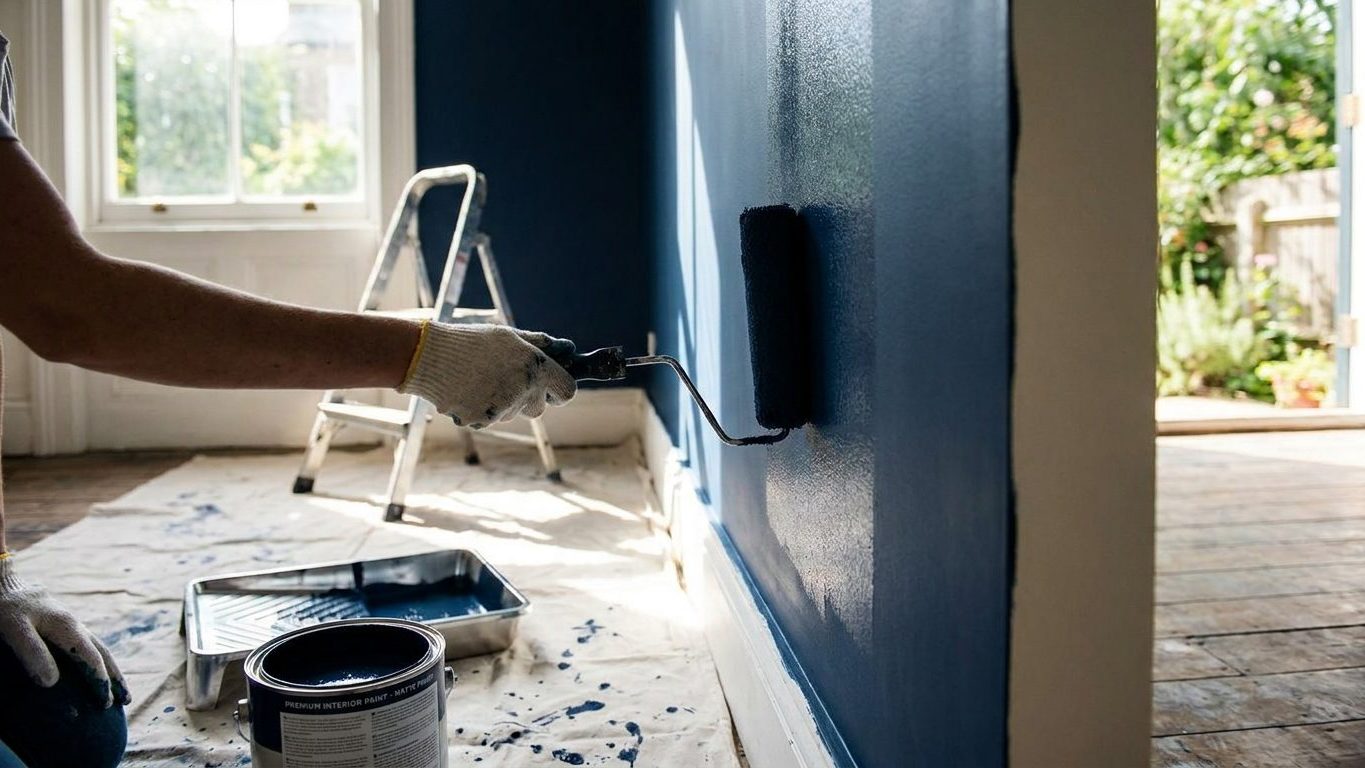

A charcoal or navy wall painted straight over builder’s white almost never dries even. You get ghost lines where the roller passed twice, flat patches next to slightly glossy ones, and a color that looks three shades lighter in the middle of the wall than at the edges. That happens because dark paint gets applied too thin, over too pale a base, without a plan for where each pass starts and stops. Tint the primer close to the final color before you touch the topcoat.
What is actually going on

The thing to understand about a dark color is what it does to light. A pale wall scatters most of the light that hits it, which is exactly why pale rooms forgive a wavy patch of drywall mud or a slightly thin second coat: the eye has nothing to catch on. A dark film absorbs that light instead of bouncing it back, so anything that breaks the surface, a ridge of joint compound, a nail pop, a roller stroke that went on thicker than the one beside it, throws a shadow the eye reads instantly. You are not applying a color so much as removing the wall’s ability to hide its own history.
That is why the same crew, the same roller and the same technique that produced a flawless pale gray wall can produce a streaky, patchy mess in a deep charcoal or navy. Nothing about the paint changed. What changed is that the finish stopped forgiving.
Why sheen makes it worse
Sheen compounds the problem. Flat and matte finishes scatter what little light they do reflect in every direction, which is part of why most dark colors are sold in flat or matte: it hides the roller stipple that a satin or semi-gloss would throw into relief under a lamp or a window. The trade-off is that flat finishes mark and burnish more easily, so a wall wiped too hard near a light switch can develop a lighter sheen patch that never quite matches again. Choosing the sheen is not a decorating decision on a dark wall, it is a durability decision, and it has to be made before the first coat goes on, not after you notice the wall scuffs.
Undertone matters too. Two paints that look identical on the chip can dry with a warm or a cool cast once they cover four walls under your room’s actual light, because dark pigments concentrate rather than dilute the undertone the way pale tints do. A north-facing room with little direct sun will pull the cool side of a dark green or blue. A room with strong afternoon light will warm the same color up. This is not a flaw in the paint. It is what happens when a color with almost no white in it meets a real window instead of a paint chip.
None of this gets solved by buying a better brush. It gets solved by treating the wall itself, and the coat underneath the color, as the part of the job that actually determines how the finished room reads. The base coat and the surface prep matter more on a dark wall than the topcoat itself, because the topcoat is only ever as even as what is under it. Working in a closed room while sanding or priming means dust and fumes have nowhere to go, so open a window and run a fan pulling air out of the room for the whole job, not just the smelly parts.
Doing it
Most of what makes a dark color succeed happens before the color goes on, which is the same lesson that applies to every paint job but matters twice as much here, as Interior Painting: Preparation Is Most of the Work lays out for surfaces in general. On a dark wall, skip a step and the wall does not just look imperfect, it looks obviously imperfect, from across the room, in any light.
The order that actually holds up
- Wash and de-gloss the wall first. Grease, cooking residue and old wax stop primer from gripping, and dark paint over an ungripped patch will flash, meaning it dries a visibly different sheen right where the grease was. Kitchens are the worst offender for this, and the grease problem there is covered on its own on the Painting a Kitchen: Grease Is the Whole Problem page. Skip the wash and the flashing shows up after the paint is dry, when there is nothing left to do but sand it back and recoat.
- Fill and sand every dent, nail hole and seam mark. A dark, flat finish throws a shadow across even a shallow dip, so a patch that would vanish under a pale eggshell stays visible under a deep color from every angle of light in the room. Skip this and you are painting the flaw in permanently, not covering it.
- Sand the whole wall lightly, not just the patches. This levels the old sheen so the new coat grips evenly instead of sitting glossier over some patches than others. Skip it and the topcoat can dry with faint sheen halos around every old repair, visible mainly at a raking angle from a lamp or window.
- Tint the primer toward the final color. A gray or mid-tone tinted base, rather than plain white, means the topcoat has far less work to do to reach full, even depth of color. Skip this and you are relying on the topcoat alone to jump from white to near-black, which usually means a patchy first coat, a better but still uneven second coat, and a third coat before the wall reads as one solid color.
- Cut in and roll in the same session, working wall by wall. Painting the edges by brush and leaving them to dry before rolling the field creates a visible seam where the two textures meet. Working one full wall at a time, cutting in and rolling while the edge is still wet, is what keeps that seam invisible.
- Roll in one direction with even pressure, reloading before the roller starts to run dry. A roller running low leaves thin, streaky trails that read as lighter lines once the wall is dry, because a starved roller applies less pigment even though it looks like it is still covering. Skip the reload and you get exactly that pattern, most visible under side light.
- Let each coat cure the length of time stated on the tin before recoating, not a fixed number of hours you remember from another job. Temperature and humidity in your room change how long that takes, and recoating too soon drags the coat underneath and can leave lap marks that only show once the whole wall is dry.
When the last coat is down, clean the tools properly rather than leaving a brush to stiffen in a jar of water. Dried paint in the ferrule is what turns a decent brush into a stippling tool on the next job, and cleanup itself is worth doing right, as covered separately at Cleaning Brushes, and Disposing of What Is Left.
What it looks like when it goes wrong
Lap marks are the most common failure on a dark wall: a faint stripe or blotch where one pass of the roller overlapped a section that had already started to dry. They show as a slightly darker or duller band, usually near a corner or wherever you stopped to answer the phone. Lap marks are fixable, but only by recoating the whole wall or the whole section, edge to edge, in one wet pass. Feathering in a patch over just the mark almost always leaves a new, smaller version of the same problem.
Flashing and sheen halos
Flashing shows up as a patch that dries visibly glossier or flatter than the rest of the wall, usually over an old repair, a grease spot that was not fully cleaned, or a patch that was not sanded with the rest of the wall. It reads worst under a window or lamp at a low angle. Flashing can sometimes be reduced with an additional full coat rolled edge to edge over the entire wall, but a heavy patch will usually still telegraph through a thin recoat and needs the surface sanded and sealed again before another coat goes on.
Color blotching, patches that look a shade lighter or darker than the surrounding wall once everything is dry, comes from uneven primer coverage or from the topcoat being rolled too thin in places. On pale colors this often disappears by the second coat. On a dark color it can survive two or even three coats, because the pigment has so little to hide behind. This one is almost never worth chasing with more topcoat. Going back to a properly tinted, evenly rolled primer coat and starting the color again is usually faster than fighting it one patch at a time.
Roller stipple, a faint pebbled texture visible mainly in raking light, is a nap and pressure problem rather than a color problem, and it is one of the few issues here that a light final coat, rolled carefully with even pressure, can genuinely correct without stripping anything back.
The one defect that cannot be painted over at all is peeling or cracking in the coat underneath, old paint failing and pulling the new coat away with it. That has to be scraped and sanded back to sound material, not recoated, because a dark color over a failing substrate will show every lifted edge as a ridge of shadow within a season.
What to settle before you open the tin
Before any paint goes on, walk the room in the light you actually use it in, not the light from the shop where you picked the chip. A dark color that looks rich under a showroom’s even white light can look almost black in a room with small windows or heavy curtains, and a color that looked moody on the chip can look startlingly bright under strong afternoon sun. Look at the sample on the actual wall, at the actual time of day you use the room most, before committing a whole gallon to it.
Surface, age and ventilation
- Check the surface condition first. Chalky, cracked or peeling paint under a dark color is a problem you will see, not one you can hide with an extra coat.
- Confirm the age of the building. In a home built before the federal lead paint ban of 1978, any sanding, scraping or heavy prep on old paint can release lead dust, and that changes how the surface prep has to be done. Check with a qualified inspector or your local health department before disturbing old paint in a house of that age, rather than assuming it is fine.
- Plan the ventilation before you open a single tin, not once the smell becomes a problem. A window open on each side of the room, or a fan pulling air out through one window while another is cracked, keeps fumes and dust moving instead of settling on the wet paint or in your lungs.
- Decide the sheen before the color, since flat and matte hide roller marks best but mark more easily near switches and doorframes, while anything glossier shows texture more but wipes cleaner.
- Set aside enough time to do the prep properly, since a rushed dark wall shows every corner that was cut, in a way a rushed pale wall simply does not.
Common questions
Do I need to prime a wall that is already painted a lighter color before going dark?
Yes, if you want the color to look even sooner. A tinted primer over an existing lighter color still cuts down the number of topcoats needed to reach full depth, and it evens out any stains, patches or old repairs that would otherwise telegraph through. Skipping it is possible on a wall in good condition, but expect to need an extra topcoat to get solid coverage.
How many coats does a dark color actually need?
More than a pale one, almost always, and the coverage guidance printed on the tin is the only figure to trust for your specific paint. A tinted primer plus two topcoats is a common starting point for a true dark color going over something lighter, but the wall itself will tell you: keep going until it reads as one even color from across the room, in the room’s actual light, not just up close.
Will a dark color make a small room feel smaller?
Not necessarily, though it can if the trim and ceiling stay bright white and cut the walls off sharply. Carrying the same dark color onto the trim, or at least softening the contrast, tends to read as one enclosed, cohesive space rather than a box with dark sides. This is a personal preference question more than a technical one, so testing a sample on the actual wall matters more here than in almost any other decision on this page.
Does direct sunlight fade dark paint faster than light colors?
Deep, saturated colors can show fading and color shift from strong, direct sun sooner than pale ones, because there is more pigment concentration to break down and any change is more visible against a saturated base. A wall that gets hours of direct afternoon sun is a reasonable case for checking the paint’s own fade or UV resistance information before choosing, rather than assuming every dark color behaves the same way.