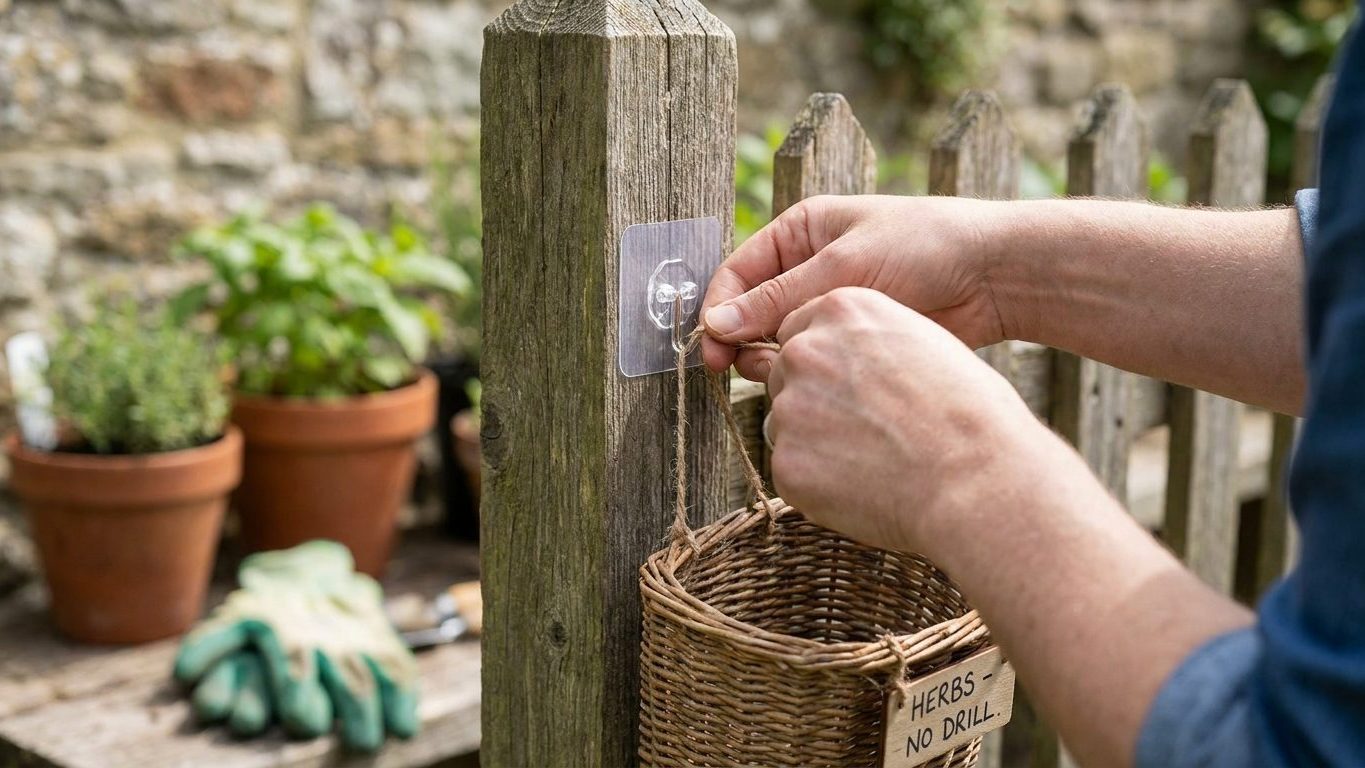

Painted drywall is where the packaging numbers on adhesive strips stop meaning much, because the strip itself is rarely what lets go first. What fails is the paint film underneath it, peeling away from the wall in a sheet no wider than the pad. Check the paint’s finish and condition before you check the strip’s rated hold, and test any adhesive fixing in a hidden spot first if the wall has gloss paint or hasn’t been repainted in years.
What is actually going on

Every no-drill fixing that relies on adhesive is only as strong as the layer it’s stuck to, and that layer is almost never the wallboard itself. The strip grips the paint film. The paint film grips the primer underneath it. The primer grips the paper facing on the drywall, or the plaster skim coat on an older wall. The whole chain is only as strong as its weakest link, and on most walls that weak link is the paint, not the adhesive.
This is why the same strip behaves differently from one wall to the next. A flat or matte finish has more microscopic texture for the adhesive to key into, so the bond tends to be stronger. A gloss or satin finish is smoother and harder for the same strip to grip, and the packaging’s rated hold assumes a surface it may never actually meet. Freshly painted walls carry a separate problem: paint keeps hardening for a while after it looks and feels dry, and an adhesive pressed onto paint that hasn’t fully cured is bonding to a surface that’s still soft underneath. Check the paint manufacturer’s guidance on cure time if the wall was painted recently.
Texture, humidity and load direction
Textured walls, orange-peel finishes and wallpaper all reduce the actual contact area between the strip and the surface, since an adhesive pad sitting on high points of a bumpy texture is touching far less of itself than it looks. Humidity matters too. A bathroom or kitchen adhesive fixing is working against moisture in the air softening the glue over time, which is why a hook that held fine for months can start creeping downward.
Direction of pull matters as much as raw weight. A hook pulling straight down loads the adhesive in shear, which most strips handle reasonably well. A picture that swings out from the wall, or a hook that gets yanked sideways by a bag being lifted off it, loads the bond in peel, which is the direction adhesive fails fastest. A heavy item that comes off a wall can injure whoever is underneath it or nearby, so a fixing that’s started to creep or feels loose is one to take down and replace, not one to leave up and hope about.
Doing it
The fixings that avoid drilling fall into a few families, and each one holds through a different mechanism. Adhesive strips and pads bond chemically to the paint surface. Adhesive putty works the same way but spreads load over a wider, softer contact patch. Tension rods and spring-loaded shelves grip through friction between two facing walls or the sides of an alcove. Over-door hooks hang their weight on the door itself rather than the wall. Clip-on picture rail hooks, where a house still has the rail, carry the load down to the rail rather than into the plaster at all.
| Fixing type | How it holds | Works best on | Removal |
|---|---|---|---|
| Adhesive strip or pad | Chemical bond to the paint film | Smooth, cured, flat or matte paint | Stretch tab slowly, parallel to the wall |
| Adhesive putty | Soft bond spread over a wide patch | Light, flat-backed items | Peel and roll off by hand |
| Tension rod | Friction between two opposing surfaces | Alcoves, closets, window recesses | Compress and lift out, no residue |
| Over-door hook | Weight carried by the door, not the wall | Standard interior doors | Unhook and lift off |
| Picture rail clip | Load carried down to the rail | Houses with an original picture rail | Unhook, no wall contact at all |
For an adhesive fixing specifically, the sequence matters more than most people assume:
- Clean the wall with rubbing alcohol and let it dry fully. Skip this and you’re bonding to a film of dust or furniture polish instead of the paint.
- Test the adhesive on a hidden patch of the same wall if the paint is glossy or older than a few years. Skip this and the first sign of a weak bond is paint coming away in the visible spot.
- Press the strip firmly for the full time the packaging specifies. A quick tap doesn’t activate the adhesive properly, and it will hold for a day or two before it doesn’t.
- Leave it at rest for the waiting period the packaging gives before hanging the full load. Loading it early asks the bond to do its hardest work before it’s finished forming.
- Add weight gradually and check it after the first day. A strip that’s going to fail under load usually shows the first signs of peeling within hours, not months.
- To remove, stretch the tab downward and parallel to the wall rather than pulling straight out. Pulling outward puts the paint into peel, which is exactly the failure it’s weakest against.
If you’ve already worked through the broader decision of what belongs on a drilled fixing and what doesn’t, that groundwork is covered in Hanging, Shelving and Fixing: The Wall Decides, and it’s worth having settled before choosing among the options above.
What it looks like when it goes wrong
The most common failure is a patch of paint pulling away with the strip when it’s removed, leaving bare primer or drywall paper showing through. This is cosmetic, not structural, and it’s fixable with filler and a touch-up coat rather than a full repaint. If you’re dealing with a hole rather than a paint patch, that repair is covered in Filling the Holes When Something Comes Down.
A hook or strip that gradually slides down the wall over days or weeks is a different signal. It means the adhesive bond is failing slowly under sustained load, and it will eventually let go completely. This one isn’t cosmetic. A creeping fixing holding anything with weight to it, and especially anything with glass or a hard edge, should come down and be replaced before it fails on its own, not after.
Sudden versus gradual failure
Sudden, total detachment with no warning usually points to a bond that never properly formed, often from skipping the cleaning step or hanging the load before the recommended waiting period. This is a safety failure if the item was heavy or breakable, and the fix is to redo the installation correctly rather than simply reattach the same strip in the same spot.
A corner lifting while the center of the strip still holds is a sign the original surface was contaminated or too textured for a full bond, and patching that corner down again rarely lasts. It needs to be pulled off, the wall cleaned properly, and a fresh strip applied. Leftover adhesive residue or a slight haze on the paint after removal is purely cosmetic, and it comes off with an adhesive remover or a bit of warm soapy water without needing any repair to the paint itself.
What to settle first
Before choosing a fixing, find out what the wall actually is. Drywall, plaster, tile, brick and masonry all take adhesive and tension fixings differently, and a tension rod that grips well between two drywall surfaces can slip on a smoother masonry opening. A stud finder will tell you what’s directly behind the surface, which matters even for a no-drill fixing since a hollow section behaves differently under vibration than a solid one.
Also settle whether the item belongs on that wall at all, independent of which fixing you pick. A heavy mirror, a loaded shelf or anything positioned over a bed or seating area carries more consequence if it comes down, and that’s a decision about placement as much as about hardware. How a room’s furniture is arranged often decides where a fixing needs to go in the first place, which is covered in Arranging Furniture Around How the Room Is Used.
Check the manufacturer’s stated hold for the specific wall type on the fixing’s own packaging rather than relying on a general sense of what “should” work, since that figure is the only one that actually applies to your surface. A fixing you’re unsure about is one to replace, not one to test with something breakable. If a rental agreement or building rule restricts wall damage, that’s worth confirming with the landlord or building management before drilling is ruled out for reasons other than the wall itself.
Common questions
Can adhesive hooks actually hold a mirror?
It depends on the mirror’s weight, size and, and the only number that matters is the hold rating printed on that specific fixing’s packaging for your wall type. A small, light, framed mirror is a reasonable candidate. A large or unframed glass one is usually better served by a fixing anchored into a stud.
Will taking off an adhesive strip damage my paint?
Usually not, if you stretch the tab slowly and parallel to the wall rather than pulling it straight off. The risk goes up on paint that’s glossy, freshly applied, or already starting to peel at the edges, since the adhesive bond can be stronger than the paint’s own grip on the wall in those cases.
Do these work on textured walls or wallpaper?
Not reliably. Texture and vinyl wallpaper both reduce the actual contact area between the adhesive and the surface underneath, which weakens the bond even when the packaging doesn’t say so. A tension rod, an over-door hook, or a picture rail clip if the room has one, generally holds better than adhesive on these surfaces.
Can I reuse an adhesive strip once I’ve pulled it off?
No. Once an adhesive strip has been removed, the glue has already done its work and won’t reform a proper bond a second time. Replace it with a fresh strip rather than reapplying the old one, especially for anything with real weight to it.