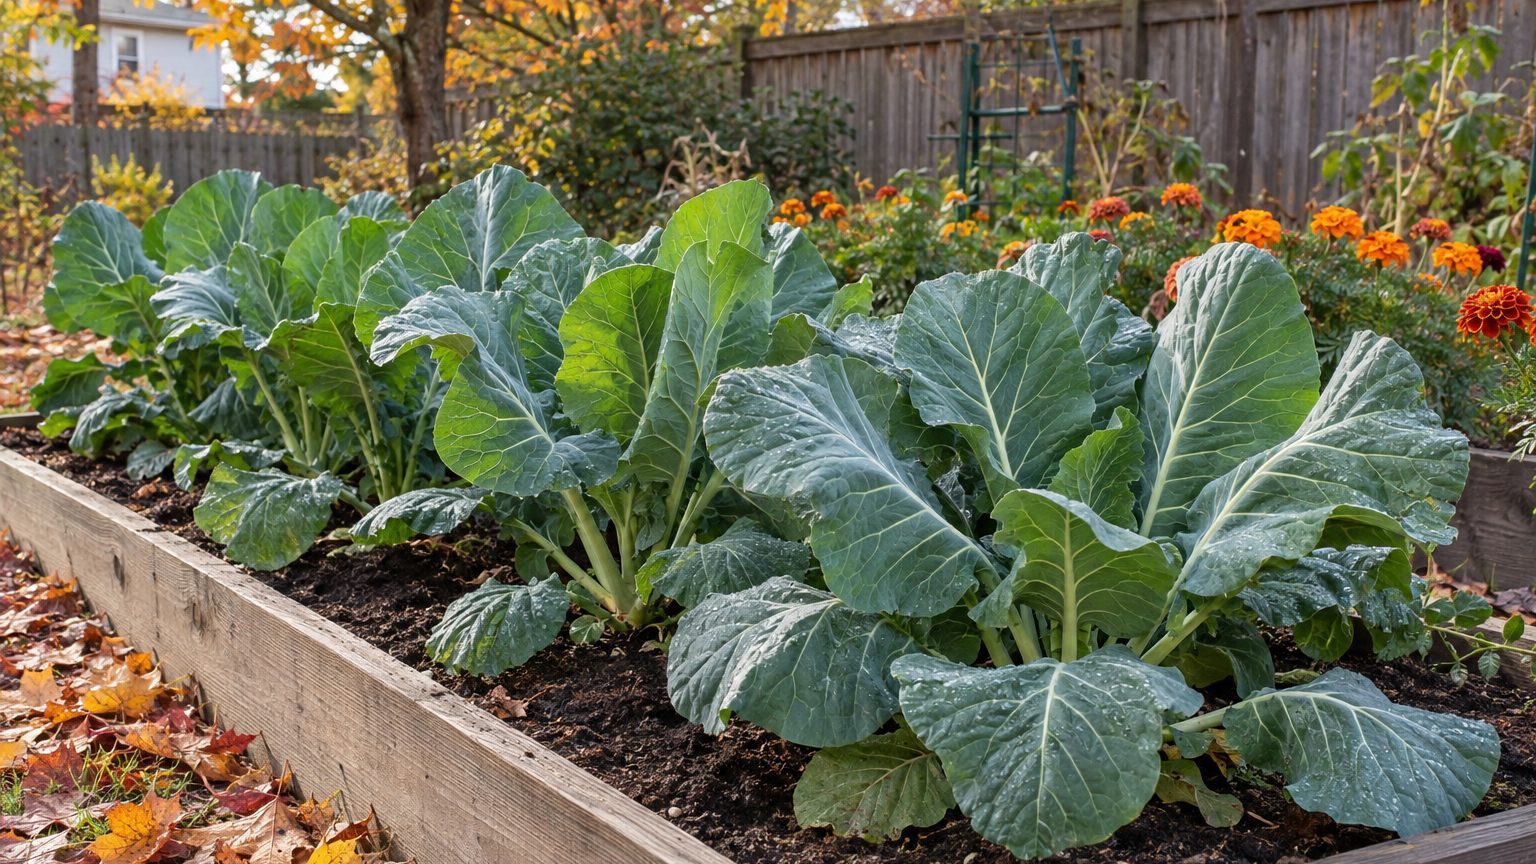

Collard beds usually fail in one of five ways: planting at the wrong moment, crowding the plants, underfeeding and irregular watering, harvesting the wrong leaves, and ignoring pests until the damage is done. None of them requires special skill to avoid. All five are quiet, too. By the time the leaves turn yellow, tough or lacy with holes, the mistake happened weeks earlier.
This page walks through each one, with fixes that work from Georgia to Ohio. For the full season plan, start with Growing Collards: One Planting, Months of Harvest, which covers the whole crop cycle this article only dips into.
Two mistakes made before the first real leaf
Timing comes first. Collards tolerate summer heat better than cabbage or broccoli, which tempts gardeners into treating them as a June crop. They grow in heat, sure. But leaves that mature in a stretch of 95°F days come out thick, fibrous and sharp-tasting, and the plants attract every caterpillar in the county. Cold is what they want at the finish line. A light frost pushes the plant to convert starch into sugar, and fall-grown collards taste noticeably milder than anything picked in July.
For most of the South, that points to two planting windows: late summer for a fall-through-winter harvest, and late winter for a spring crop that wraps up before the hottest weather. Farther north, the better bet is a midsummer sowing or transplant set out roughly 10 to 12 weeks before the first expected fall frost, plus an early spring crop started indoors six to eight weeks ahead of the last frost. Count backward from your own frost dates rather than trusting a seed packet’s generic advice. Variety plays a part as well, since some types stand up to heat or cold better than others, and Which Collards to Grow, and How They Differ sorts that out.
Spacing is the second early error, and it’s the easiest to commit because a four-inch transplant looks so small. A mature collard plant stands two to three feet tall and just as wide. Set plants 18 to 24 inches apart, in rows about 30 to 36 inches apart, and the bed looks sparse for a month. Set them 8 inches apart and it looks lush for about five weeks, then turns into a damp thicket.
That thicket has costs. Leaves stay wet longer after rain or dew, which invites fungal leaf spots. Airflow drops. Pests hide in the shade of overlapping foliage where you can’t see them. And crowded plants compete for the same nitrogen, so every one of them ends up smaller than a properly spaced plant would have been. Thinning direct-sown seedlings feels wasteful, but pulling a few is cheaper than losing the whole row to stunting. Those thinnings, by the way, are perfectly edible as microgreens.
Starved and thirsty: the soil mistake
Collards are heavy feeders. A plant that produces leaf after leaf for months is pulling a lot of nitrogen out of the ground, and a bed amended once at planting often runs dry of it by week five or six. The sign is hard to miss once you know it: the oldest, lowest leaves fade to pale green and then yellow, while the top of the plant stays smaller than it should.
Start with a soil test through your state’s cooperative extension office. Most charge a few dollars, and the result tells you two things you can’t guess at: pH and phosphorus levels. Collards do best in a pH of roughly 6.0 to 7.0. Acidic soil, common across the Southeast and Pacific Northwest, locks up nutrients and invites clubroot, so lime may be needed. Work two to three inches of compost into the bed before planting. Then plan a nitrogen side-dressing about three to four weeks after transplanting, repeating every few weeks during active growth. Follow the rate on your fertilizer label or your soil test report, because overshooting burns roots and produces soft, pest-prone growth.
Water is the other half. Aim for one to one and a half inches a week, delivered at the base of the plants rather than overhead. A rain gauge or a tuna can set in the bed makes this less of a guess. Collards that swing between drought and soaking turn tough and bitter, because stress slows growth and the leaves toughen as they stall. Two to three inches of mulch (shredded leaves, straw, untreated grass clippings) evens out those swings and keeps soil cooler during late-summer establishment.
Yellow leaves can also mean waterlogged roots, especially in heavy clay soil. Before reaching for fertilizer, push a finger down three inches. Wet and cold means drainage is the problem, and more nitrogen won’t fix it.
Picking it wrong
The fourth mistake shows up at harvest, and it runs in two opposite directions. Some gardeners wait until the leaves are the size of dinner plates, on the theory that bigger means more food. Large leaves are older leaves, and older leaves have thicker midribs and a stronger flavor. The better target is leaves roughly 8 to 12 inches long, picked while still glossy and flexible.
Others go the opposite way and snap off the top of the plant, or strip it bare in one session. The growing point at the center of the crown is what produces new leaves. Take it, and the plant stalls or sends out a scatter of side shoots. Strip every leaf at once and there’s no photosynthetic machinery left to rebuild with.
The cut-and-come-again method is simple. Pick the lowest mature leaves first, snapping them off at the stem close to the main stalk, and work upward over the following weeks. Leave the central bud and a good crown of young leaves in place. A healthy plant can be harvested this way every week or two for months. Taking four to six leaves from each plant per picking is a sensible pace in a family garden.
Timing the harvest to the weather helps too. After a hard frost, collards are at their sweetest, so the picking worth saving for is often the first cold snap of the year. A short list of habits keeps the harvest productive:
- Pick from the bottom up, never the top down.
- Leave the terminal bud untouched.
- Harvest leaves while they’re still under about 12 inches.
- Take only a few leaves per plant each time.
Letting the worms and aphids move in
The fifth mistake is passivity. Collards belong to the brassica family, and a whole cast of insects arrives on schedule: imported cabbageworms, cabbage loopers and diamondback moth larvae chew ragged holes, while flea beetles pepper young leaves with tiny pits. The first sign is usually small white or yellowish butterflies fluttering over the bed in the afternoon. Each one is laying eggs on the undersides of leaves, and within a week or so the caterpillars are feeding.
The most dependable defense is physical. Floating row cover laid over hoops right after planting, with the edges buried or pinned down, keeps egg-laying insects off the plants entirely. It lets in light and water and doesn’t require spraying anything you’ll eat. The key is to put it on at transplanting, not after the first holes appear, and to check that no gaps have opened along the sides.
If caterpillars are already feeding, Bacillus thuringiensis (Bt, the kurstaki strain) is a bacterial product that targets caterpillars and is approved for organic growing. It only works when larvae eat treated leaf tissue, so spray the undersides as well, and reapply after rain or about every five to seven days if pressure continues. Hand-picking works fine on a small bed, particularly in the morning when larvae are easy to spot against the green.
Aphids call for a different kind of attention because they hide where you’re least likely to look. They cluster in tight, grey colonies in the heart of the plant, where new leaves are folded, and they distort and stunt the growth you’re counting on for next week’s harvest. Grey Aphids Packed Into the Growing Point covers how to find them early and what to do about them without wrecking the plants.
One more habit belongs here: crop rotation. Planting collards in the same spot where cabbage, broccoli, kale or turnips grew last year raises the odds of soilborne problems such as black rot and clubroot. Most extension services recommend keeping brassicas out of a given bed for about three years. In a small yard that’s hard to manage, so a simple map of where each crop went, drawn on a sheet of paper and kept in the shed, does more good than it seems like it should.
On the matter of how long a well-run bed will last, climate sets the limit. In USDA zones 7 through 10, collards often stand through winter and keep producing, sometimes into the following spring before they bolt. In zone 6 and colder, most plants die back once temperatures fall toward 10°F unless they’re covered with a low tunnel or a thick layer of straw. A bed that survives that cold is one that avoided the first four mistakes, since sturdy, well-fed, properly spaced plants come through hard weather far better than stressed ones.