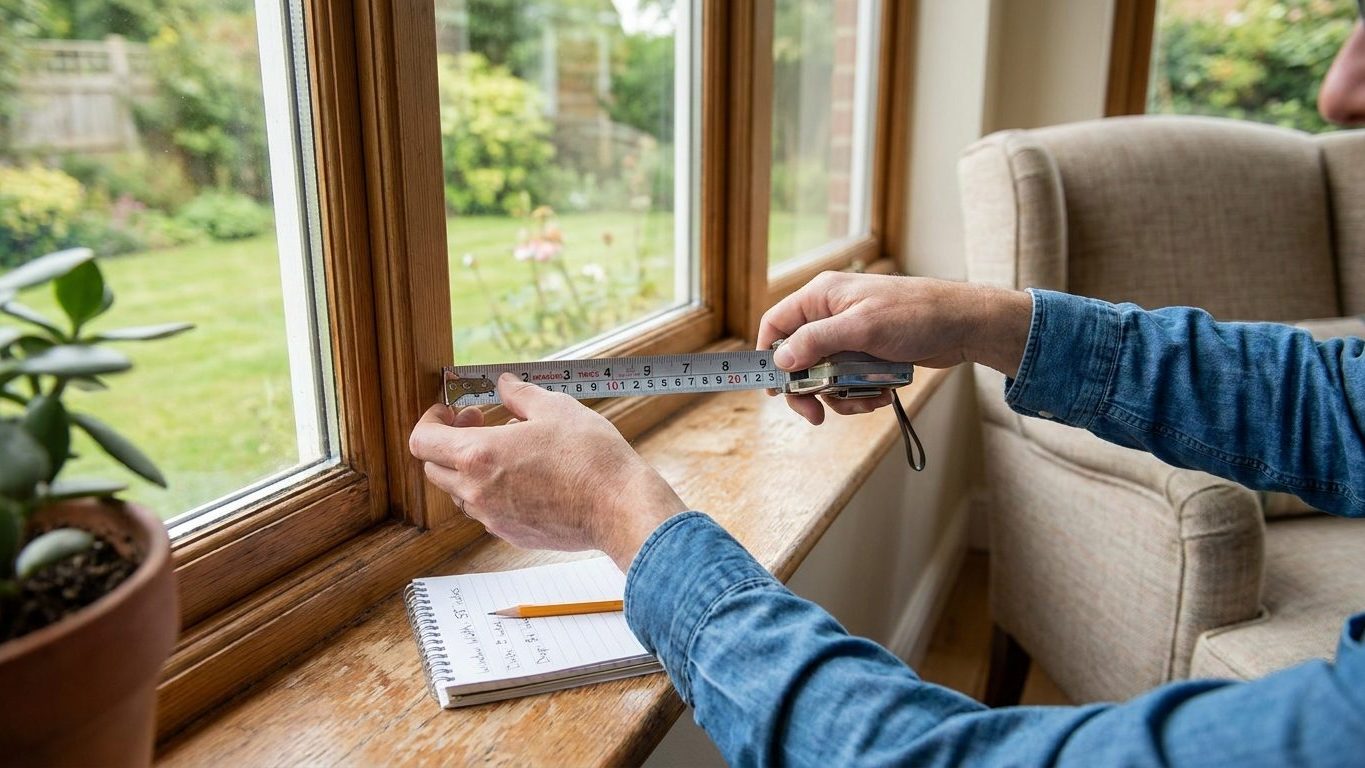

Curtains measured against the window frame instead of the mounted pole are the single most common reason a finished pair comes back wrong: too short, too skimpy, or hanging crooked because the rings sit lower on one side than the other. Fix that by putting the pole up first and taking every measurement from the hardware, not the wall opening.
What is actually going on

The thing to understand before you pick up a tape measure is that a curtain does not know where your window is. It only knows where the pole is, where the rings hang, and how much fabric was sewn into it. Width, drop, and fullness are all measured from the fitted pole, which is exactly why the pole has to go up before any measurement is taken, not after.
Width is the distance the pole spans, end to end, including any returns where it meets the wall. That figure has nothing to do with the width of the glass or the frame. A pole mounted wider than the window, which is the usual convention for letting more light in when curtains are open, will always call for a wider curtain than the window itself would suggest.
Why drop starts at the ring, not the pole
Drop is the vertical measurement from the point where the fabric actually hangs to wherever you want the hem to land. On a pole with rings, that starting point is the bottom of the ring, not the top of the pole, and the gap between the two is usually an inch or more depending on the ring size. Measure from the pole itself and the finished curtain comes up short every time, because the fabric has to travel through the ring before it starts dropping. This is the single most repeated error in home measuring, and it is invisible until the curtains are hung and everyone is standing there looking at a gap.
Fullness is the third figure, and it is the one most often skipped. It describes how much fabric width is packed into a given pole width once it is gathered or pleated. A curtain cut exactly to the pole’s width will hang flat, almost like a sheet on a line, because there is no spare fabric to form folds. The usual fullness ratio for pencil pleat or pinch pleat headings runs from about twice the pole width to two and a half times it, though this is a decorating convention rather than a fixed rule, and eyelet headings typically need less fullness than pleated ones because the fold is built into the metal ring itself.
All three numbers depend on the pole being exactly where it will stay. Move the bracket half an inch after you have measured and every figure downstream is now wrong. That is why the pole itself, and the wall it goes into, is a separate job worth getting right first, something covered in more depth in the guide to hanging, shelving and fixing: the wall decides.
Doing it
Once the pole is fixed in its final position, the three measurements are taken in a fixed order because each one depends on the last. Skip the order and you end up remeasuring the whole window from scratch.
- Measure the pole width, end to end, including returns. Skipping this and using the window’s width instead produces curtains that gap badly at each side when closed, because the pole almost always runs wider than the frame.
- Measure the drop from the bottom of the ring to your chosen hem point. Measure from the top of the pole instead and the finished curtain sits an inch or more short of where you wanted it, a mistake that only shows up once the curtain is already sewn or hemmed.
- Decide the heading style before you finalise the drop. A pinch pleat or pencil pleat heading sits its top edge above the ring, adding a small amount to the visible drop. An eyelet heading threads the pole through the fabric itself, which changes where the top of the panel sits relative to the pole entirely. Guessing at this instead of checking the heading you have chosen is what leaves curtains sitting the wrong height above the sill or floor, and the range of conventional hem points is covered in the guide on how long curtains should be.
- Apply the fullness ratio to the pole width, not the window width, to get the flat fabric width needed. Forgetting this step and ordering fabric equal to the pole width is what produces the flat, skimpy look that no amount of steaming will fix afterward.
- Add hem and heading allowance on top of the flat drop figure. Side hems, top headings, and bottom hems all eat into the fabric before it hangs, and cutting fabric to the exact finished drop with nothing added is a common reason panels come up short a second time even after the first mistake has already been caught.
Do these in this order and each step checks the one before it. Do them out of order, and the fullness calculation is built on a width you have not confirmed, or the drop is measured before the heading style is settled, and something has to be redone before the fabric is even cut.
What it looks like when it goes wrong
A curtain that stops an inch or two above the point you intended, hovering awkwardly rather than meeting the sill or the floor, is the most common visible failure and it comes almost entirely from measuring drop off the pole instead of the ring. It cannot usually be corrected without unpicking the hem and adding fabric, which is not always possible once the panel has already been cut close to the edge.
Curtains that look thin and flat when closed, with no real folds forming even when you gather them by hand, mean the fullness ratio was never applied and the panel was cut close to the pole’s actual width. This one is correctable only by adding another full panel’s width of fabric at the same drop, which in practice usually means starting again with new fabric rather than patching the existing piece.
A pole that visibly bows in the middle, or brackets that sit at slightly different heights so the rings run downhill across the window, is a different kind of failure and it is worth treating separately because it is not just cosmetic. A bowing pole under load is a sign the bracket spacing or the fixing itself is inadequate for the weight of fabric it is carrying, and that is a structural problem, not a measuring one. It needs an extra bracket or a stronger fixing before it needs any adjustment to the curtains themselves.
Curtains that puddle unevenly on one side, or that clear the floor by different amounts at each end, usually point back to the pole itself being unlevel rather than to an error in the drop measurement. Rehanging the pole level fixes this without touching the curtains at all, which makes it one of the few failures on this list that does not require redoing any sewing.
What to settle first
Before any measurement is taken, the wall the pole is going on has to be identified for what it actually is. A stud wall, a solid masonry wall, and a hollow interior partition all take a curtain pole differently, and the fixing that holds securely in one will pull straight out of another under the same weight.
Behind drywall or plaster, check what is actually there before drilling. Hitting a stud gives a solid fixing point on its own. Missing the stud means the pole’s weight, plus the fabric, plus whatever tugging happens every time the curtains are opened and closed, is resting entirely on the wall board and whatever anchor sits in it. Not every anchor is rated for that kind of sustained, repeated pull, and the differences between the common types are worth understanding before you commit to a hole, covered in the guide to anchors for hollow walls: how each one grips.
Masonry and brick need a different approach again, usually a plug and screw sized to the material rather than anything designed for drywall, and the load rating on the packaging is not decorative information, it is the number that decides whether the bracket stays put after a year of daily use.
Finally, decide whether the wall is the right place for the weight at all. A heavy lined or interlined curtain on a long pole puts real ongoing strain on two or three small fixing points, and on a weak wall the honest answer may be to fix into the ceiling joist or add a support bracket at the center of the run rather than trust the wall alone. Settling this before you measure means the pole you measure from is the one that is actually going to stay where you put it.
Common questions
Do I measure before or after I hang the pole?
After. Every figure in this guide, width, drop, and fullness, is taken from the pole once it is fixed in its final position, because moving the bracket even slightly afterward changes all three numbers.
What if my window doesn’t have a pole yet and I need measurements to buy one?
Mark the bracket positions on the wall first, at the height and width you intend to fix them, then measure between those marks as if the pole were already there. Treat the marks as the pole for every purpose until it is actually installed.
How much wider than the window should the pole be?
There is no fixed figure for this, it is a matter of how much light you want blocked when the curtains are open and how much wall space you have on either side. Extending the pole a reasonable amount past each side of the frame is the common approach, but the exact amount depends entirely on your room.
Can I use the same drop measurement for both curtains in a pair?
Only if both sides of the pole are genuinely level and the floor or sill underneath is even. Uneven old floors and slightly unlevel poles are common enough that it is worth checking the drop at both ends of the window rather than assuming one measurement applies to both panels.