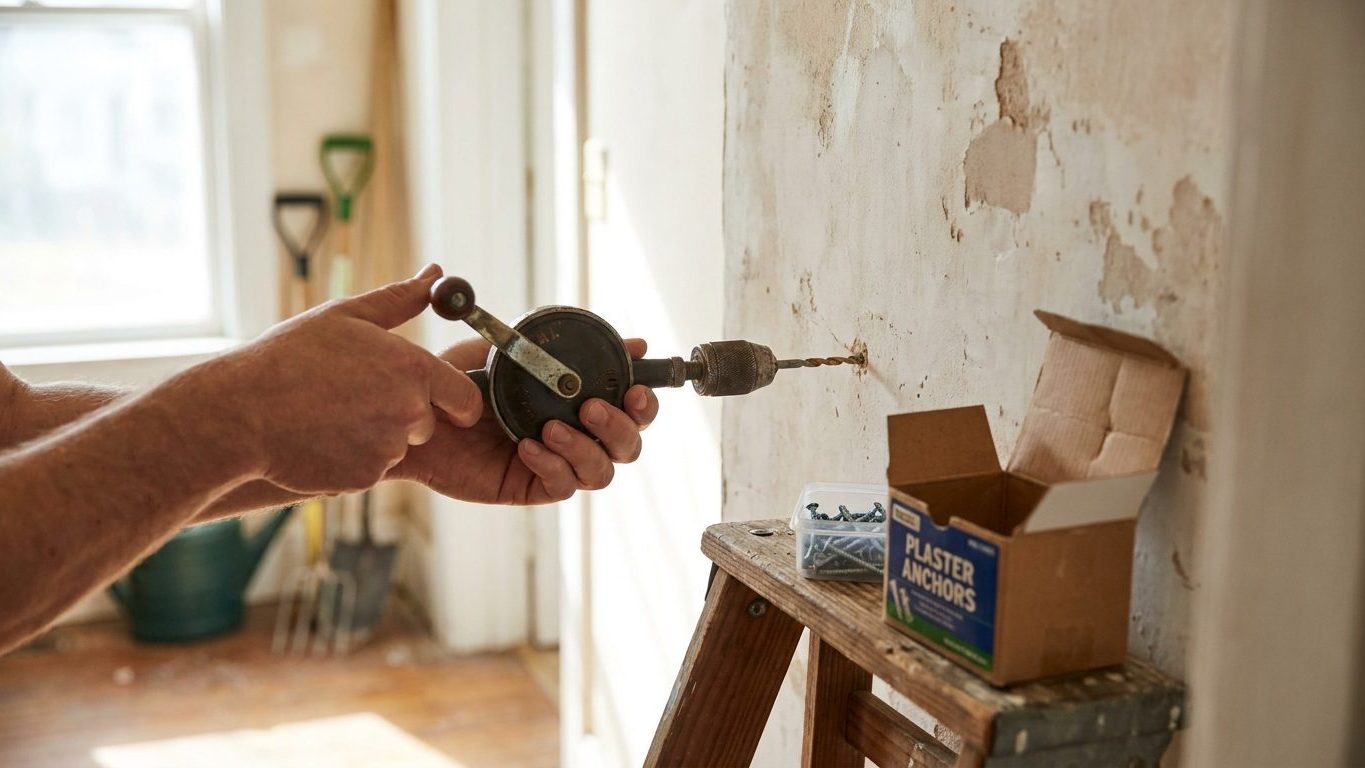

A spiderweb crack spreading out from a single screw hole is the signature failure of drilling into old plaster, and it means the bit went in too fast, too hard, or without ever finding the lath behind it. Slow down: mark the spot, turn off the hammer function, and drill a small pilot hole first to find out what kind of wall you’re actually dealing with before you commit to the fixing you had planned.
What is actually going on

Old plaster in most pre-war houses was applied over lath: thin strips of wood nailed across the studs with narrow gaps between them. The wet plaster was pushed through those gaps and squeezed out the back, where it curled and hardened into small lumps called keys. Those keys, not the plaster face itself, are what holds the whole wall on. Decades of house movement, drying out, and vibration snap keys one by one, so a wall that looks solid can be barely hanging on behind the paint.
This is why a fixing driven straight into the plaster face without reaching the lath behind it so often fails. The plaster has almost nothing to grip on its own. Push a screw in and it either spins in a soft, crumbling hole or blows out a cone of plaster around it the moment any load is applied. The wall is hollow behind in a way that solid masonry or continuous drywall is not, and a fixing has to bridge that gap to hold anything.
What’s actually inside the wall
Before any of that, there’s the question of what you can’t see. Walls carry more than lath:
- Electrical cable, which can run in almost any direction in a house that’s been rewired more than once
- Water pipe, sometimes surprisingly high or low depending on how the plumbing was routed
- Occasionally gas pipe, particularly near old fireplace surrounds and kitchens
The conventional runs you may have heard of, cable travelling straight up from a switch, pipe running along a baseboard line, are conventions and nothing more. An older house has usually been altered enough times that none of them can be trusted. Check with a detector suited to the wall before you drill, and if you can’t get a clear read, don’t drill there. If a fixture needs wiring, that’s a job for an electrician, not a drill bit. And if what you’re hanging is heavy, a mirror, a bracket, a loaded shelf, remember that a fixing in doubt is a fixing to replace, not one to test with the object already on the wall. The general rule that a fixing has to reach something solid behind the surface is covered in full on Hanging, Shelving and Fixing: The Wall Decides, and old plaster is the hardest version of that rule because what’s actually behind the surface can change from one stud bay to the next in the same room.
Doing it
There’s an order to this, and skipping a step is exactly how you end up with the crater or the crack.
- Tap the wall first. A hollow, drumming sound over a wide area usually means lath and plaster. A dull, dead sound means solid masonry under a thin lime or gypsum skim, in which case you’re better served by the fixings and methods on Fixing Into Brick, Block and Concrete than anything aimed at lath. Skip this and you’ll choose the wrong fixing before you’ve even picked up the drill.
- Probe with a fine bit, around 2mm, before switching to the real one. Feel for the pattern: soft plaster, a slight give, then a change in resistance as you meet wood, means you’ve found lath or a stud. Continuous softness with no purchase at all means you’re between laths, in the void, and that spot won’t hold a fixing on its own. Skip this and you drill blind, which is how most craters happen.
- Drill slow, no hammer action, light pressure. The hammer function is built for masonry and it’s exactly the vibration that shears plaster keys loose. Skip this and even a well-placed hole can crack the surrounding plaster on the way in.
- Match the fixing to what you actually found. A spanning or hollow-wall anchor spreads load across the back of the plaster when you’ve only reached lath. A longer screw or plaster washer is right when you’ve found a stud or joist and want to fix straight into it. A standard masonry plug belongs in solid wall behind a skim, not in lath. Skip this and the fixing that would have held simply won’t, whatever the packaging promised.
- Put anything genuinely heavy into the framing, not the plaster. A curtain pole carrying a full-length pair of curtains is a common case of this: it wants to land on a stud, not just a spot of decent-feeling plaster near the window reveal, and getting the bracket positions right in the first place is covered on Measuring for Curtains Without Getting It Wrong. Skip this and the pole holds for a while, then doesn’t.
- Stop if the plaster crumbles or sounds hollow across a wide patch, not just at the hole. That’s a repair job, not a fixing point, and no anchor sold for walls is designed to hold in plaster that’s already coming away from the lath behind it.
What it looks like when it goes wrong
Some of these are a patch-and-move-on problem. One of them is not.
A small cone of plaster breaking away right around the hole is cosmetic. It happens even to careful work sometimes, and it fills easily with a dab of filler before you refix an inch or two to one side.
Spiderweb cracks radiating out from the hole are usually still cosmetic, provided the plaster around them is firmly attached: tap it and listen for a solid sound. If the cracked area sounds hollow, or the cracks keep widening days later, the plaster has actually parted from the lath in that patch, and no fixing driven into it will hold anything meaningfully. That’s a repair to the plaster itself before it’s a fixing question again.
A screw or plug that spins freely with no bite at all means you missed the lath and you’re sitting in the gap between strips. Fill it and move over, rather than forcing a bigger fixing into the same hole hoping it catches.
A wide area of the wall that sounds like a drum when tapped, well beyond the hole you drilled, points to the lath itself pulling away from the studs behind it. That’s a structural finish problem for a plasterer, not something a better anchor fixes, and it’s worth treating as a safety issue rather than a decorating one if you were planning to hang anything with real weight there.
A fixing that held on installation but pulls out later under load, most often once a mirror or shelf is actually loaded onto it, is the one to take seriously. Remove whatever’s hanging immediately, don’t reuse that hole, and find a fixing point in the framing instead. That failure is a safety failure, not a cosmetic one, whatever the wall looks like afterward.
What to settle first
Work out what kind of wall you actually have before you buy a single fixing. Lath and plaster, solid masonry under a thin skim, and a later drywall skim all behave differently, and the tap test plus a fine pilot hole is how you tell them apart without opening anything up.
Work out what’s inside the wall next. Cable, pipe, and occasionally gas line can run in directions that owe nothing to any convention you’ve read about, especially in a house that’s been rewired or replumbed more than once. Use a detector suited to the wall type, and treat any uncertain reading as a reason not to drill there. If a job needs a wire moved or a fixture connected, that’s for a licensed electrician.
Finally, decide whether the load actually belongs on this wall. A heavy mirror, a television bracket, or a fully loaded shelf wants a stud or a joist behind it, not plaster alone, however solid the plaster feels under a tap test. The number that matters here isn’t one you can estimate from experience: it’s whatever the fixing’s own packaging states for the wall type you’ve identified, and that figure is the one to follow. Given what a heavy object falling off a wall can do, a fixing you’re not confident in is one to replace before you hang anything, never one to load up and see.
Common questions
Can I use a regular stud finder on an old plaster wall?
Not reliably. Lime and gypsum plaster, along with any metal lath used in some houses, confuses cheap electronic and magnetic detectors, and you’ll get false readings either way. A tap test followed by a fine pilot hole tells you more about a lath-and-plaster wall than a stud finder built for drywall ever will.
Why does my drill bit keep skating around instead of biting in?
Old plaster often has a hard, glazed skim coat, sometimes under several layers of old paint, and a bit can slide across that surface before it gets a grip. A light tap with a center punch, or starting the hole at a slight angle before straightening up, usually gives the bit somewhere to start.
Can I just fill a cracked hole and drill again nearby?
Yes, as long as the plaster around the crack still sounds solid when you tap it. If it sounds hollow or the crack keeps growing over the following days, the plaster has separated from the lath in that spot and needs repair before any fixing will hold there again.
How do I tell if my walls are lath and plaster or a drywall skim?
The age of the house is a rough clue but not a guarantee, since older houses get replastered over drywall during renovations. The tap test is more reliable: lath and plaster gives a deeper, more variable hollow sound across a wall, while drywall sounds thinner and more even, especially near switch plates and vents where you can sometimes see the material thickness at the cut edge.