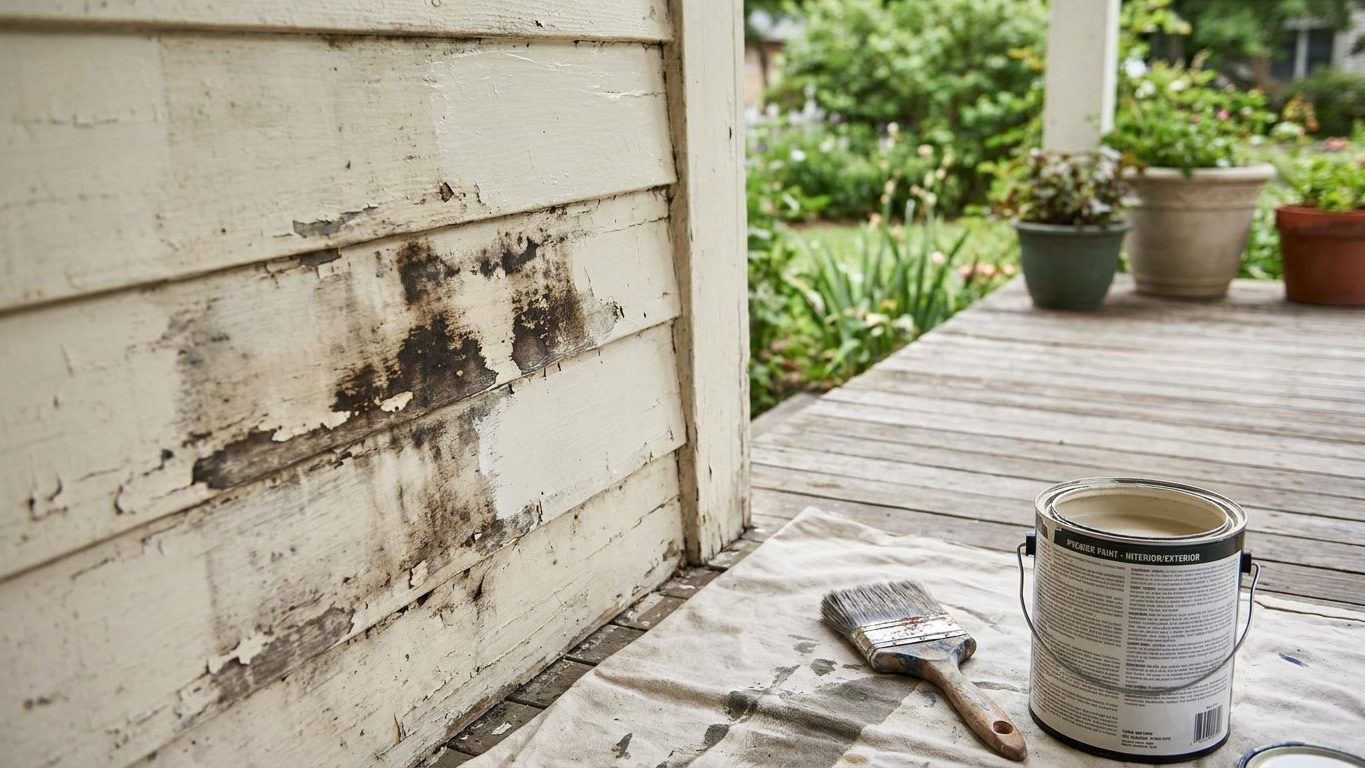

Water stains, smoke film, and the tannin bleeding out of pine or cedar trim don’t fade with another coat of paint. They come right back through it. That’s because the compounds causing the stain dissolve into the water in your paint and travel back up to the surface as the coat dries. Skip the extra coats: what stops it is a shellac-based or oil-based stain-blocking primer applied directly over the stain before any topcoat goes on.
What is actually going on

The mechanism at work here is migration. Water-soluble compounds don’t get buried by a water-based paint, they dissolve into it, the same way sugar dissolves into water instead of sitting trapped underneath it. As that coat dries, the water in it evaporates up and out through the surface, and it carries the dissolved compound with it, back to the top of the film where you see it again.
This is why a second, third, or fourth coat of ordinary wall paint changes nothing about a real bleed-through stain. Each new coat is water-based, so it hands the stain compound a fresh batch of water to dissolve into and a fresh drying cycle to ride to the surface on. You aren’t covering the stain. You’re re-dissolving it.
Where these compounds come from
Tannins are natural extractives in wood, most common in pine, cedar, redwood, and oak, and they migrate readily through water-based finishes, especially where moisture reaches the wood from behind. Water stains on ceilings and walls leave behind mineral salts and rust picked up from old plumbing, a roof leak, or condensation inside a wall cavity, and those salts redissolve just as easily. Smoke and nicotine residue is an oily film loaded with tar, and it behaves less like a dissolved solid and more like a coating that a water-based finish simply can’t seal on its own.
An oil-based or shellac-based primer breaks this cycle because it doesn’t rely on water evaporating out through the surface. Shellac-based primers dry by solvent evaporation and leave behind a hard, largely impermeable film that locks the stain compound underneath rather than dissolving it. Oil-based primers work on a similar principle, curing to a film the water-soluble compound can’t easily pass through.
If any part of your prep work involves sanding or scraping old paint so a primer will grip, do it with the windows open and air actively moving through the room. Shellac-based primer in particular carries strong solvent fumes, and a closed room lets both dust and fumes build up fast.
Doing it
The general cleaning and sanding are covered in Interior Painting: Preparation Is Most of the Work. What’s different with a bleeding stain is the extra step in the middle: priming the stain itself before anything else touches it.
| Stain type | What’s causing it | Primer needed |
|---|---|---|
| Water stain (roof or plumbing leak) | Mineral salts and rust left behind as water evaporated through the ceiling or wall | Shellac-based or oil-based stain-blocking primer |
| Smoke or nicotine film | Tar and nicotine residue deposited by smoke | Shellac-based primer, generally best at sealing odor along with the stain |
| Tannin bleed from wood | Natural extractives in pine, cedar, redwood, or oak knots and grain | Oil-based or shellac-based stain-blocking primer |
| Rust around nail heads or fasteners | Oxidized metal bleeding outward into surrounding paint | Shellac-based primer or a spot rust-inhibiting primer |
- Find and fix the source first. If a roof or plumbing leak is still active, repair it before you pick up a brush. Skip this and the stain comes back weeks later no matter what primer you used.
- Clean the stained area with a mild detergent solution and let it dry fully. Skip this and grease, soot, or dust trapped under the primer stops it from bonding, and it can lift later as a soft patch.
- Scuff-sand any glossy or heavily built-up paint around the stain so the primer has something to grip. In a home built before 1978, this disturbs paint that may contain lead. Check the EPA’s guidance before sanding or scraping any old paint film.
- Apply a stain-blocking primer suited to the stain type, extending it a few inches past the visible edge of the stain, with windows open and air moving through the room. Skip the margin and the stain bleeds sideways into the edge of the primer, showing up as a faint ring once the topcoat goes on.
- Let the primer cure by feel and smell rather than a clock. How long that takes depends on the paint, the room’s temperature, and its humidity, and the only figure that applies is the one printed on the can. Recoat too soon and the topcoat can pull the primer or trap solvent underneath it.
- Apply the topcoat in the sheen you’ve chosen for the room. A higher sheen shows any texture difference between primed and unprimed areas more than a flat finish does, which is one more reason the choice covered in Matt, Eggshell or Gloss: What the Sheen Actually Changes matters here specifically.
What it looks like when it goes wrong
A faint shadow still visible under the topcoat means the primer coat was too thin, or didn’t reach far enough past the stain’s edge. This is correctable: scuff the area lightly, spot-prime again with full coverage over the whole stain and a wider margin, and recoat once it’s cured.
A patch that looks slightly shinier or flatter than the surrounding wall once the topcoat is on is a sheen mismatch between the primer and the topcoat, most visible under raking light from a window or lamp. It’s also correctable, generally by giving the whole wall a full topcoat rather than trying to feather just the patch, since a feathered edge shows up as its own visible line, similar to the banding described in Bands and Stripes Down a Finished Wall.
Primer that cracks, peels, or bubbles where the surface wasn’t cleaned or sanded first is a different problem, and it isn’t one more paint fixes. That has to be scraped back to sound, clean substrate and re-primed from scratch, because painting over a failed bond just gives the next coat the same weak surface to fail on. Any scraping back to bare substrate needs the same open-window ventilation as the original prep, since sanding failed primer kicks up more dust than the first pass did.
If a stain keeps bleeding through even a properly applied stain-blocking primer, the source is still active. A ceiling stain that grows or darkens again after priming almost always means the leak was never actually fixed, and no primer, however good, blocks water still arriving from behind the surface. That has to be traced and stopped before any painting step will hold.
What to settle before you open the tin
Start with the age of the building. If your home was built before 1978, it may contain lead-based paint under the layers you’re about to sand or prime, and disturbing it releases lead dust into the air and onto nearby surfaces. Check the EPA’s guidance on lead-safe work practices before you scrape or sand anything. A homeowner working in their own home is legally exempt from the EPA’s Renovation, Repair and Painting rule, which requires paid contractors to be certified for this kind of work on older housing. That exemption changes who’s required to be certified. It doesn’t change how harmful the dust is. A home test kit can suggest lead is present, but it isn’t conclusive. The EPA’s own guidance is the source to check, not a swab from the hardware store.
Light, air, and the right can
Settle the light next. Look at the stained area under the same daylight and artificial light the room actually gets, not just a work lamp propped in the corner, because a shadow invisible under one light source can be obvious under another once the topcoat’s on.
Settle ventilation before the tin is even open. Oil-based and shellac-based stain-blocking primers carry stronger fumes than the wall paint going over them, and a small bathroom or closet with the door shut is a bad place to use either one. Open the windows, get air moving through the room, and keep it moving until the primer has fully cured, not just until it feels dry to the touch.
Finally, settle which primer the stain actually needs, based on what caused it rather than a guess. A shellac-based primer, an oil-based primer, and a plain stain-blocking latex don’t all handle the same stains equally well. Read the can for the specific stains it’s rated to block before you buy it, not after.
Common questions
Can I just add a few more coats of regular paint instead of buying primer?
No. Regular wall paint is water-based, so each new coat gives the stain compound another batch of water to dissolve into and another drying cycle to travel through. Ten coats of ordinary paint will show the same stain as one, because none of them stop the migration.
Does the primer have to be tinted to match my wall color?
Tinting is fine as long as the can is still labeled as a stain-blocking primer for the stain type you have. A primer that’s just tinted for color-hiding, without a stain-blocking rating, won’t stop a bleeding stain any better than the topcoat would.
The leak is fixed and the stain is bone dry, do I still need to prime it?
Yes. A dry stain still has mineral salts, rust, or tannins sitting in the surface, and those redissolve into a fresh coat of water-based paint the same as a wet one would. Drying out the source stops new staining. It doesn’t remove what’s already there.
How do I tell in advance whether a stain is going to bleed through?
Water rings, smoke film, rust spots, and knots or streaks in raw wood almost always bleed through a standard wall paint, so treat any of those as a bleeding stain by default rather than waiting to find out after the topcoat’s on. A stain that’s purely surface dirt, with no ring or discoloration underneath and no wood grain involved, usually comes off with cleaning and never needed a stain-blocking primer at all.