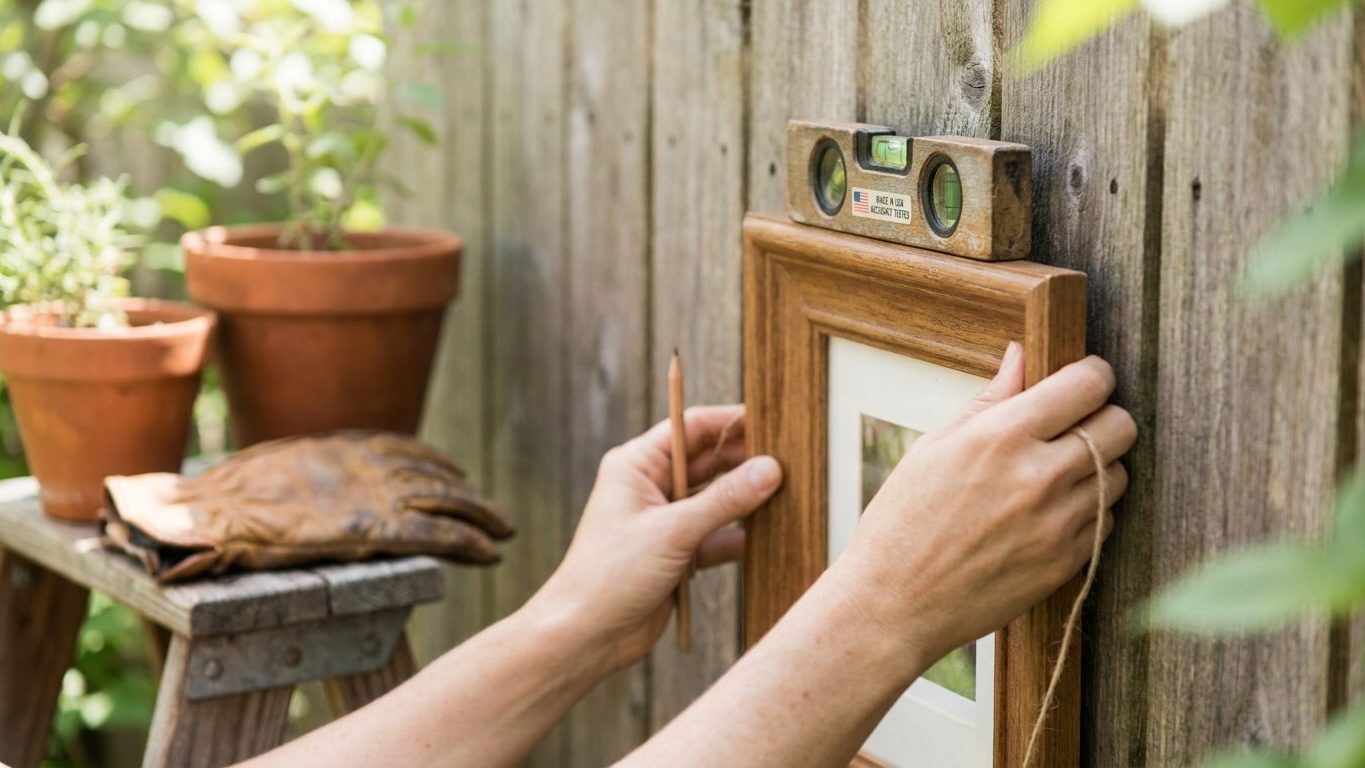

One centered hook is the reason most pictures drift crooked within days of being hung. A single point of support lets the frame pivot around it, so any bump, a slammed door, even the house settling, rotates the picture slowly out of level. The fix isn’t a better hook. It’s a second fixing, spaced well apart from the first, so the frame has two points to swing from instead of one.
What is actually going on

Hang anything from a single point and it behaves like a pendulum. Gravity pulls the center of mass straight down, and if that center sits even slightly off from the fixing, the frame settles into a slow rotation until the two line up, then repeats the process every time something disturbs it. A single centered hook, a lone nail, one sawtooth hanger screwed to the back of the frame, all create exactly this problem. There is nothing wrong with the hook itself. The fault is that one point of contact cannot resist twisting.
Two fixings spaced apart change the physics. For the frame to rotate around one nail, it would also have to lift away from the second, and gravity won’t let it do both at once. That’s why a picture hung from two points near its left and right edges stays put through years of door slams and passing traffic, while the same picture on one central hook creeps crooked within a week. Spacing is what does the work, not the number of fixings. Two nails an inch apart behave almost exactly like one.
The same logic applies to the wire on the back of the frame. A taut wire strung between two D-rings set wide apart, hung over two separate points on the wall, holds level. A slack wire strung to a single central nail collapses back into the one-point case, because the wire finds its own lowest point and the frame swings from there no matter how wide the D-rings are spaced.
Before any drilling
Cables and, in some houses, plumbing or gas lines run inside walls, and the usual convention that they follow stud spacing or run only vertically from a switch is not a guarantee, especially in an older house that’s been rewired or replumbed off the original layout. Check what is behind the wall before you drill, with a cable and pipe detector or by reasoning from an accessible point such as a switch or outlet on the same wall. If you can’t confirm what’s there, don’t drill into that spot. This site doesn’t cover opening a wall to move a cable or work on wiring. That job goes to an electrician.
Doing it
The two-point method works the same for a light print and a heavy mirror. Only the hardware changes with the weight. Before you mark anything, decide how high the piece is going, since that decision shapes where the fixings land more than the wall does. The usual convention is to center artwork so its middle sits around eye level for someone standing, though that shifts depending on the furniture beneath it and the room, and how high to hang a picture is worth settling before you pick up a pencil.
- Find the two hanging points on the back of the frame: two D-rings, two sawtooth hangers, or the two ends of a taut wire pulled up snug. Measure the distance between them and the distance down from the top of the frame to each point. Skip this and you’re guessing at the wall, which is where crooked pictures start.
- Hold the frame against the wall at the height you’ve settled on and mark the wall lightly in pencil at both top corners, or have a helper hold it while you step back and check by eye. Skip this and you’re transferring frame measurements onto a wall that isn’t itself level, which some walls aren’t.
- Transfer the two hanging-point measurements down from your corner marks to get two exact fixing positions, and draw a level horizontal line connecting them before you drill or nail either one. Fix one point first and eyeball the second, and small errors compound until the picture hangs level for about a day.
- Drive both fixings and check each one is seated firmly before hanging anything from it. A fixing that isn’t fully seated moves under load exactly like a single loose hook, handing you back the one-point problem even though the marking was correct.
- Hang the picture and check it with a level placed across the top or bottom edge of the frame, not by eye from across the room. A slightly tilted floor or a nearby piece of furniture makes a level picture look crooked and an actual crooked one look fine.
Wire or fixed brackets is the other decision this step forces. A wire strung between two D-rings suits a frame with some flex to it, because it self-adjusts slightly as the frame settles. Two rigid fixings straight onto the wall, one at each hanging point with no wire between them, hold a heavier or stiffer frame more securely, since there’s no wire left to stretch or slip over time. For anything with real weight to it, fixed points beat wire. Once the picture is level, some people add a small light above it to bring out the piece, and that’s a separate decision from hanging it. Choosing the right brightness matters more than the fixture you pick.
What it looks like when it goes wrong
Most failures on this job fall into two categories, and they don’t get the same fix.
| What you see | What caused it | Fix or redo |
|---|---|---|
| Picture slowly rotates crooked over days or weeks | Single hanging point, or two points too close together to resist rotation | Add a second fixing spaced well apart from the first. No need to remove the original. |
| Picture hangs level but sits crooked against the wall | Frame is level but the wall, floor, or nearby furniture line is not | Cannot be fixed at the frame. Re-check by eye against the level, not against the room. |
| Fixing has pulled loose, frame drooping to one side | Fixing rated below the frame’s weight, or driven into wallboard with nothing solid behind it | Redo with a fixing rated for the weight, anchored into a stud or solid material, not wallboard alone. |
| Frame has come away from the wall and fallen | Fixing failure under full load, sometimes worsened by drilling into a cable void or hollow section | Check the wall and hardware before rehanging anything, and check the frame or glass for damage first. |
The first two rows are cosmetic and easy to sort out without touching the wall again. The last two are structural, and the last one specifically is a safety matter, not a cosmetic one. A fallen frame with glass in it is a hazard on top of being a nuisance, and the cause needs identifying before that spot gets used again.
What to settle first
Everything above assumes the wall itself can take the load, and that’s worth confirming before you mark a single point. A solid masonry wall, a timber stud wall with drywall over it, and a hollow partition wall behave differently under load, and the fixing that works in one does nothing in another. The wall decides what kind of fixing you need far more than the picture does, so identify the wall type before buying any hardware.
- What the wall is made of: solid masonry takes a masonry fixing driven straight in, a stud wall needs the fixing into the stud itself or into a fixing rated for hollow board, and the two aren’t interchangeable.
- What’s inside it: check for cables and pipework before drilling, using a detector or by tracing the layout from a switch, outlet, or fitting on the same wall. The usual assumption that services run only in neat vertical or horizontal lines is a convention some builders followed and others didn’t, and an older house is the least likely to follow it reliably.
- If the load belongs there at all: a heavy mirror or a large framed piece on a hollow partition wall may be more weight than that wall type is meant to carry, regardless of how good the fixing is. That’s a different question from how to hang it level.
If any of this is uncertain, that uncertainty is the thing to resolve first, not the last thing checked after the holes are already drilled. This site doesn’t cover wiring work of any kind. If a cable turns out to be in the way, or the fixing point you need sits over a switch or outlet, that’s a job for an electrician, not a workaround with the picture.
Common questions
Can I use just one strong hook if it’s rated for the weight?
A hook rated for the weight solves the strength problem, not the rotation problem. A single fixing can hold twenty pounds and still let the frame swing crooked, because rotation and load capacity are two separate things. Add a second fixing spaced apart even if the first one alone could carry the weight.
How far apart do the two fixings need to be?
Wider is more stable, roughly in proportion to the width of the frame itself. Two fixings only an inch or two apart behave close to a single-point hang, while spacing them near the frame’s actual edges gives real resistance to rotation. There’s no fixed ratio to hit. Aim for as wide a spread as the frame’s hardware allows.
My picture is level but still looks crooked, what’s going on?
Check the level against the frame itself, not against the room. A sloped floor, an out-of-square wall, or furniture beneath the piece can all make a genuinely level picture look tilted to the eye. If the level confirms it’s straight, the picture is straight, and the fix is elsewhere in the room, not on the frame.
Do I need two fixings for a small, light picture too?
It matters less at very light weights, but it’s still the safer habit. A small light frame on a single hook is less likely to fail structurally, but it’s just as likely to drift crooked over time, since rotation depends on having one pivot point, not on how much weight hangs from it.