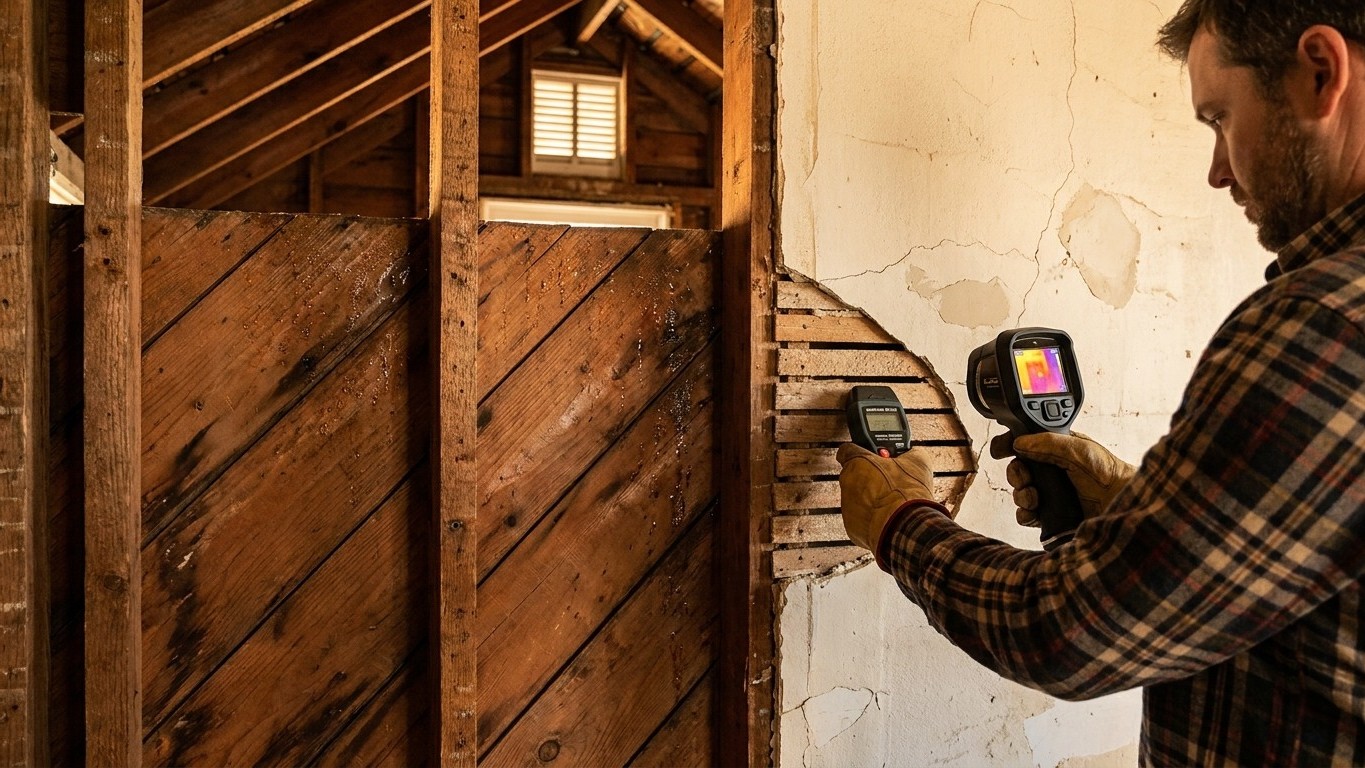

The safe path through this is simple to say and easy to skip: keep the house’s original drying route working, air seal before adding insulation, and match any vapor control to your actual climate rather than a rule you read somewhere else. Insulation that blocks airflow without giving moisture somewhere to go doesn’t fix a drafty old house. It just moves the problem inside the wall, where you won’t see it until the damage is done.
What is actually going on

Older assemblies were not designed to be tight. Wood siding over plank sheathing, plaster over lath, balloon-framed stud cavities running from the sill to the roofline, attics venting freely from soffit to ridge: none of it was airtight by intent, it was airtight by accident of poor workmanship, and that accident did a job nobody planned for. Moisture generated inside the house, cooking steam, shower humidity, ground dampness rising through an open crawlspace, moved out through the same gaps that let cold air in. It dried before it accumulated because the house never stopped breathing.
Insulating that house without a plan interrupts exactly that mechanism. Pack a stud bay with material that also blocks airflow, without addressing where the air used to travel, and you’ve removed the drying path while doing nothing to reduce how much moisture the household still produces every day. Warm indoor air still finds its way to a cold surface, only now that surface sits behind denser material with less air movement to carry the condensation back out. The water has nowhere to go. It sits in the wood, in the sheathing, in the insulation itself.
Why this matters more in older construction
Newer houses are built with a continuous air barrier and a defined vapor strategy from the start, so insulation gets installed inside a system designed to handle moisture. Older houses were not built with that system. A solid masonry wall with no cavity, a dirt-floor crawlspace with no ground cover, an attic with no baffles at the soffit: each one dries differently, and each one reacts differently once insulation changes how air moves through it. That’s the reason a generic insulation guide can tell you what material and what R-value, but it can’t tell you what your specific cavity will do once it’s closed. Understanding the mechanism, air movement carried moisture out, insulation without air sealing traps it in, lets you look at your own attic, wall, or crawlspace and ask the right question before buying anything: where does the moisture go now, and where will it go after this work is done.
Symptoms show up slowly: musty smells, peeling exterior paint, soft spots in a sill plate, mold on the back of drywall nobody’s looked behind in years. By the time it’s visible, the moisture’s usually been trapped for one or more heating seasons already.
Where it belongs, and where it does not
Some parts of an older house take insulation easily and reward it quickly. Others need an assessment first, because the wrong material in the wrong spot doesn’t just waste effort, it creates the exact trapped-moisture problem described above. A word of caution before any of this: attic work means walking on the ceiling joists, not the drywall or insulation between them, and that’s worth remembering before anyone climbs up there alone.
| Situation | What’s appropriate | Where it goes wrong |
|---|---|---|
| Attic floor, currently uninsulated | A straightforward first project; add insulation to the level recommended for your climate zone | Blocking the soffit-to-ridge airflow path while installing traps moisture under the roof deck |
| Attic floor, already has some insulation | Top up to the recommended level rather than starting over | Adding on top without checking what’s already there for water staining or a material that needs assessment first |
| Floor over an unconditioned crawlspace | Insulate the floor, but treat ground moisture in the crawlspace as a separate problem to solve | Insulating the floor alone, with a wet dirt floor below, just moves damp air against the joists instead of away from them |
| Accessible basement rim joists | One of the easiest, lowest-risk spots to insulate directly | Ignoring bulk water entering the foundation first, insulation doesn’t fix a leak |
| Wall cavities behind existing siding | Worth doing only when the siding is already coming off for other work | Blowing insulation into a closed wall never built to accommodate it, with no plan for how it will dry if it gets wet |
| Solid masonry walls with no stud cavity | Needs an assessment before any interior insulation goes up | Interior insulation changes which direction the wall dries; done wrong, moisture gets trapped against brick or stone |
| Suspected asbestos or vermiculite insulation | Stop, and get it assessed before disturbing it | Not a do-it-yourself decision; disturbing it can release fibers |
| Knob-and-tube wiring in the attic | Get an electrician’s assessment before covering it | Some materials and codes restrict covering these conductors, and there’s a fire risk in ignoring that |
None of this is an argument against insulating an older house. It’s an argument for sequencing: the attic floor and the basement rim joists are usually the safe, obvious places to start, while walls, masonry, and anything involving old wiring or suspect material need a second look before the first bag of insulation gets opened.
The moisture side of the decision
Every insulation choice doubles as a moisture choice, whether anyone treats it that way or not. An assembly needs a direction it can dry in when it gets wet, because every wall and roof gets wet eventually, from a small leak, from humid air finding a cold surface, from construction moisture that never fully left. What stops that drying is usually a vapor retarder installed on the wrong side of the assembly for the climate it’s in.
This is where a national page has to stop short of giving you a rule, because the right answer depends on where you live. The model energy code that most states build from doesn’t require an interior vapor retarder at all in the three warmest climate zones, since one installed there can trap moisture that would otherwise dry safely toward the inside, especially with air conditioning pulling humid air toward that cooler indoor surface. In colder and mixed climates the calculation runs differently, and the placement that works in one zone can cause the exact damp problem you’re trying to avoid in another. That’s a decision for a vapor barrier guide specific to the question, and for your own state’s building guidance, not something a general page like this one can assign to your house.
A vapor retarder and an air barrier are not the same thing and don’t do the same job. An air barrier stops air, and the moisture it’s carrying, from moving through the assembly at all. A vapor retarder slows the much slower process of water vapor diffusing through solid material even where there’s no air movement at all. A house can have one without the other, and confusing them is a common way that a well-meaning retrofit ends up damper than the house it replaced.
One more check belongs here: if there’s a combustion appliance, a furnace, a water heater, anything with a flame, in or near a space you’re about to air seal, that space needs a combustion safety assessment before the work happens. Tightening a room that appliance depends on for air can cause it to backdraft, which is a hazard, not a moisture issue, but one that shows up in exactly the same projects.
What to settle before you buy anything
ENERGY STAR treats air sealing and insulation as two steps of one project, and it puts sealing first for a reason: insulation slows heat flow, but it does very little to stop moving air, and it’s the moving air that carries both energy loss and moisture. EPA estimates that homeowners can save an average of 15% on heating and cooling costs (or an average of 11% on total energy costs) by air sealing their homes and adding insulation in attics, floors over crawl spaces, and accessible basement rim joists. That’s an average from modeling a typical existing home, not a promise for any specific house, and it’s specific to those spaces, not walls, windows, or doors.
Before buying material, check what’s already there. Measure the existing insulation depth in the attic, since that number, not a guess, determines whether you’re starting from zero or topping up. Then check whether the space is even accessible: an attic with a hatch you can reach is a different project from a cathedral ceiling with no access at all, and a crawlspace you can crawl through is a different project from one you can’t fit into.
Once those are settled, the amount to buy depends on climate zone. ENERGY STAR’s recommended levels for retrofitting existing wood-framed houses, based on the 2021 International Energy Conservation Code, are laid out below. The table has two attic columns and one floor column per zone, not three attic values, so read the labels carefully.
| Climate Zone | Attic if currently uninsulated | Attic if you already have 3-4 inches | Floor |
|---|---|---|---|
| Zone 1 | R30 | R25 | R13 |
| Zone 2 | R49 | R38 | R13 |
| Zone 3 | R49 | R38 | R19 |
| Zones 4A and 4B | R60 | R49 | R19 |
| Zones 6, 5, and 4C | R60 | R49 | R30 |
| Zones 7 and 8 | R60 | R49 | R38 |
Find your zone on ENERGY STAR’s published climate zone map before buying anything, since the same project needs a different amount of material depending on where the house sits, and no state, county, or ZIP code is a substitute for checking it directly. Also worth a call before shopping: your state energy office, which usually runs its own rebate or assistance program for insulation and air sealing work, separate from anything at the federal level.
Common questions
Does insulating an old house always cause a moisture problem?
No. The risk comes from closing off airflow without a plan for where moisture goes afterward, not from insulation itself. Air sealing done correctly, with attention to which way the assembly needs to dry, is how older houses get insulated without creating damp problems.
Can insulation go in before air sealing is done?
It’s not the order ENERGY STAR recommends. Air sealing addresses the moving air that carries both heat loss and moisture, so doing it first, then insulating, gets more out of both steps than insulating alone.
How do I find my climate zone?
Through ENERGY STAR’s published climate zone map. It’s the only reliable source for this, since the boundaries don’t line up neatly with state or county lines.
Does every older house need a vapor barrier?
No, and the answer depends on climate. The model energy code doesn’t require an interior vapor retarder in the three warmest zones at all. Check a vapor barrier guide and your state’s building guidance before assuming one is needed.