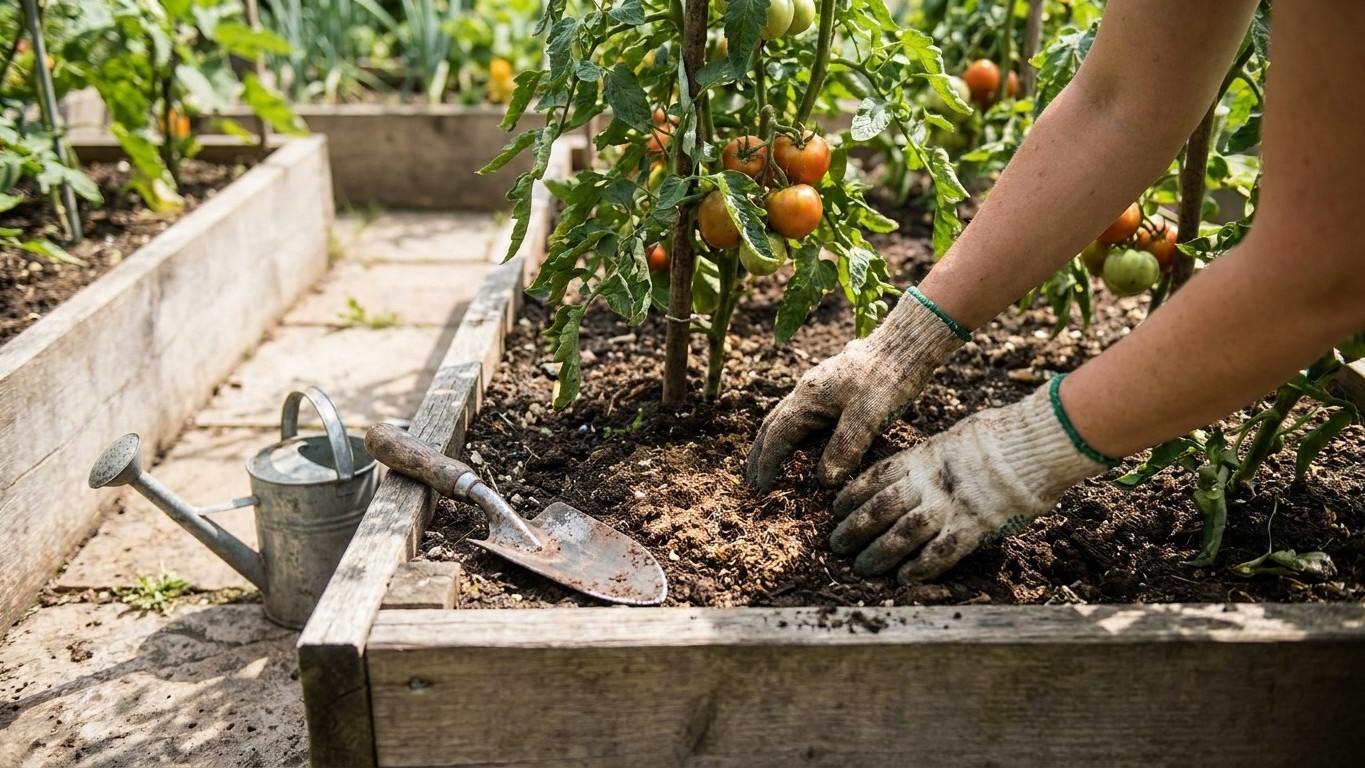

Tomatoes need a different nutrient balance at each stage: nitrogen-heavy at transplant to build leaves and roots, then a shift toward phosphorus and potassium once flowers appear so the plant puts energy into fruit instead of foliage. The single action that follows: stop straight nitrogen feeding the moment you see the first flower clusters, and switch to a bloom-and-fruit formula for the rest of the season.
Why this matters
A tomato plant’s nutrient needs are not flat across the season. Early on, it needs nitrogen to build the root system and the first flush of leaves that will eventually power fruit production. Once flowering starts, the priority shifts. The plant now needs phosphorus to set fruit and potassium to size and ripen it. Feed the wrong ratio at the wrong time and the plant does not fail outright, but it underperforms in a specific, recognizable way.
Keep feeding high-nitrogen fertilizer after flowering starts and you get a tomato plant that looks fantastic and produces poorly: dark green, vigorous, covered in leaves, with flowers that drop before they set fruit or fruit that stays small. Skip feeding altogether once the plant is established and you get the opposite problem: pale lower leaves, stunted growth, and a plant that simply runs out of steam by midseason because containers and even garden soil rarely hold enough nutrients to carry a heavy-feeding crop like tomatoes through a full season on their own.
When to do it
Time your feeding to what the plant is doing, not to a date on a calendar. After transplanting, give the roots a week or two to settle before starting any regular feeding program. This avoids burning roots that are still recovering from transplant shock. A balanced or slightly nitrogen-forward fertilizer at this stage supports the leafy growth the plant needs before it can support flowers or fruit.
The next trigger is the appearance of the first flower clusters, usually on the lower stems. This is the signal to change formula, not to change frequency. Watch for buds opening into small yellow flowers rather than just flower stems, since that is the point the plant genuinely starts demanding phosphorus and potassium. Once fruit has set and is visibly swelling on the first few trusses, keep feeding on the same bloom-and-fruit schedule right through harvest. Indeterminate varieties that keep producing new flowers all season need this steady feeding for months, while determinate varieties that set most of their fruit in a shorter window can taper off once the main flush has sized up. If you’re still deciding between the two, our guide to choosing the right tomato variety for your season covers how growth habit affects the whole feeding calendar, not just its length.
How to do it

Feeding tomatoes well comes down to three things: the right formula for the stage, the right method of delivery, and consistency. Skip around on any of the three and results get patchy.
Choosing a formula
Look at the three numbers on any fertilizer label, nitrogen-phosphorus-potassium. For the early leafy stage, something closer to balanced or mildly nitrogen-forward works well. Once flowering starts, switch to a fertilizer marketed for tomatoes, vegetables, or “bloom and fruit,” which will carry lower nitrogen and higher phosphorus and potassium. Granular, liquid, and water-soluble powder forms all work. Liquid and water-soluble feeds act faster and are easier to dose precisely, which matters more in containers where there is less soil to buffer a mistake.
Method and quantity
- Liquid or water-soluble feed: mix according to the label, typically diluted in a watering can, and apply to moist soil around the base of the plant, never onto dry roots. Feed every one to two weeks through the growing season.
- Granular slow-release fertilizer: scratch a small handful into the top inch or two of soil at the plant’s drip line, away from direct stem contact, and water it in well. This releases nutrients over several weeks, so you feed less often.
- Compost or aged manure top-dress: a couple of inches worked lightly into the surface soil at planting and again mid-season adds slow, steady fertility and improves soil structure, though it rarely supplies enough potassium alone for heavy fruiting.
Whatever form you use, always water the plant first if the soil is dry. Fertilizer applied to parched soil concentrates around the roots and can scorch them, showing up later as browned leaf edges. Done right, a well-fed tomato plant looks steady rather than shockingly lush: medium green leaves, strong stems, flowers that hold and swell into fruit within a week or two rather than dropping.
Companion plants share that same root zone and compete for the same nutrients, so a bed crowded with heavy feeders will need more frequent feeding than a bed planted more sparsely. Our page on what genuinely helps and what is folklore in tomato companion planting is worth reading before you fill every gap around your plants.
What goes wrong

The most common mistake is continuing a nitrogen-heavy feed after flowering because the plant looks like it is thriving. Leaf color and growth rate are not the whole story. If flowers are dropping without setting fruit and the foliage is unusually dark and dense, too much nitrogen at the wrong stage is the likely cause, not disease or poor pollination.
The second mistake, and the one that looks like extra care but is not, is feeding more often than the plant can use. Doubling up on liquid feed or adding fertilizer every time you water seems like insurance, but it builds up salts in the soil, especially in containers with limited volume, and shows up as scorched or curling leaf edges and stunted new growth. Fertilizer is not like water. More is not simply better, it is a different problem.
Under-feeding shows up more slowly and is easy to blame on something else. A plant that grows well early but stalls midseason, with pale lower leaves and small fruit that ripens early to save itself, is often just hungry. Check the feeding log before you check for pests or disease if a previously healthy plant suddenly slows down. Inconsistent feeding, skipping weeks and then overcorrecting with a heavy dose, causes similar swings and is harder to diagnose because the plant’s response lags behind the mistake by a week or more.
Doing it differently
Growing method changes how often you need to feed, even if the formula stays the same. Containers hold a fraction of the soil volume of a garden bed, so nutrients get used up and washed out through drainage much faster. Container-grown tomatoes generally need more frequent feeding at a lighter dose rather than the same dose on a garden-bed schedule. Our guide to pot size, compost and watering rhythm for container tomatoes goes into how pot size specifically affects how fast nutrients deplete.
Raised beds sit somewhere between containers and open ground. They drain faster than native soil but hold more volume than a pot, so a moderate feeding schedule usually works, adjusted based on how sandy or heavy the bed mix is. Greenhouse and high-tunnel tomatoes, protected from rain that would otherwise leach nutrients out of the root zone, can go longer between feeds but need closer watching for salt buildup since nothing is washing the soil clean between applications.
Variety type matters too. Determinate varieties set most of their fruit in one concentrated window and can be fed on a shorter, front-loaded schedule that eases off once the main crop has sized. Indeterminate varieties keep flowering and fruiting until frost or disease stops them, so they need steady feeding for the entire season rather than a front-loaded burst. If your beds also include companion crops, the spacing and nutrient competition described in our companion planting guide is worth checking alongside your feeding plan, since a densely interplanted bed behaves more like a container than open ground when it comes to nutrient depletion.
Common questions
Can I just use tomato fertilizer the whole season instead of switching formulas?
You can, and many gardeners do with reasonable results, since bloom-and-fruit formulas already carry lower nitrogen than an all-purpose feed. The tradeoff is slower leaf and root development early on, right when the plant benefits most from a nitrogen boost, so growth may lag a little in the first few weeks compared to a two-stage approach.
Why are my tomato leaves curling after I fertilized?
Curling right after feeding usually points to over-fertilizing or feeding dry soil, both of which concentrate salts around the roots. It can also be heat or moisture stress unrelated to feeding at all, so check soil moisture and recent temperatures before assuming the fertilizer is at fault.
Do I need to feed tomatoes if I already added compost at planting?
Compost adds organic matter and some nutrients, but it rarely supplies enough phosphorus and potassium on its own to carry a heavy-fruiting plant through a full season. Treat it as a soil-building supplement alongside a regular feeding program, not a replacement for one.
Is Epsom salt actually necessary for tomatoes?
Epsom salt supplies magnesium and sulfur, which some soils lack, but it is not a universal requirement and adding it without a known deficiency can throw off other nutrient ratios. A soil test through your local extension service is a more reliable way to know if your soil actually needs it before adding any.