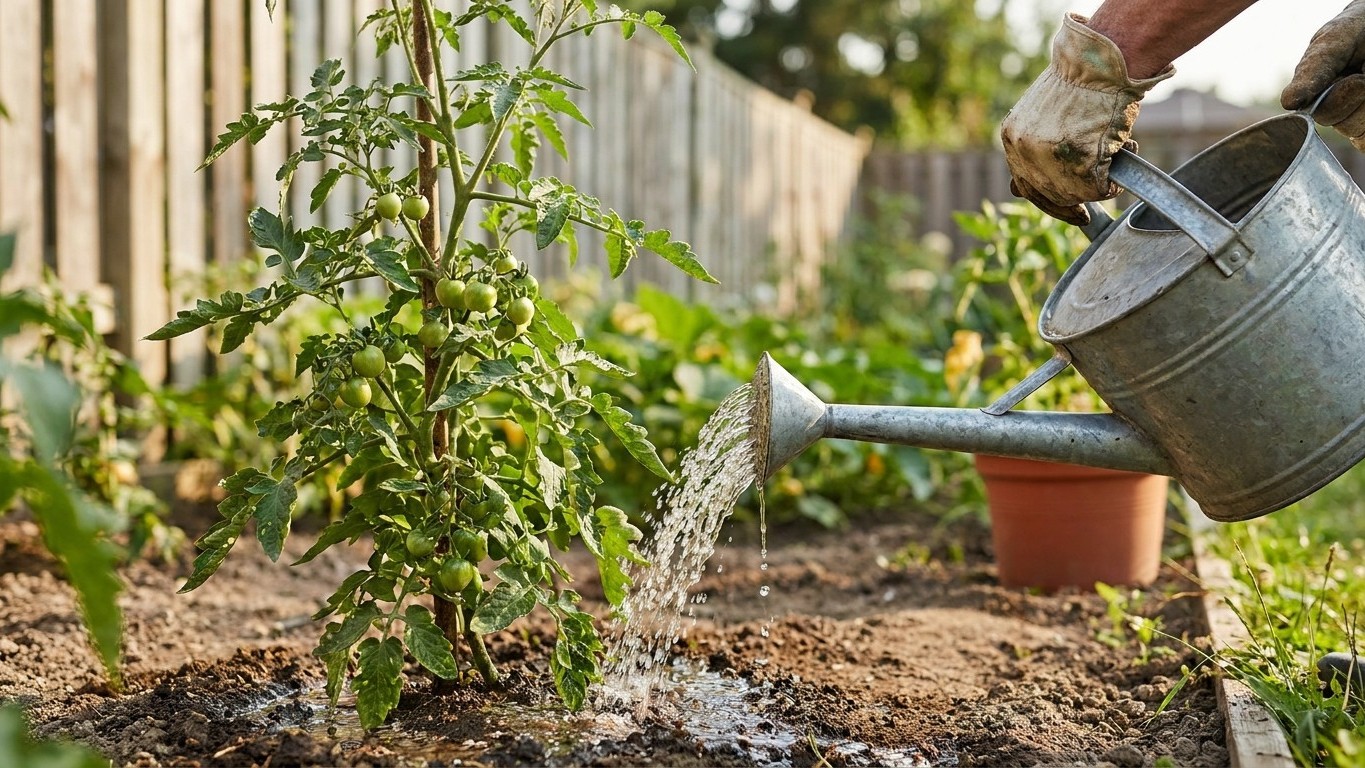

Tomatoes need deep, even watering rather than frequent light sprinkling. The goal is to moisten the root zone several inches down each time, then let the top inch or so of soil dry out before you water again, instead of following a fixed daily schedule. Check the soil with a finger before you reach for the hose. If it’s dry two inches down near the base of the plant, water now and water deeply.
Why this matters
A tomato plant’s water supply directly controls how it uses calcium, and calcium is what holds fruit cell walls together as they expand. When soil moisture swings from bone dry to soaked and back, the plant can’t move calcium into the fruit fast enough, and you get blossom end rot, the sunken black patch on the bottom of otherwise healthy tomatoes. This isn’t a soil deficiency in most gardens. It’s a watering problem wearing a nutrient disguise.
Uneven watering also shows up as cracked or split fruit, especially after a dry spell followed by a heavy soak. The skin can’t stretch fast enough to keep up with the sudden uptake of water, so it splits. Skip watering altogether during a hot stretch and the plant will drop blossoms and stall fruit growth to protect itself, which costs you a chunk of the harvest you were counting on. Steady moisture, not maximum moisture, is what tomatoes are actually asking for.
When to do it
Right after transplanting, water generously and often enough to keep the root ball from drying out while new roots push into the surrounding soil. This period is short. Once you see fresh growth at the top of the plant, the roots have taken hold and you can start easing off toward a deeper, less frequent rhythm. If you’re still getting your plants established, the main tomato guide on how to grow tomatoes covers that early stage in more detail.
The next moment to pay attention to is first flowering. Flowers are the plant signaling it has enough resources to reproduce, and inconsistent water right now can cause it to abort blossoms instead of setting fruit. Once fruit starts sizing up, watering consistency matters more than at any other point in the season. This is when blossom end rot and cracking actually happen, even though the root cause, uneven watering, may have started days earlier. Watch the fruit itself: firm, steadily swelling tomatoes mean your watering rhythm is working. Fruit that stalls, then suddenly plumps after rain or a heavy watering, is telling you the gaps between waterings are too wide.
How to do it

Choosing a method
How you deliver the water matters almost as much as how much you give. Overhead sprinklers wet the foliage, which invites fungal diseases like early blight and septoria leaf spot, especially if leaves stay damp overnight. Drip irrigation and soaker hoses put water at the soil surface where roots actually are, and they waste far less to evaporation and wind drift.
| Method | Water efficiency | Disease risk | Best for |
|---|---|---|---|
| Drip line / drip tape | High | Low | Rows, raised beds, larger gardens |
| Soaker hose | Moderate to high | Low | Small beds, a handful of plants |
| Watering can or hose wand | Moderate | Moderate | Containers, a few plants, spot-checking |
| Overhead sprinkler | Low | High | Not recommended for tomatoes |
Doing the watering
Water at the base of the plant, not over the top of it. If you’re using a watering can or hose, aim the stream at the soil around the stem and move slowly enough that the water actually soaks in rather than running off across the surface. You’ll know you’ve given enough when the soil looks uniformly dark and damp, not just at the surface but when you push a finger or a trowel a few inches down. A dry layer just under a wet crust means you stopped too soon.
Watering in the early morning is the best habit to build. It gives the plant a full supply before the heat of the day pulls moisture out through the leaves, and any water that does splash on foliage has all day to dry, which cuts down on fungal problems. Evening watering leaves leaves damp overnight and is worth avoiding where you can.
A layer of mulch around the base does a lot of the consistency work for you by slowing evaporation and buffering the soil against sudden drying between waterings. If you haven’t laid any down yet, the guide on mulching tomatoes walks through material choices and depth. Watering and feeding are also linked: nutrients move through the plant dissolved in water, so a plant that’s been allowed to dry out hard won’t take up fertilizer well even if you feed it on schedule, which the piece on feeding tomatoes goes into further.
What goes wrong

The most common mistake is watering a little bit every day. It feels responsible, but shallow, frequent watering trains roots to stay near the surface where moisture is instead of growing deep, which makes the plant more vulnerable to drying out the moment you skip a day or the weather turns hot. This is the mistake that looks like extra care but actually undermines the plant.
Overwatering shows up as yellowing lower leaves, a general wilting despite wet soil, and sometimes a sour smell from waterlogged soil that’s starved of oxygen. Underwatering shows up as leaves that curl inward and feel dry or papery, and fruit that’s smaller than it should be for the variety. Both extremes stress the plant, and both make blossom end rot and cracking more likely, so don’t assume more water is automatically the safer error.
- Sudden, sunken dark patch on the bottom of fruit: blossom end rot from inconsistent moisture, not necessarily a calcium shortage in the soil.
- Concentric rings or splits in the skin: rapid water uptake after a dry stretch.
- Wilting in full sun that recovers by evening: normal heat response, not a sign to water immediately.
- Wilting that persists into the cool of morning: the plant is actually short on water.
Fruit that cracks or splits from uneven watering also won’t hold up well once picked, so if you’re seeing a lot of it, it’s worth reading how to handle what you do harvest in the guide on storing tomatoes.
Doing it differently
Containers dry out faster than garden soil because there’s less soil mass buffering against heat and wind, so potted tomatoes often need checking daily during hot weather even though the watering principle, deep and consistent rather than frequent and shallow, stays the same. A self-watering container with a reservoir can smooth this out considerably, since it feeds water up to the roots as the soil dries rather than relying on you to catch every dry-down.
Raised beds and greenhouses
Raised beds drain faster than in-ground soil and often need slightly more frequent watering for the same reason as containers, though less often than pots. Mulching helps here too, and the practical side of laying it down in a raised bed is covered in the guide on mulching tomatoes. Greenhouse and high-tunnel tomatoes never get rain at all, so the entire watering schedule falls on you. That’s actually an advantage for consistency, since you control every drop, but it means a missed day has a bigger effect than it would outdoors where a stray shower can bail you out.
Indeterminate varieties keep producing new flowers and fruit all season, so their water needs stay high right up until you stop harvesting. Determinate varieties set most of their fruit in a shorter window, and consistent watering matters most during that concentrated fruit-set and sizing period rather than across the whole season.
Common questions
How do I know if I’m overwatering my tomato plants?
Yellowing on the lower, older leaves while the soil stays visibly wet is the clearest sign. If the plant looks droopy even though the soil is soaked, the roots are likely oxygen-starved rather than thirsty, and adding more water will make it worse, not better.
Can I use tap water on tomatoes, or does it need to sit out first?
Tap water is fine for most home gardens. If your water is heavily chlorinated or softened with salt, letting it sit in an open container overnight lets chlorine dissipate and is an easy precaution, though it isn’t strictly necessary for most municipal supplies.
Should I water tomatoes every day in hot weather?
Not automatically. Hot weather increases water loss, but the fix is usually watering more deeply, not more often. Check the soil a couple of inches down before assuming a daily watering is warranted.
Why are my tomato leaves curling even though I’m watering regularly?
Leaf curl can come from heat stress, overwatering, or even wind, not just dryness, so don’t increase watering on curl alone. Check soil moisture directly with a finger or trowel before changing your routine, and look for other signs like yellowing or fruit symptoms to narrow down the cause.