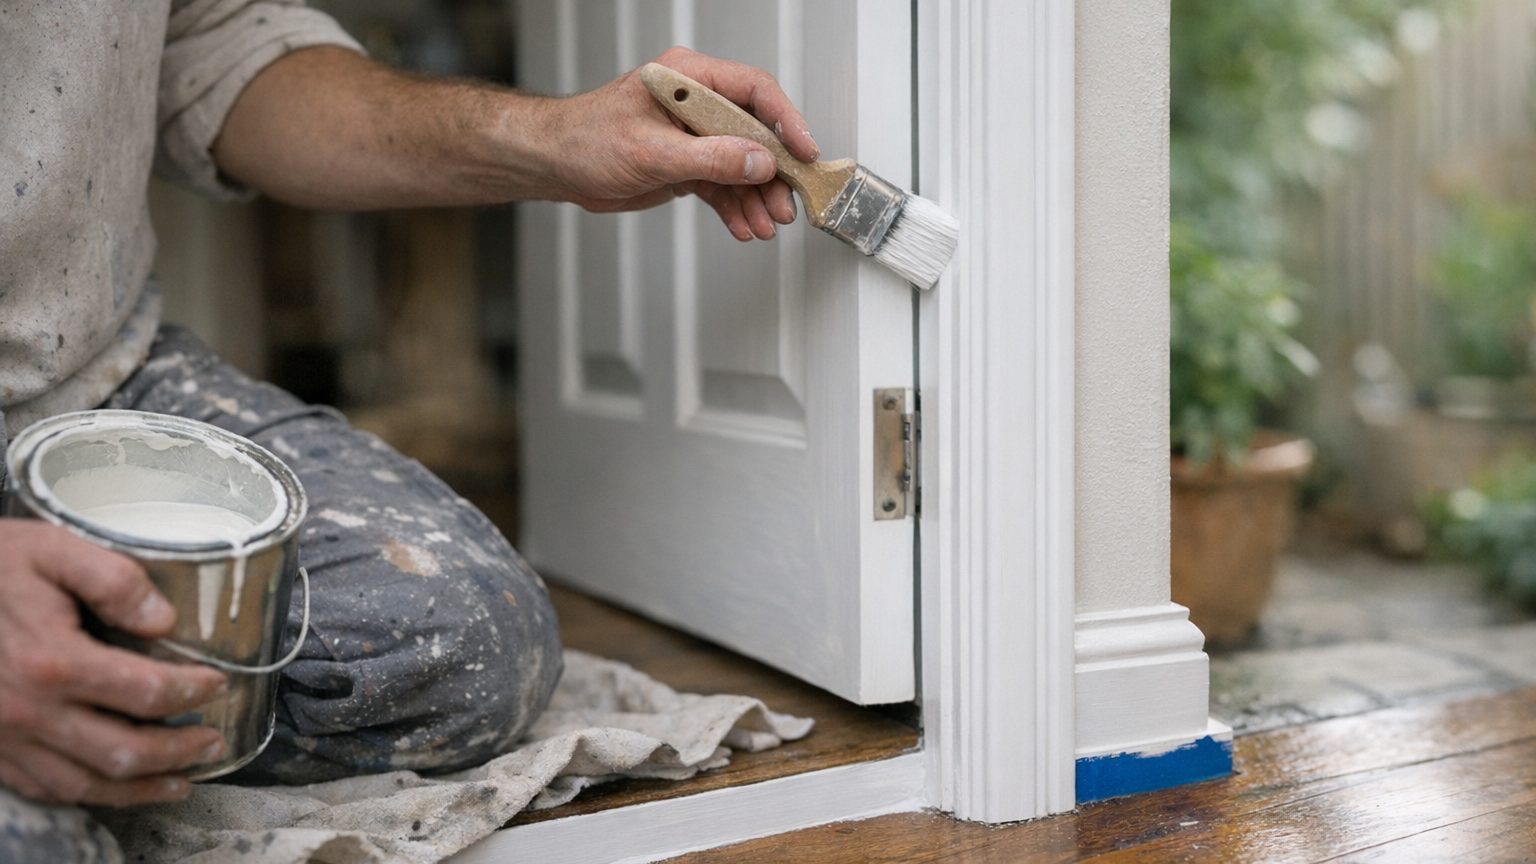

The brush marks that show up on a door months after painting aren’t really a sign of bad technique. Trim and doors need a harder, more washable paint film than a wall does, because they take hands and knocks, and a harder film levels out more slowly, holding onto every stroke while it dries. Thin your coats and slow the brush down, and that same hardness stops working against you.
What is actually going on

Trim gets touched, leaned on and bumped in a way a wall never is. A door edge takes a shoulder every time someone carries something through it. A baseboard takes the vacuum cleaner and the toe of a shoe. Because of that, trim and door paint is formulated to cure into a tighter, harder film than flat wall paint, usually with more resin relative to pigment, so it can be wiped down and shrugs off knocks without denting. This page assumes the surface underneath is already sound and clean the way the broader work described in Interior Painting: Preparation Is Most of the Work expects, since no amount of care with the brush fixes a surface that was never ready.
Why hardness works against a smooth finish
That same hardness is what gives trim its reputation for showing every fault. A soft, flat wall paint drags a little as you brush it, then relaxes and levels out while it’s still wet, smoothing over the ridges the bristles leave behind. A harder, glossier trim paint sets up on the surface faster and has less time to level before it starts to skin, so the ridges left by the brush stay locked into the dried film if you work too slowly or go back over a stroke that has already started to set. Gloss and semi-gloss finishes make this worse because they reflect light evenly across a flat area and unevenly across a ridge or lap mark, so a flaw that would disappear under flat wall paint throws a visible shadow line under sheen. If the wall itself is going in a dark color, that contrast puts even more scrutiny on the trim edge where the two paints meet, which is one reason Painting a Room a Dark Colour is worth reading alongside this page if that’s the plan for the room.
The tool you load matters as much as the paint in the tin. Choosing between a brush, a mini roller or a sprayer for trim work changes how much of this fight you’re taking on before the first coat even goes down, and Brush, Roller or Sprayer: What Each Is For covers which suits a panelled door and which suits a long run of baseboard. Whatever tool you pick, if any of the prep involves sanding old paint indoors, ventilation is not a comfort question here: dust from sanding and vapor from the new coat both build up fast in a closed hallway or stairwell, so open a window and run a fan pulling air out of the room for the whole job, not just while the tin is open.
Doing it
A panelled door rewards a specific order because it has a grain of its own, the raised panels, the rails and stiles around them, and the edge. Painting it out of order is how lap marks and drips end up in the middle of a flat panel instead of tucked into a joint where they disappear. The same logic applies to a run of baseboard: work in short, manageable lengths and keep a wet edge moving rather than trying to cover the whole wall in one pass.
| Step | Why it’s in this order | What happens if you skip it |
|---|---|---|
| Clean and degrease the surface | Removes hand oil and grime so the new coat can actually grip | New paint beads or lifts in patches within weeks, especially around handles and latches |
| Sand or scuff the old film | Gives the next coat a texture to key into | Glossy old paint sheds the new coat in sheets, worst on the most handled edges |
| Fill dents, nail holes and open joints | Patched areas need to sit level before anything is primed over them | Filler shrinks after painting and shows as a shadow or dip under raking light |
| Spot-prime bare wood and filler | Seals patches so they don’t soak up paint at a different rate than the surrounding wood | Patched spots dry duller or flatter than the surrounding paint, a defect called flashing |
| Paint the panels first, then rails and stiles, then the edge | Follows the door’s own joint lines so wet edges meet at a natural break, not mid-panel | A visible band appears where a dry edge got overpainted, called a lap mark |
| Tip off each section before moving on | Removes the last brush marks while the film can still move | Ridges lock into the paint and can’t be brushed out once it starts to skin |
| Catch a sag within the first few minutes | Wet paint can still be redistributed with an almost-dry brush | Once it skins, a run has to be sanded back and recoated as a repair, not smoothed away |
Do all of this with a window open and, if the room has no cross-draft, a fan pulling air out rather than in, especially once you’re wiping down dusty surfaces or working through several coats in one sitting. Tip off each section while it’s still wet rather than circling back to a spot you painted a few minutes ago, because a second pass over paint that has begun to set is exactly what raises the ridges you’re trying to avoid. And keep checking corners and undersides of rails as you go, since that’s where a run collects unseen and skins over before you notice it.
What it looks like when it goes wrong
Most trim defects announce themselves under the exact conditions trim gets judged in: close range, raking light, a hand running along a rail. Some of these are a five-minute fix. Others mean going back a stage.
Brush marks and drag

Parallel ridges running in the direction you brushed, most visible when light rakes across the surface at a low angle. If the paint hasn’t fully cured yet, a light sanding and a thinner, better-loaded coat usually corrects it. Once the film has fully hardened, the fix is sanding and repainting, not rubbing or wiping, since the ridges are part of the cured film itself.
Alligatoring

A coarse, random network of cracks that looks like reptile skin, with the layer underneath showing through the gaps. This cannot be spot-patched. The cracked film has to be sanded or scraped back to a sound layer and refeathered, because painting over an alligatored surface just telegraphs the same crack pattern through the new coat.
Flashing

Dull or shiny patches on what should be a uniform sheen, usually where a repair was primed and spot-painted rather than coated edge to edge. This is correctable, but only by recoating the whole panel or face, not the patch. A partial recoat just creates a second mismatch on top of the first.
Sags and runs

A ridge or drip standing proud of the surrounding film, usually on a vertical edge where paint was applied too heavily. Caught within minutes, it can be brushed back out. Missed until it sets, it needs a full cure, a sanding flat, and a fresh coat over the repaired spot.
Blocking

Two painted surfaces fused together where they touch, most common where a door meets its frame or a sash meets its stop. Prying them apart carefully and touching up any torn paint solves the immediate problem, but the underlying cause, usually a door closed or a sash shut before the film was ready, needs correcting next time rather than just patched over.
What to settle before you open the tin
Trim forgives less than a wall does, so the checks that matter here are the ones that decide whether the film has any chance of curing evenly and sitting flat.
- Surface condition: run a fingernail into a hidden corner to check whether the existing paint is sound, chalky, or lifting in layers, since that decides how much sanding or scraping the job actually needs.
- Light: check your work under the same light the room will actually have once it’s finished, whether that’s a window at a low angle or a lamp beside the door, because raking light shows flaws that overhead light hides completely.
- Ventilation: confirm you have a cross-draft or a fan pulling air out before you sand, prime or paint anything indoors, and keep it running for the whole job rather than switching it on only while the tin is open.
- Age of the building: if the woodwork is old enough that earlier coats could be lead-based, have it tested before you sand, scrape or disturb any of the existing paint, and follow proper lead-safe work practices rather than treating it like an ordinary repaint.
None of this replaces reading the label on the tin you’re actually using. Recoat times, working temperature and the number of coats needed all change with the specific product and the conditions in the room on the day, and that single sheet of instructions on the container overrides anything general written here.
Common questions
Do I need to sand between every coat on trim?
A light scuff-sand between coats gives the next layer something to key into and knocks down any dust nibs or minor ridges before they get buried under more paint. It matters more on trim than on a wall because the harder film shows those small imperfections far more readily.
Why does my door look fine up close but blotchy from across the room?
That’s usually flashing, where a patched or spot-primed area cures to a slightly different sheen than the rest of the panel. It reads as flat from a foot away and obviously mismatched from across the hallway. Recoating the whole face rather than just the patch is the only real fix.
Is it worth painting the hinges and hardware while they’re still on the door?
Taping around hardware rather than removing it usually looks worse than pulling the hinges and knobs off entirely, because paint builds up in the gap along the tape line and shows as a hard edge. Removing hardware also lets you get paint into the recess around a hinge, which a masked-off hinge never gets properly coated.
My baseboards keep sticking to the carpet edge after painting. What’s going on?
That’s a version of blocking, where the paint film hasn’t finished curing before something presses against it repeatedly. Carpet fibers pressing into a still-soft film can leave a texture mark or pull paint away when the carpet shifts. Giving the finished coat more time before pushing furniture or flooring back against it is the only real prevention.