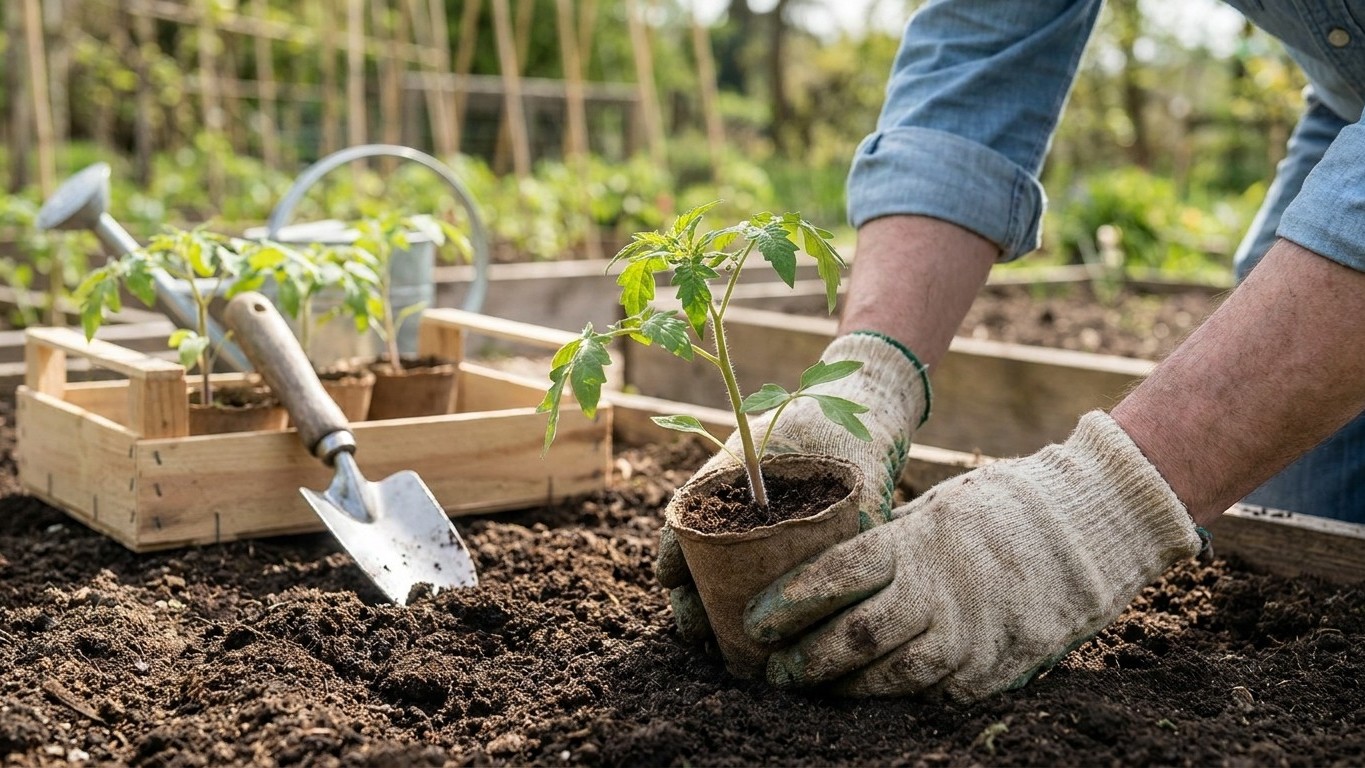

Bury a tomato seedling deep enough to cover two-thirds of its stem, whether that means a straight-down hole or a sideways trench, because roots will form along every buried inch of stem. Space plants roughly 24 to 36 inches apart for indeterminate varieties and somewhat closer for compact determinate types, though row spacing and exact figures depend on your support system. Before you dig, strip the lower leaves off the seedling so only the top set remains above soil level.
Why this matters
A tomato stem is covered in tiny bumps called adventitious root primordia. Bury that stem, in a hole or on its side in a trench, and every one of those bumps can turn into a real root once it’s underground and in contact with moist soil. A seedling planted shallow, with just the root ball tucked in, never gets to use this trick. It ends up with a smaller root system than it could have had, and a smaller root system means less water and nutrient uptake all season.
The practical result shows up weeks later, not on planting day. Shallow-planted tomatoes wilt faster in a dry spell, stall out when the weather turns hot, and often need more frequent watering right through fruiting. The depth you choose at transplant time sets the ceiling on root mass for the rest of the season, and you can’t fix it retroactively once the plant is established. This is also why leggy, stretched-out nursery seedlings aren’t a wasted purchase: that extra length is exactly what you bury.
When to do it
Plant at transplant time, when you’re moving the seedling from its nursery pot or seed tray into the garden bed, not before and not as some later fix. This is a one-time decision made at the moment the plant goes into the ground. There’s no going back and burying more stem once the plant has hardened off and started putting energy into top growth.
The signal to watch for isn’t a date on a calendar, it’s the plant itself. A seedling ready for transplant has a sturdy stem about the thickness of a pencil, at least one true set of leaves beyond the first seed leaves, and has already spent several days hardening off outdoors. If the stem still looks thin and floppy, or the plant is still indoors and untoughened, it isn’t ready, no matter how tall it’s gotten. Height alone is not the signal: a tall, thin, indoor-grown seedling is often weaker than a shorter one that’s been outside toughening up in wind and sun.
Once you’ve settled on a planting method, the next timing question is support. Decide whether the plant will be caged, staked, or trellised before you set it in the ground, since the hole or trench position should leave room for whatever structure you’re about to install. The guide to staking and caging tomatoes covers how to choose a support and get it in early, which matters more than it seems on a small seedling that will triple in size within a month.
How to do it

Start by stripping leaves off the seedling so only the top two or three sets remain. Every leaf you remove is a length of stem you can now bury, and every buried inch is potential root. Pinch or snip cleanly at the stem rather than tearing, since a ragged wound is slower to callus over.
Straight-down planting
For a seedling that isn’t too leggy, dig a hole deep enough that when the plant sits in it, the soil line covers everything below the remaining top leaves. Backfill and firm the soil gently around the stem with your fingers, then water in well. This is the simpler of the two methods and works fine for compact, stocky seedlings that haven’t stretched much.
Trenching, for leggy seedlings
Trenching solves the problem of a seedling that’s grown tall and thin before you could get it outside. Instead of digging one deep hole, which can put the root ball down into cold, poorly developed subsoil, you dig a shallow trench along the surface and lay the stem sideways in it.
- Dig a trench a few inches deep and long enough to hold the stem horizontally, with a small upward curve at one end so the top leaves can point skyward.
- Lay the stripped stem into the trench on its side, curving the growing tip up and out of the soil.
- Backfill over the horizontal section, leaving only the top leaf cluster exposed above ground.
- Firm the soil down along the buried length by hand, then water thoroughly so there are no air pockets around the stem.
The plant looks a little odd for the first few days, bent low with just a leafy crown poking up. Within a week or two the stem straightens itself upright as it grows, and roots begin forming along the whole buried length. Trenching works because it keeps the root zone in the warmer, more biologically active topsoil rather than sending a leggy plant’s roots down into cooler ground the way a deep vertical hole would. It’s the better choice specifically when the seedling is taller than the hole you’d otherwise need to dig.
Whichever method you use, water in immediately after planting with enough to settle the soil firmly against the stem, and check the next day that the plant hasn’t sagged or leaned as the loosened soil compacted.
What goes wrong

The most common mistake is planting too shallow because the hole looks deep enough at a glance but the seedling’s root ball sits high in loose, unfirmed soil. Check for this after watering: if the plant tips or the soil has sunk away from the stem, firm it again and add more soil to bring the line back up to where it should be.
The mistake that looks like extra care but isn’t is leaving every leaf on the seedling before planting, on the theory that more leaves means more photosynthesis right away. In practice, a seedling with too much top growth relative to its root system wilts hard in the first few days after transplant, spending energy trying to support leaves it can’t yet water properly. Stripping the lower leaves before planting isn’t a shortcut, it’s the step that lets the buried stem actually root instead of just sitting in the ground.
Crowding is the other frequent error, and it doesn’t show up until midseason. Plants set too close for their eventual size shade each other out, stay damp longer after rain or watering, and become far more prone to fungal leaf diseases. This is also where tomato pests and diseases take hold fastest, since poor airflow between crowded plants keeps foliage wet and creates the still, humid pocket that many fungal problems need to establish.
Finally, planting without deciding on support first often means driving a stake through roots you didn’t know were there, or discovering the cage doesn’t fit once the plant has already grown around it. Settle the support question before the trowel goes in the ground.
Doing it differently
Containers and raised beds
In a container, trenching sideways rarely makes sense since there usually isn’t enough horizontal room. A straight-down hole works better here, burying the stem as deep as the pot allows while leaving enough soil below the root ball for drainage. Raised beds usually have the loose, deep soil that makes either method work well, and are often the easiest place to trench a leggy seedling since you can shape the trench by hand in soft, amended soil.
Greenhouse and early transplants
Seedlings started early under cover, before it’s warm enough to plant out, tend to stretch and get leggy from lower light levels indoors. These are exactly the plants trenching was made for. A stocky, compact seedling from good outdoor light rarely needs it.
Determinate versus indeterminate varieties
Determinate varieties, which stop growing at a set size and ripen most of their fruit together, are usually planted a bit closer together than sprawling indeterminate types, which keep growing and producing until frost. Indeterminate varieties need the wider spacing and the sturdier support discussed on the staking and caging page, since a heavily loaded vine several feet tall needs a support that won’t tip over midseason. Either type benefits from the same depth principle: bury the stem, don’t just settle the root ball into the ground.
For a refresher on the steps that come before and after planting, from starting seed to picking the first ripe fruit, the main guide to growing tomatoes covers the whole crop. Once plants are in and rooting, the next task worth getting right is deciding which side shoots to leave and which to remove, covered in the guide to pruning tomato plants.
Common questions
Can you plant tomatoes too deep?
Yes, if you bury the growing tip or leave no leaves exposed above soil. The plant needs enough foliage left in the sun to keep photosynthesizing while new roots form along the buried stem, so always leave at least the top leaf cluster clear of the soil line.
Do I need to remove the leaves before trenching or is snapping them off enough?
A clean cut or pinch is better than snapping. Torn tissue heals more slowly and gives fungal problems an easier way in, particularly right at soil level where moisture sits longest.
My seedling looks bent and ugly after trenching, did I do it wrong?
Probably not. A trenched stem straightens itself upright over the following week or two as it grows toward light, and the bend at the base disappears from view once the plant fills out.
Should I add fertilizer or anything special to the hole when planting?
Keep it simple at planting time. Heavy fertilizer right in the planting hole can burn young roots before they’ve even formed, so water in with plain water first and hold off on feeding until the plant shows active new growth.