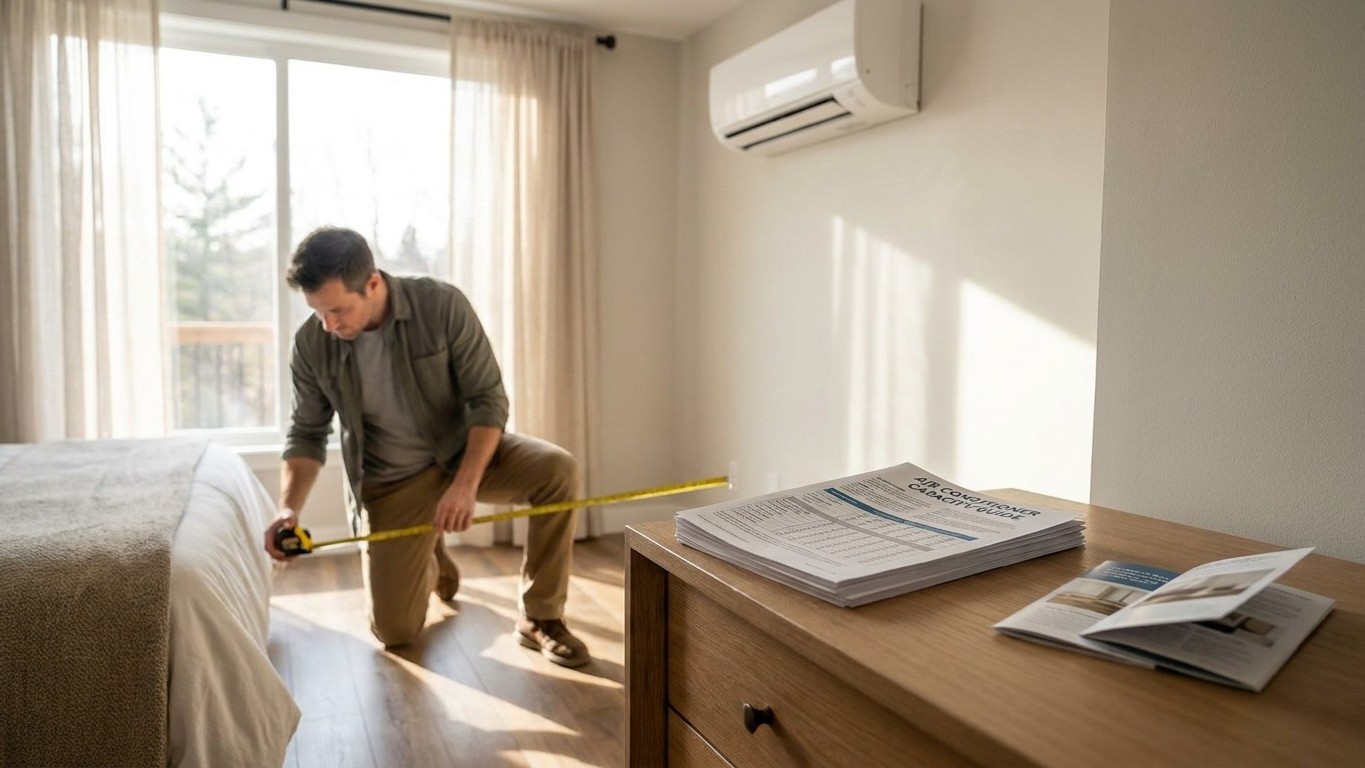

The short answer: measure the room’s square footage, then match it to the U.S. ENERGY STAR capacity chart below. A 300-square-foot bedroom, for example, calls for roughly 8,000 BTU per hour. That number is a starting point, not a guarantee, but it’s the one figure worth knowing before you shop.
What Size Mini-Split for the Room
A BTU rating measures how much heat a unit can remove from the air in an hour. The bigger the room, the more heat accumulates in it from walls, windows, appliances, and bodies moving through it, so the unit needs more capacity to keep pulling that heat out as fast as it builds back up. That’s the whole mechanism: square footage is a stand-in for how much heat load the space generates, and BTU capacity is the mini-split’s ability to keep pace with that load.
ENERGY STAR publishes a reference chart pairing area to be cooled with the capacity needed to do it. It’s built for typical rooms under typical conditions, and it’s the same chart HVAC contractors point homeowners to before any deeper analysis.
| Area to be cooled (sq ft) | Capacity needed (BTU/hr) |
|---|---|
| 100 up to 150 | 5,000 |
| 150 up to 250 | 6,000 |
| 250 up to 300 | 7,000 |
| 300 up to 350 | 8,000 |
| 350 up to 400 | 9,000 |
| 400 up to 450 | 10,000 |
| 450 up to 550 | 12,000 |
| 550 up to 700 | 14,000 |
| 700 up to 1,000 | 18,000 |
| 1,000 up to 1,200 | 21,000 |
| 1,200 up to 1,400 | 23,000 |
Source: U.S. ENERGY STAR.
Treat this table as a first pass, not a final load calculation. It doesn’t account for ceiling height, window exposure, Insulation quality, or how many people typically use the room. Those factors push the real number up or down from what the square footage alone suggests, which is exactly why a contractor still does a room-by-room load calculation before Installing anything.
Here’s the part people get backward: bigger isn’t safer. An oversized mini-split is a genuine fault, not a comfortable margin. It blasts the room down to the thermostat setting fast, then shuts off. Because it never runs long enough in a steady cycle, it doesn’t have time to pull humidity out of the air the way a properly sized unit does. The room ends up cold and clammy at the same time, which is the opposite of comfortable and a sign the equipment doesn’t fit the space.
How to tell, in your own house
The chart gives you a range. These checks narrow it down for your actual room, starting with what costs nothing and ending with what requires a professional.
- Measure the room yourself. Multiply length by width in feet to get square footage. Do this before anything else, since every other check depends on having an accurate number to start from.
- Match that number to the ENERGY STAR chart above and note the BTU range it falls into. If the room measures close to a boundary between two rows, lean toward the lower capacity unless the next two checks say otherwise.
- Walk the room and count the load-adding features: south- or west-facing windows, a ceiling higher than 8 feet, a kitchen or sunroom on the other side of a shared wall, or a spot that regularly holds more than two or three people at once. Each of these pushes the real heat load above what square footage alone predicts.
- Check the insulation and air sealing in that specific room, not the whole house. An older addition, a converted garage, or a room with a lot of single-pane glass loses or gains heat faster than the rest of the home, and the chart doesn’t know that.
- Get a room-by-room load calculation from an HVAC contractor before buying equipment. This is where DIY stops. A proper load calculation (often called a Manual J) factors in orientation, insulation R-values, window specifications, and local climate data in combination, not one at a time, and it’s the only way to catch a mismatch the chart can’t see.
The boundary is specific: measuring, observing, and estimating are homeowner work. Calculating the exact load and sizing the line set, refrigerant charge, and indoor unit to match it is not. That’s not a liability disclaimer, it’s a matter of tools and training. A licensed contractor uses climate data and calculation methods that go well beyond a square-footage chart, and getting that number wrong in either direction (too small or too big) creates a problem no amount of thermostat fiddling fixes afterward.
If you stop after the first three steps, you’ve still done the work that matters most: you know the room’s square footage, you know its ENERGY STAR range, and you know which load-adding features might push it higher. That’s enough to walk into a conversation with a contractor and ask an informed question instead of just pointing at a room.
What it costs you to ignore it
An undersized unit runs constantly and still can’t reach the setpoint on the hottest days, because it’s fighting a heat load bigger than its capacity. It cycles less, which actually helps with humidity removal, but it never gets ahead of the heat, so the room stays a few degrees warmer than the thermostat says and the compressor works harder for longer stretches than it was built for.
An oversized unit has the opposite problem, and it’s the one people don’t expect. It satisfies the thermostat quickly, shuts off, then starts again a short time later. Short cycling like that means the indoor coil never stays cold long enough to condense much moisture out of the air. The temperature reads fine, but the room feels damp, and that trapped humidity is exactly the condition that lets mold and mildew take hold on window sills, closet walls, and anywhere air doesn’t circulate well.
Either mismatch also shortens the working life of the compressor. A unit that’s constantly straining to keep up, or constantly starting and stopping, wears its moving parts faster than one sized to run in longer, steadier cycles. That wear shows up as more frequent service calls and a shorter span before the whole system needs replacing, not as a single dramatic failure.
None of that gets fixed by adjusting the thermostat or changing the fan speed after installation. The mismatch is built into the equipment size itself, which is exactly why the load calculation belongs before the purchase, not after the first uncomfortable summer.