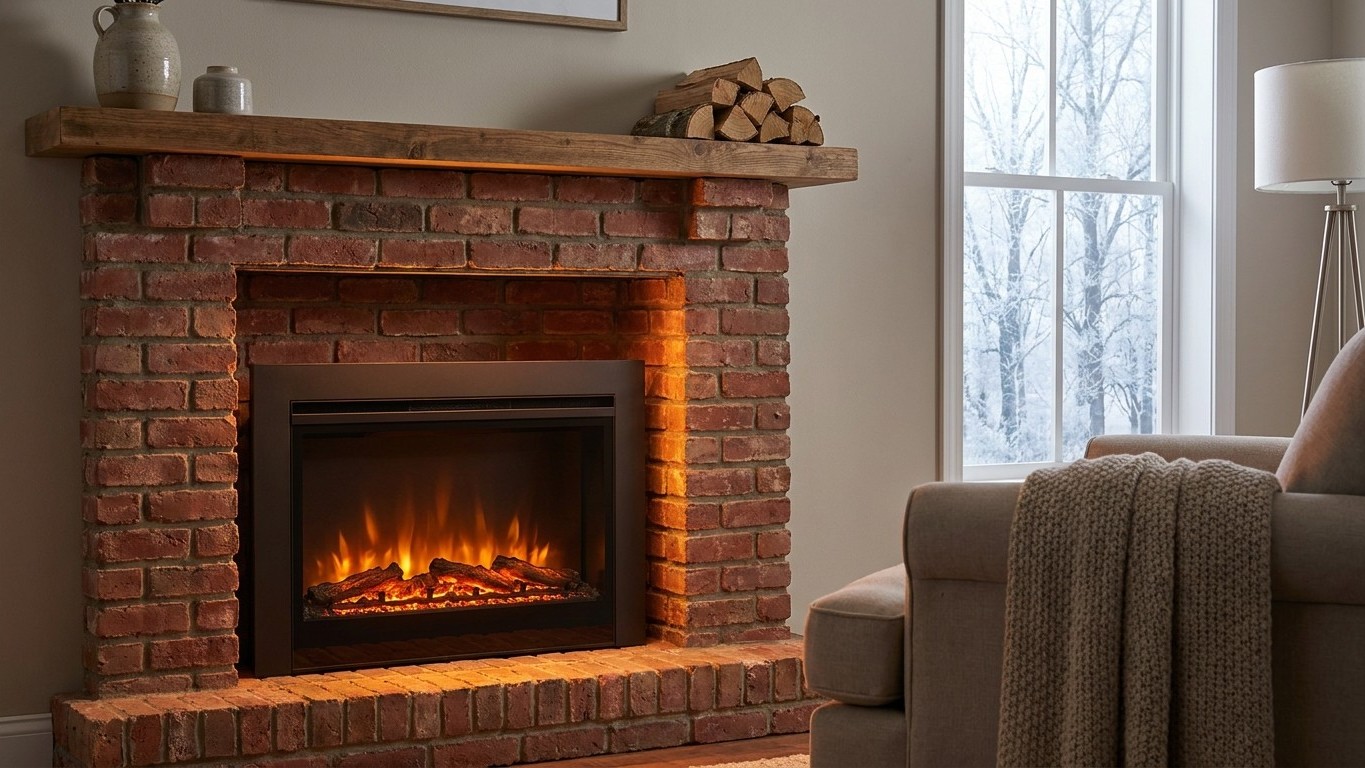

An electric fireplace insert drops into a disused masonry firebox without any venting, gas line, or chimney rebuild. Slide it into the opening, plug it into a standard outlet, and it lights up and heats that one room the same evening. What decides whether the project actually improves the room, rather than just decorating it, is the several feet of masonry flue still sitting above the insert, still open to the outside air, still pulling warmth out of the house.
The cold hole in the room

A fireplace that hasn’t held a fire in years is still doing one thing: moving air. Even with the damper shut, older dampers rarely seal all the way, and cold masonry holds outdoor temperature deep into the room around it. Stand in front of a closed-up firebox in January and there’s often a faint draft pulling toward the flue, which is conditioned air leaving the house through what amounts to a permanent gap in the wall.
Heat in, not just decoration out
An electric insert fixes that in two ways at once. It physically blocks the firebox opening, so the masonry mouth stops acting as a return-air path for cold outdoor air. And it adds heat to a room a disused fireplace contributes exactly none of. A plug-in electric fireplace built for a standard 120-volt outlet is designed at or below about 1,500 watts, roughly 5,000 Btu per hour. That’s enough to take the edge off one room, the room the insert sits in, not a whole house.
The insert also burns nothing. There’s no flue gas to vent, no carbon monoxide, no combustion air drawn in, no water vapor released into the room. That’s the plain advantage over a gas insert in the same opening: simpler wiring, a shorter safety checklist, nothing about the appliance itself requiring a working chimney. The flame effect is worth understanding too, since it’s easy to assume the glow does the heating. It doesn’t. The moving flame comes from LED lights and a rotating reflector, a light show rather than a heat source. The actual warmth comes from a separate resistive element and a fan, the same basic setup as a portable space heater. Switch the heater function off and the flame keeps flickering, cold.
What the insert doesn’t touch
Nothing above the firebox changes. The chimney, the vertical flue running from the damper to the cap, is untouched by installing an insert. It’s still masonry, still open at the top in most homes, still connected to outside air the same way it was before. Filling the opening stops air moving through that opening, but a leaky damper or an uncapped flue above it can keep pulling room air upward regardless of what’s plugged in below. That’s a separate job, and it’s the one that actually decides whether the room feels warmer this winter.
Dealing with the flue above
The stack effect doesn’t care about the insert
Above the damper, most disused fireplaces still have an open flue running through the roof, connected to outdoor air at the top exactly as it always was. Warm air rises, and a chimney is a straight, drafty path for it. Whether or not an insert glows at the bottom, an unsealed flue keeps pulling warm room air up and out all season, quietly raising the furnace’s workload. This is the detail that decides whether the project pays for itself. Fill the opening and stop there, and the heating bill may barely move.
The fix usually involves a top-mounted damper, a chimney balloon, or a cap built to stop the stack effect while still letting the masonry breathe. The details of chimney draft, damper types, and how much a given flue actually loses live in the chimney and draft part of this guide, since the right sealing choice depends on the flue’s height, liner, and general condition.
Sealing it without trapping moisture
Sealing a flue isn’t a job to improvise with tape and something stuffed up the throat. Masonry chimneys manage moisture even when they’re not venting a fire; condensation forms on cold flue walls, and a chimney sealed too tightly, with the wrong material, can trap that moisture instead of letting it dry out, leading to spalling brick or a damp smell in the room below. Products built specifically for sealing disused flues account for that; general household weatherproofing usually doesn’t.
A working damper does double duty here. A closed damper below a sealed or capped flue is often a cheaper first step than capping the top outright, worth testing before committing to more work. Either way, the insert and the flue are two separate projects with two separate payoffs: the insert restores the room and adds heat, and the flue work is what stops that heat, and the furnace’s, from leaking back out through the masonry above it.
Making it fit
Measure narrow, not wide
Once the flue question has an answer, fitting the insert is a measuring job first and an electrical job second. Firebox openings are rarely clean rectangles. Years of settling, old mortar repairs, and uneven brick courses mean the opening is often narrower at one point than it looks at a glance. The rule that matters: measure width, height, and depth at their narrowest points, in at least two spots for each dimension. An insert that fits the top of the opening but binds an inch lower, against a brick that bows slightly inward, isn’t a project for a quick return to the store; it’s one that stalls halfway through.
Power and trim kits
Power is the second decision, and it’s worth planning before the insert arrives. Running an extension cord across the hearth and under a rug is common, and it’s also the exact setup fire-safety guidance warns against, since a cord underfoot or under bedding is a hazard whether it’s feeding a fireplace insert or a lamp. The cleaner fix is a dedicated outlet installed inside or just beside the firebox opening, positioned so the cord runs straight back and out of sight. That’s usually an electrician’s job, but it’s a one-time cost that removes the cord problem permanently.
Openings that don’t match a standard insert size are common enough that most manufacturers sell trim kits, sometimes called surrounds or panels, built to close the gap between a smaller insert and a larger existing firebox. These come in a handful of standard widths and finishes, and they’re generally the difference between an insert that looks built-in and one that looks like a dark rectangle floating in a bigger dark hole. Measuring the opening before shopping for either the insert or the trim kit saves a return trip, or two.
The same clearance rule that applies to a wood fire applies to the electric heater running inside the insert. The U.S. Fire Administration puts it plainly: “Keep anything that can burn at least 3 feet from all heat sources including fireplaces, wood stoves, radiators, space heaters or candles.” That means mantel decorations, a stack of magazines on the hearth, and curtains hanging a little too close to the opening all need to move back before the insert switches on for the first time. The agency’s other core guidance applies just as directly to a plug-in fireplace as to any other heater: “Turn space heaters off when leaving the room or going to bed.”
Common questions
Does an electric insert need any venting at all?
No. It burns nothing, so there’s no flue gas, no carbon monoxide, and no combustion air requirement. The chimney above the firebox stays exactly as it was, sealed or not, and the insert’s plug-in operation is unrelated to whether that flue is capped.
Will installing the insert alone lower my heating bill?
Not reliably. The insert stops the firebox opening itself from acting as a draft path, but an unsealed flue above it can still pull warm room air out through the stack effect. Lowering the bill usually takes both: the insert filling the opening and separate work capping or sealing the flue.
How much heat should I actually expect from one of these?
A plug-in unit on a standard 120-volt outlet tops out at or below about 1,500 watts, roughly 5,000 Btu per hour. That heats the one room it’s in, not the rest of the house, and running the exact cost through your own utility rate is more accurate than any national average.
Can I run the insert on an extension cord if a new outlet isn’t in the budget yet?
It’s not the safest long-term setup. A cord across the hearth or under a rug becomes a trip and heat hazard over time. A dedicated outlet installed inside or beside the opening is the more permanent, safer fix, and it’s a one-time expense rather than an ongoing risk.