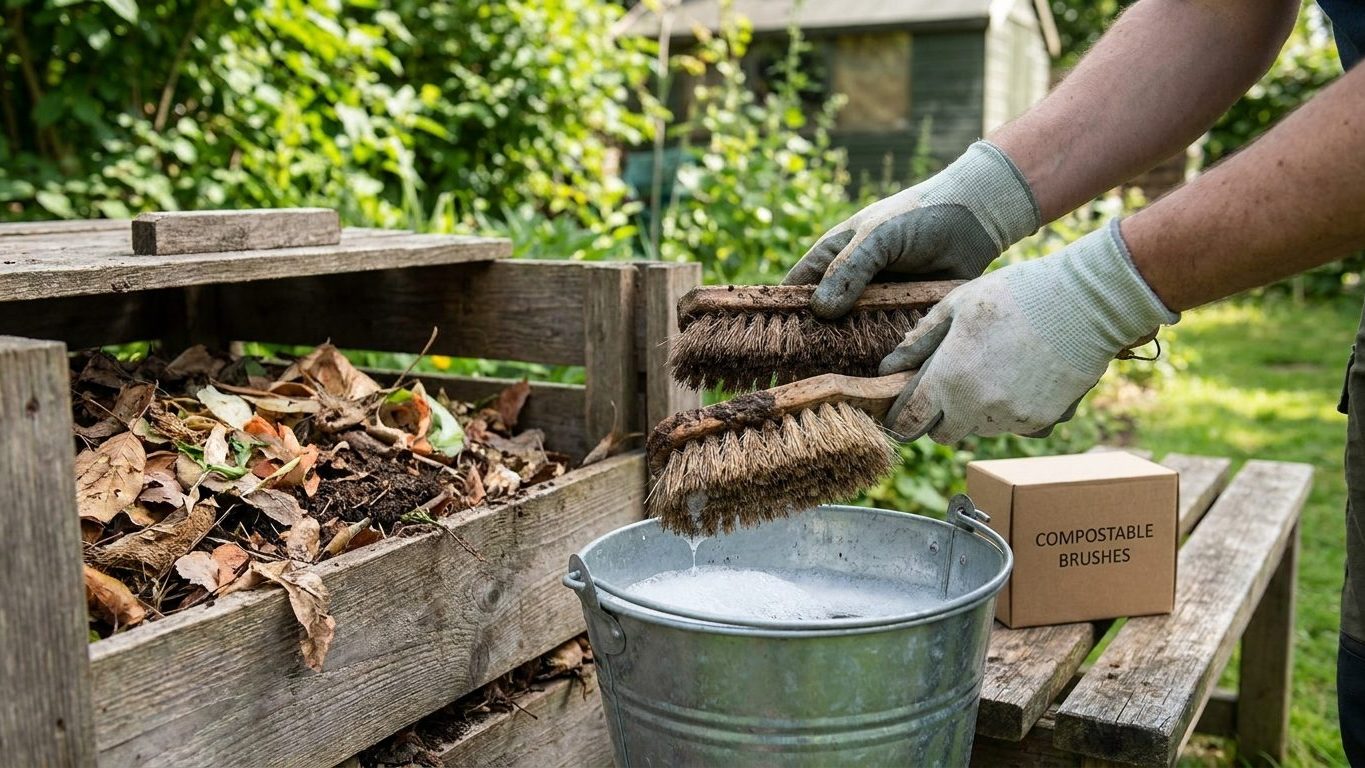

Latex brushes clean up in a sink, and the can says so right on the label. What the label leaves out is what happens to the water once the bristles look clean: it’s still carrying dissolved paint solids, and tipping it straight down the drain is the shortcut that causes trouble downstream. Let those solids settle out first, then handle the sludge and any dried skin as solid waste, not liquid.
What is actually going on

The thing to understand here is film formation in the bristles. Paint doesn’t sit evenly through a brush head. Capillary action pulls it up toward the ferrule, the metal band that holds the bristles to the handle, and that’s where the heaviest deposit ends up. It looks fine from the outside, still wet and workable, while the paint packed at the base is already thicker and slower to move. That’s the paint that dries first, and once it dries, it isn’t paint anymore in any sense you can undo. Latex sets as its water evaporates and the polymer particles fuse into a continuous plastic film. Oil-based paint cures by oxidation, a chemical reaction with the air, not just drying. Either way, the result at the base of the bristles is a solid that the original cleaner can no longer dissolve, because the material it needs to dissolve doesn’t exist anymore in that form.
This is the last stage of the job described in Interior Painting: Preparation Is Most of the Work, and it gets rushed for the same reason the start of the job gets rushed: the visible part is finished, so attention drops. A brush wiped “clean enough” and left standing overnight is the single most common way a good brush is lost. The paint you can’t see, down near the ferrule, cures overnight while the bristle tips still look wet and fine.
Trim and doors are still commonly painted with oil-based enamel, a separate subject covered in Painting Trim, Doors and Skirting, and that choice changes cleanup entirely. Water alone will not move oil-based paint out of a brush. You need whatever cleaner the paint can specifies for that product, and that cleaner produces fumes. Ventilation is not optional here. If you’re cleaning brushes in a closed utility room or garage with the door down, open a window, run a fan, or move the work outdoors. This applies just as much to the disposal step as to the cleaning step, since a covered container of solvent-laden sludge sitting in an unventilated space keeps releasing vapor after you’ve finished for the day.
Doing it
The order below matters, and skipping a step doesn’t just make the next one harder, it changes what happens to the paint you’re trying to dispose of.
The cleaning sequence
- Scrape excess paint back into the can before you touch any water or cleaner. Press the bristles against the rim on the way out, working from the ferrule down. Skip this and you throw away paint that could have gone back in the can, and you load the rinse water with far more solids than it needs to carry.
- Match the cleaner to the paint. Water for latex, and whatever solvent the can specifies for an oil-based product, worked through the bristles in a shallow lidded container rather than under a running tap. Skip this and oil-based paint simply won’t move, and you’ll waste twenty minutes convinced the brush is ruined when the problem is the wrong cleaner.
- Comb the bristles from the ferrule out with a metal brush comb or the tines of an old fork. Skip this and the paint packed down at the base, the exact spot that dries first, never gets disturbed.
- Repeat the wash and comb until the runoff carries no visible color, checked against something white held behind the bristles. Skip this and a trace of pigment left behind bleeds into the next coat, which shows up badly going from a dark color to a light one.
- Press or spin out the remaining liquid, reshape the bristles into their original taper by hand, and wrap the head in paper or its original sleeve before storing it flat. Skip this and bristles dry splayed or curved and stay that way permanently, the same fate as a brush left standing in a jar.
- Let the wash water sit, covered, until the solids settle to the bottom. Pour off the clear water where your local rules allow, then let the remaining sludge dry completely before it goes anywhere near the trash. Skip this and you’re disposing of liquid paint waste, which is what actually causes drain and landfill problems, not the dried film.
- Check with your local municipal waste department or household hazardous waste program before assuming oil-based leftovers belong in the regular trash. Skip this and you may be handling material your area classifies as hazardous waste, and a balled-up rag still carrying oil-based residue is a genuine fire risk from spontaneous combustion regardless of what the label says.
What it looks like when it goes wrong
Some of these are fixable in five minutes. Others mean the brush is done.
Bristles that have dried fanned out or hooked to one side won’t recover. No amount of re-soaking straightens a bristle that’s already cured into a shape, because the same polymer film that hardens paint on a wall has hardened inside that bristle too. Replace the brush.
A hard ridge of paint at the ferrule, felt as a raised lump gluing bristles together right at the metal band, is the same problem in miniature. It can sometimes be worked loose with a comb if caught within a day or two, but once it’s fully cured it can only be removed by cutting or breaking the affected bristles out, which in practice means the brush is finished for fine work even if it still holds paint.
Color bleeding into the next coat looks like faint streaks or a tint of the old shade showing through the new one, most obvious going from a dark wall color to a light one. This is often correctable: clean the brush properly and apply another coat once it’s dry. If the tainted paint has already dried on the wall itself, though, that’s a different problem, and it usually means sanding the affected area back and recoating rather than trying to cover it.
A slow or backed-up drain traced to paint waste is a plumbing call, not a brush problem, and it’s avoidable rather than correctable after the fact. Once dried paint solids have settled inside a trap, a plumber typically has to clear it mechanically. The fix that actually prevents it is settling and drying the solids separately, described above, so nothing but clear water ever reaches the drain.
What to settle before you open the tin
Decide the paint type before you start, because it determines both the cleaner you’ll need and where the leftover material can legally go. Water-based and oil-based products are not interchangeable at cleanup, and buying the wrong cleaner partway through a job wastes an afternoon.
Decisions worth making up front
- Where cleanup will happen: a utility sink works for latex, but oil-based cleanup with its solvent needs a ventilated space, and outdoors, avoid rinsing anywhere that drains toward a storm sewer or gravel drainage area.
- Whether the building is old enough to raise a lead paint question. If you’ll be sanding, scraping, or otherwise disturbing any existing painted surface, confirm there’s no lead-based paint present before you start, rather than after.
- Whether your local trash service accepts dried paint solids as ordinary waste or requires a household hazardous waste drop-off, particularly for oil-based products. Check with the local waste authority before you’re standing at the curb with a full can.
- Whether the scope of the job, multiple rooms, all the trim, several coats, turns brush cleanup into a nightly chore for a week straight. That’s one of the signs discussed in “/painting/when-to-hire/”>When Painting Is Not a Weekend Job, and it’s worth weighing before the first coat goes on, not halfway through.
None of this needs to be complicated. It just needs to happen before the tin is open, because a decision made mid-job, with wet paint drying in the tray, tends to be the wrong one.
Common questions
Can I just let the paint dry in the brush and throw the whole thing away?
For a cheap foam or bristle brush used once, that’s often the practical choice, and a fully dried, solid paint film in a disposable brush is generally treated as ordinary solid waste. Check with your local waste authority if the paint was oil-based, since some areas classify oil-based residue differently even once it’s dry.
Is it really wrong to pour the rinse water down the drain?
Liquid paint carrying dissolved solids is the problem, not water in general. Letting the solids settle out and disposing of clear water, then handling the dried residue separately, is the approach that avoids drain clogs and keeps paint waste out of the water system.
How do I tell if a paint is oil-based or water-based for cleanup purposes?
Check the can label, which will name the recommended cleaner directly, water for latex or acrylic, and a specific solvent for oil-based enamels and alkyds. If the original can isn’t available, a strong solvent smell and slow tacky drying are typical signs of an oil-based product, but the label is the reliable answer.
My brush dried stiff overnight. Is there any way to save it?
Sometimes, if the paint hadn’t fully cured, soaking in the appropriate cleaner and working it with a comb can loosen it. Once the bristles have set into a fixed shape or the paint at the ferrule has fully hardened, though, no amount of soaking reverses it, and replacing the brush is the faster and cheaper option.