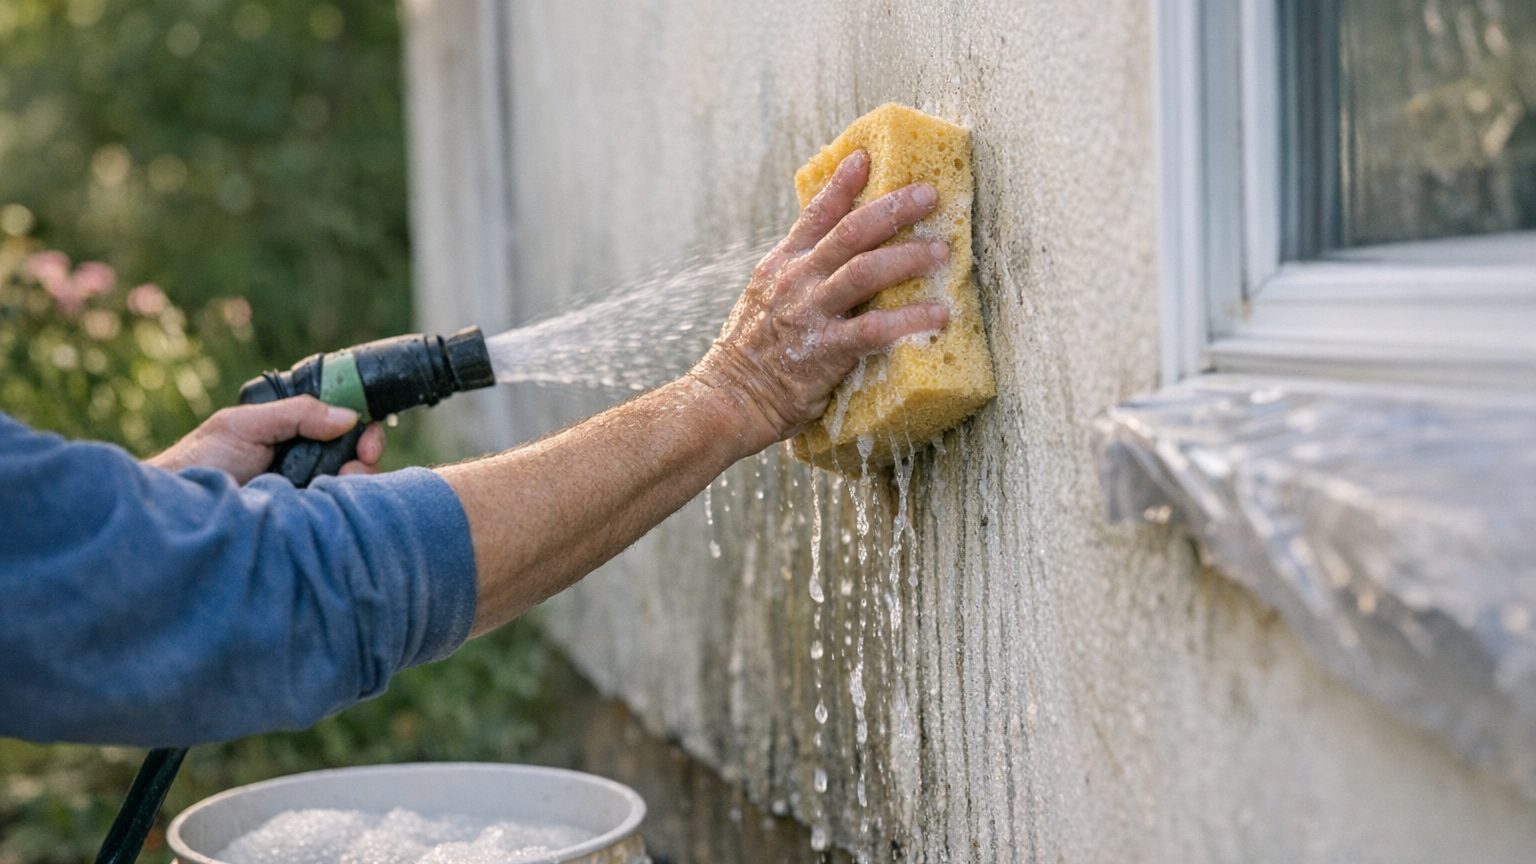

Kitchen walls above the stove need washing before you paint them. Grease films that build up over years of cooking sit right on the surface and keep primer or paint from gripping properly, so the paint peels or sheds later even though it looked fine going on. Wipe down any wall near cooking heat, smokers, or frequent hand contact with a degreasing cleaner before you touch a roller to it.
What is actually going on

Paint needs a clean, slightly porous surface to bond to. Grease, nicotine residue, cooking oil, and the film of hand oil that builds up around switch plates and doorframes all sit on top of the wall rather than soaking into it, and they act as a release layer between the old surface and the new coat. The paint goes on looking fine. Then it fails, either right away as small craters and pinholes in the finish, or months later as sheeting and peeling exactly where the contamination was heaviest.
This contamination is never spread evenly. It concentrates in a few predictable places: above a stove, along the top edge of a wainscot where hands rest, around light switches and door handles, and on any wall in a room where someone has smoked. The pattern of grime on a wall tells you where it needs washing, and a wall that looks uniformly dusty under normal light often hides a gradient of oil that only shows up once paint goes over it unevenly.
Dust and grease are two separate problems and they behave differently. Dust just sits on the surface and gets trapped under the first coat, showing up later as a faint texture or a dulled patch of sheen. It comes off with a dry method alone. Grease has actually bonded to the surface and needs a cleaner with real degreasing action plus enough mechanical scrubbing to break the film loose. Wiping a greasy wall with plain water spreads the oil around instead of removing it, which is why a wall that looks wiped down can still cause adhesion failure weeks after the job is finished.
Where this matters, and where it does not
A bedroom that has been closed off from cooking, smoking, and heavy hand traffic for years often has little on the walls besides dust, and a light dry dusting followed by a quick rinse is plenty. A kitchen, a bathroom near a shower, a mudroom, a stairwell with a lot of hand contact, and any room that has ever been smoked in are the walls that need a proper wash every time, no matter how clean they look. Treating every wall in a repaint the same way wastes time in rooms that do not need it and shortchanges the ones that do. Preparation like this is most of what separates a paint job that lasts from one that does not, a point covered in more depth in Interior Painting: Preparation Is Most of the Work.
Any wall wash that involves scrubbing in a closed room needs airflow. Open a window, run a fan, and prop a door if the room allows it, because the fumes from a cleaning solution and the dust kicked loose by scrubbing both need somewhere to go besides your lungs.
Doing it
Washing a wall well is less about the cleaner and more about the order of operations. Skip a step and it either shows up as a defect once the paint is on, or it costs you the time you thought you saved.
- Grease film around stoves, switch plates, and door handles
- A dull, faintly sticky feel when you run a dry hand over the wall
- Yellow-brown staining near ceilings in rooms that were smoked in
- Cobwebs and dust concentrated in corners and along the ceiling line
- Clear and protect the room first. Move furniture away from the walls, lay down drop cloths, and take everything off the walls. Skip this and the wash job becomes a cleanup job, since a degreasing solution dripped onto flooring or trim can dull a finish it was never meant to touch.
- Dust the wall dry before wetting it. A soft brush or a vacuum attachment lifts loose dust and cobwebs before they turn into mud once water hits them. Skip this and you end up smearing dust into the grease instead of removing either.
- Wash from the bottom up, then rinse from the top down. Washing bottom to top avoids the streaks that form when dirty water runs down over an already-cleaned section. Skip the order and you get visible drip lines that show once the wall dries, forcing you to rewash the whole section anyway.
- Concentrate effort where the contamination actually is. Scrub harder around switch plates, over the stove, and along handrails, and use a lighter touch on walls that were mostly just dusty. Treat every wall the same and you either under-clean the greasy spots or over-scrub drywall that did not need it, softening the paper facing.
- Rinse with clean water and let the wall dry fully before doing anything else. Leftover cleaner residue interferes with adhesion just as badly as the grease did. Skip the rinse and you have just replaced one contaminant with another.
- Check the wall in raking light once dry. Hold a work light close to the surface at a low angle and look for lingering sheen, streaks, or shiny patches. This is also the moment to spot dents and small holes that the wash has exposed, which is the right time to deal with them before you prime, a step covered in Filling Holes and Dents So They Do Not Show.
Washing also clears the way for a clean line later. A greasy strip along a baseboard or a doorframe is exactly the kind of surface that makes tape peel or a brush skid, so the wall should be clean and dry before you get to Cutting In: Getting a Clean Line Without Tape.
What it looks like when it goes wrong
A wall that was not washed, or was washed badly, tells you almost immediately once paint goes on it, and sometimes not until weeks later.
Defects you will see right away
Fisheyes and small craters appear where paint tries to level over a spot of oil or silicone-based residue and cannot. These usually show up within the first coat, while the paint is still wet or just skinning over. This defect can often be corrected without stripping back to bare wall. Let the coat cure, sand the affected spots lightly, wash the area properly this time, and recoat.
Streaking and blotchy sheen differences come from uneven cleaning, usually rinse water that dried with cleaner residue still in it, or a wall washed in sections with different amounts of scrubbing. This is cosmetic rather than structural and is fixable with an additional coat once the cause is corrected.
Defects that mean starting over
Peeling and sheeting, where whole flakes or sheets of paint lift away from the wall, usually weeks or months after painting, is the sign of a wall that was never actually clean underneath. This cannot be patched over. The failed paint has to come off by scraping and sanding down to a sound surface, the wall has to be washed properly this time, and the area repainted from scratch. There is no coat you can add on top of active peeling that will make it stop.
A tacky or soft finish that never fully hardens, sometimes showing fingerprints days after painting, usually means a heavy grease layer sat under the paint and interfered with the way it cured. If it is isolated to a small area, scraping and redoing that patch is enough. If it covers a large section of wall, that whole section needs to come off and be redone, because there is no cleaner or additional coat that fixes paint that already failed to cure against a contaminated surface.
Any scraping or sanding on a wall in an older home should stop before it starts if you are not sure what is under the existing paint. If the home was built before 1978, when lead-based paint for residential use was banned nationally, treat sanding or scraping on old paint as work that could disturb lead paint and check the guidance on lead-safe work practices before doing any mechanical removal.
What to settle before you open the tin
A few decisions made before you wet a rag save you from redoing the wash, or worse, redoing the paint.
The surface and its history
Walk the room and note where hands, smoke, or cooking heat have actually touched the walls, rather than assuming every wall got the same treatment. A wall’s history matters more than its appearance, since a wall that looks clean in a dim hallway can still carry a film of hand oil that only shows up once paint hits it. If the home is older and the existing paint layer is unknown, settle whether you will be disturbing that paint at all before you decide on a washing method, since aggressive scrubbing on a failing older paint film can lift flakes you were not expecting to deal with yet.
Light, ventilation, and timing
Check the room in the same light you will be painting under, ideally daylight and a work light both, since contamination and old damage hide under yellow bulb light and reappear the moment you switch to daylight. Confirm there is a real path for airflow before you start scrubbing with any cleaner, not just a door left ajar, because a closed bathroom or a small laundry room traps fumes and humidity fast. Do not schedule the wash for the same afternoon as the first coat. The wall needs to dry completely, and how long that takes depends on the room’s temperature and humidity on the day, not on a fixed number of hours.
Finally, decide what you are doing with the water. Washing a wall means water running down baseboards, pooling on sills, and dripping onto flooring, so settle where that water goes before it starts moving on its own.
Common questions
Do I really need to wash walls that already look clean?
If the wall is in a kitchen, bathroom, or a room anyone has smoked in, yes, because grease and residue are often invisible until paint fails to grip them. A bedroom or closet that has seen little hand contact usually just needs dusting.
Can I skip washing if I’m using a primer?
No. Primer improves adhesion to a sound, clean surface, but it does not dissolve or bond through a layer of grease or nicotine film. A primer coat over an unwashed greasy wall fails the same way a topcoat would.
My wall still feels slightly tacky after washing and rinsing. Is that normal?
It usually means either cleaner residue was not fully rinsed off or the grease layer was heavier than one pass could remove. Rewash that section with a fresh rinse and let it dry fully before checking again.
Is it worth washing walls I’m about to sand anyway?
Yes, and in the opposite order than you might expect: sand first to knock down loose material, then wash to remove the dust and grease exposed by sanding, then let it dry before priming. Sanding over a greasy wall just grinds the contamination into the surface instead of removing it.