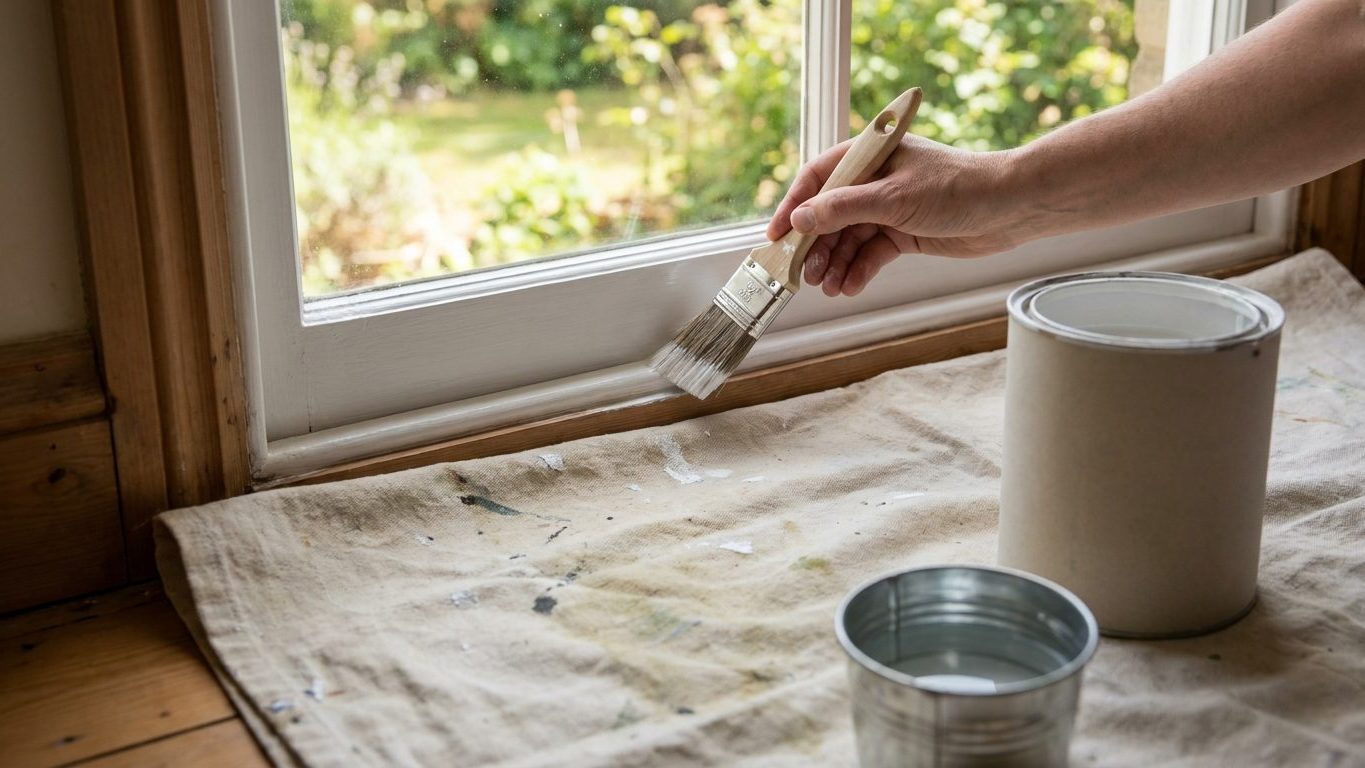

Painter’s tape promises a crisp edge, but paint wicks under the seam more often than not, and you spend as long pressing tape down as you would just cutting the line by hand. A steady, well-loaded brush held at the right angle draws a straighter edge than tape ever traps for you. Load the brush properly, rest a knuckle against the surface as a guide, and pull the line in one motion instead of dabbing at it.
What is actually going on

The thing to understand before you pick up a brush is that the line comes from the bristles bending, not from the tip touching the wall. A brush loaded with paint holds it in the gap between the bristles the way a sponge holds water. When you press the brush against the surface and draw it along, the bristles flex backward and release paint steadily along the point of contact. Too little pressure and the bristles barely bend, so the line runs dry and patchy. Too much pressure and they fan out wide, spreading paint past the edge you meant to hold.
This is why brush loading matters more than brush quality. Dip the bristles a third to half their length into the paint, then tap the sides against the inside of the container to knock off the excess. Dragging the brush across the rim strips too much paint out of the bristles and leaves you fighting a half-empty brush for the next few strokes. A properly loaded brush feels heavy but doesn’t drip when you lift it clear of the can.
Why the chisel edge does the work
Angled brushes are shaped the way they are so that one corner of the bristles forms a fine point, called the chisel edge. That point is what actually rides along the line between wall and trim, or wall and ceiling. The rest of the bristle fans out behind it and fills in the paint. Hold the brush so the chisel edge leads and the flat of the bristles trails, and the line stays where you put it even as your hand moves. Turn the brush so the flat side leads instead, and you lose the point entirely, which is the single most common reason a freehand line goes wavy.
Pressure is the only variable you’re actually controlling once the brush is loaded and angled correctly. A light touch keeps the chisel edge narrow and the line thin. A firmer push widens the contact patch and the line grows with it. Painters who cut a straight line without tape aren’t gifted with a steadier hand than everyone else. They’ve just spent enough hours feeling where that pressure threshold sits that their hand corrects for it without thinking.
Cutting in usually means working close to a wall for a long stretch, often with a window or two shut against drafts so the paint doesn’t skin over before you can blend it. Open a window and run a fan anyway. Fumes settle near the ceiling line, which is exactly where your face is when you’re cutting a line up there, and good airflow matters as much for this close, repetitive work as for any other stage of the job. If you’re new to the sequence a wall actually goes through, the walkthrough on Interior Painting: Preparation Is Most of the Work covers the steps this page assumes you’ve already handled.
Doing it
The sequence below keeps the paint wet long enough to blend the cut-in line into the field you’ll roll next, and keeps your hand doing one job at a time instead of several badly.
- Choose a brush sized to the trim. A narrow angled brush suited to the width of trim or ceiling line you’re working gives you more control near corners. Skip this and grab whatever’s on hand, and you’ll either need three times the strokes with a brush that’s too small, or you’ll smear paint onto the adjacent surface with one that’s too wide.
- Load the brush a third to half the bristle length, then tap off the excess against the can. Skip the tap and an overloaded brush drips down the handle and onto the floor the moment you lift it, or it deposits a fat bead of paint that runs before it dries.
- Set up so light rakes across the surface, not straight at it. A lamp or the window light hitting the wall at an angle throws every ridge, drip, and gap into shadow so you can see the edge you’re actually cutting. Work with flat, head-on light and you won’t notice a wandering line until the whole wall is dry.
- Place the loaded brush slightly away from the line, then draw the paint into the corner rather than starting right on the edge. Starting dead on the line with a freshly loaded brush tends to push a bead of excess paint straight over it. Approaching from a short distance and pulling toward the corner lets the bristles settle into their flex before they reach the edge.
- Hold the chisel edge against the line and pull in one continuous stroke, several feet at a time, rather than dabbing in short strokes. Short dabbing strokes build up overlapping stop points, and every stop point shows up later as a faint ridge once the paint has fully cured.
- Rest your smallest finger or a knuckle against the trim or ceiling as a guide as you pull the stroke. Without that contact point your hand drifts a little on every stroke, and the drift compounds over the length of a wall into a visibly wavy line.
- Work in sections you can finish before the previous section’s edge dries, and roll the open field in behind the cut line while it’s still wet. Let the cut-in edge dry before rolling next to it and you get a visible seam where the two applications meet, the same lap-mark problem covered in Keeping a Wet Edge, and Why Lap Marks Happen.
None of these steps is difficult on its own. What makes cutting in look effortless is doing all seven in the same unbroken rhythm, wall after wall, without stopping to reload wrong or re-angle the brush mid-stroke.
What it looks like when it goes wrong
A wavy line that drifts on and off the true edge almost always means the brush was held flat rather than on its chisel edge, or the guiding hand lost contact with the trim partway through the stroke. This one is fixable. Once the paint is dry, a light second pass with a properly angled brush, drawn slowly with the guide hand back in contact, will straighten it out.
A ragged, feathered edge where individual bristle marks are visible beyond the line usually means the brush was overloaded or splayed under too much pressure. If caught while the paint is still wet, a light dry-brush pass along the edge can pull the feathering back in. Once it’s dry, you’re touching up rather than correcting, and touch-ups on a feathered edge tend to show as a slightly different sheen once the whole wall is viewed under raking light.
A starved or patchy line with visible gaps of bare surface showing through means the brush ran dry mid-stroke, usually from underloading or pulling too long a stretch on one dip. This is a straightforward recoat. Let the section dry, then run a second, properly loaded pass over the same line.
A ridge or rope of built-up paint along the edge, where the line looks raised rather than flat, comes from repeated dabbing at the same spot instead of one continuous pull, or from cutting the same section two or three times without letting it level in between. This is the one defect that generally can’t be smoothed away without going back a stage: once it’s fully cured you’re looking at a light sanding of the ridge and a fresh, thinner pass over it, not a quick touch-up.
Paint that has bled onto the adjacent surface, ceiling paint on the wall or wall paint on the trim, can usually be caught with a damp cloth within a few minutes while it’s still workable. Left to dry, it has to be scraped or lightly sanded off before the surface below is repainted, which is slower than getting the line right the first time.
What to settle before you open the tin
Check the surface itself before anything else. A wall with a rough patch job, a hairline crack, or flaking paint along the exact line you plan to cut will telegraph every flaw straight through a freehand edge, because a wavering surface makes it impossible for your hand and eye to agree on where the true line sits. The groundwork for that is covered on Preparation Is the Job: Painting Is the Easy Part, and it’s worth finishing that stage properly rather than trying to cut a clean line over an uneven one.
Set up your light before you load the brush. Position a lamp, or angle yourself relative to a window, so light rakes across the wall rather than hitting it flat. You want to see the edge as a shadow line, not guess at where it is.
Ventilation is not optional for this stage any more than for any other. Cutting in keeps you working close to the wall, often near the ceiling, for long unbroken stretches, and that’s exactly the position where fumes concentrate. Open a window, run a fan, and take breaks in fresh air if the room can’t be cross-ventilated.
If the wall or trim you’re cutting into is original to an older home and you’ll be sanding, scraping, or otherwise disturbing the existing painted surface at any point before you cut your new line, stop and find out whether that paint could contain lead before you do anything mechanical to it. That question is worth settling with a proper test rather than a guess, and it applies to the prep stage, not to the brushwork itself.
Finally, decide honestly whether this particular room is a reasonable place to learn freehand cutting in. A hallway with forgiving light and a single long, straight run of trim is a much easier first attempt than a small bathroom with cut corners, a mirror, and three light fixtures competing for your attention. Practice the loading and stroke on a section that will forgive a shaky first hour.
Common questions
Do I need a special brush to cut in without tape?
An angled brush with a defined chisel edge makes the technique far easier to learn, because the point does the work of following the line. A straight-cut brush can be used the same way but takes more practice to hold at the right angle consistently.
What if my hand just isn’t steady enough?
Practice the stroke on a scrap of cardboard or drywall offcut before touching the actual wall, and always rest a knuckle or fingertip against the trim as a physical guide rather than relying on eyesight alone. Steadiness comes from that point of contact more than from raw hand control.
Can I use a small roller or foam edger instead of a brush?
Foam edging tools exist and can get paint close to a corner, but they generally don’t produce as fine or as controllable a line as a properly loaded angled brush, and they can leave a slightly different texture where the edge meets the rolled field. Most people who cut in regularly end up back with a brush.
Is freehand cutting in actually faster than taping?
For a room you’ll paint more than once in your life, yes, because you skip the time spent pressing tape down, waiting, and pulling it back up, and you avoid the bleed-under touch-ups tape often creates. For a single intricate job with several colors meeting at odd angles, tape can still be the more practical choice.