
Glossy trim painted straight over without primer looks fine for about a week, then starts sheeting off at the corners where hands touch it most. That is not a paint failure, it is an adhesion failure, and no extra topcoat fixes it once the bond underneath has gone. Sand the sheen down or prime before a single coat of color goes on a glossy surface.
What is actually going on

Paint holds onto a surface two ways: mechanically, by keying into tiny scratches and pores, and chemically, by the resin bonding to whatever is underneath. Primer is built to do both jobs on surfaces where an ordinary topcoat cannot manage either one. Its resin is formulated for adhesion rather than color or sheen, and it also seals a porous substrate so the topcoat lays down evenly instead of soaking in at different rates from one patch to the next. That uneven soaking is what shows up later as blotchy sheen, and it is why priming is a sealing job as much as a bonding one. This page assumes the cleaning, scraping and sanding covered in Interior Painting: Preparation Is Most of the Work is already done, because primer cannot compensate for a dirty or unsound surface underneath it.
The four cases where the mechanism actually matters
Primer earns its place in roughly four situations. A glossy or slick surface, such as old oil-based trim paint, laminate or tile, has nothing for a new coat to grip without either abrasion or a primer with a harder, purpose-built bonding resin. A bare, porous material, like new drywall, raw wood or a patched section of plaster, drinks paint unevenly unless something seals it first. A surface carrying a water stain, tannin bleed from wood knots, smoke residue or marker ink will pull that discoloration straight through an ordinary topcoat no matter how many coats go on, because standard paint resin is not built to block it, a problem covered in full at Stains That Come Back Through Two Coats. And a drastic color change, especially dark to light, needs a base coat close to the final color so the topcoat is not fighting the old hue underneath for coat after coat.
Outside those four cases, a sound, clean, similarly colored painted surface does not need a separate primer step. That is the part most advice glosses over: primer sold as a blanket first step for every room is solving a problem that, on an already-painted wall in decent shape, does not exist.
Any of this work involving sanding, scraping or priming in a closed room needs a window open and air actually moving through it, not just cracked for comfort. Sanding throws fine dust into a small space fast, and primer fumes build up the same way paint fumes do. Run a fan pulling air out of the room, not just circulating it, for the whole job.
Doing it
The decision of whether a given wall or piece of trim needs primer comes down to what is already on it and what is going onto it next. The table below covers the situations that come up in most rooms, and what happens if the step gets skipped.
| Surface or situation | Primer needed | What happens if skipped |
|---|---|---|
| Bare drywall or a patched section | Yes | Patched areas dry to a different sheen than the surrounding wall under the same topcoat, a defect called flashing |
| Previously glossy or oil-based paint | Yes, with scuff-sanding | Topcoat peels or scratches off in sheets within weeks, not years |
| Water stain, tannin bleed, smoke or marker | Yes, stain-blocking type | Discoloration bleeds straight back through one or two coats of ordinary paint |
| Drastic color change, especially dark to light | Yes, tinted toward the new color | Old color shows through unevenly, needing several extra full coats to hide it |
| Sound, clean, already-painted surface, similar color | No | Nothing, a light clean and scuff-sand is enough prep |
Why “self-priming” is a claim, not a category
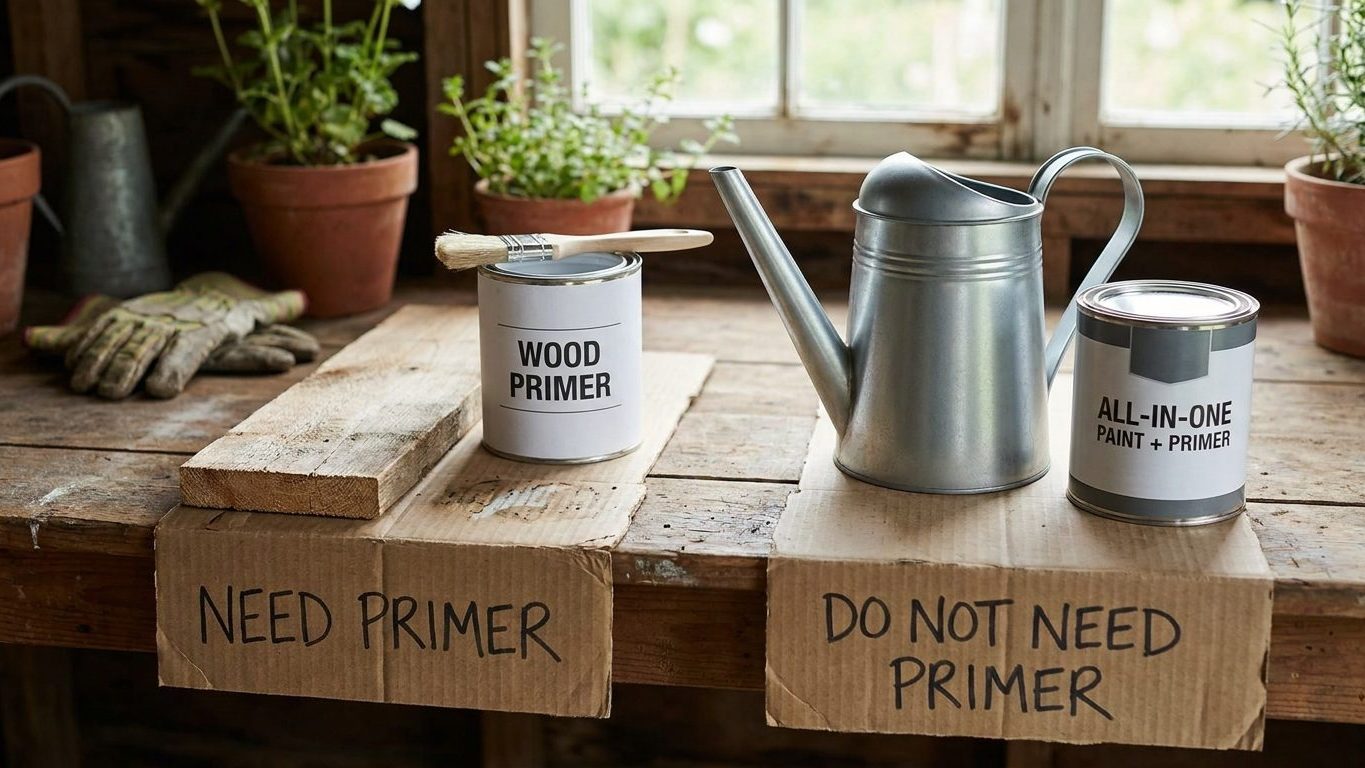
Paint labeled as paint-and-primer-in-one is simply a thicker-bodied product with more resin and pigment than a standard topcoat, which helps it hide a small color shift or minor texture in fewer coats. It does not gain the bonding chemistry that lets a real primer grip a glossy surface, and it does not contain the resin that physically blocks a tannin or water stain from migrating through. Reading “self-priming” on a can and using it over old oil-based enamel is the single most common way trim paint fails inside its first year. Treat the label as marketing shorthand for fewer coats needed on an easy surface, not as a substitute for a bonding or stain-blocking primer where one of the four real cases applies.
When primer does go on, apply it with the same care given to the topcoat. A primer coat rolled on too thick, or with the wrong nap for the surface texture, leaves ridges and stipple that telegraph straight through a thin topcoat, a problem covered separately at Roller Marks and Stipple That Show After Drying. Primer is not a forgiving undercoat that a heavier topcoat will smooth over. Whatever texture goes down at this stage is largely what the finished wall will show.
What it looks like when it goes wrong
Peeling or flaking within days or weeks of painting, usually starting at edges and corners that get handled, means the topcoat never bonded to whatever was underneath. This cannot be fixed by adding another coat on top. The failed paint has to be scraped and sanded back to a sound layer, the surface primed properly this time, and the topcoat reapplied.
Flashing and blotchy sheen
Flashing shows up as patches of the wall reading a slightly different sheen or shade than the rest, usually right where drywall was patched or a bare spot went unprimed. This one is correctable without stripping anything back: spot-prime the flashing areas, let them cure, and recoat the wall in full rather than trying to feather in a patch by hand.
Stain ghosting
A tannin or water stain that reappears as a brownish or yellowish shadow through the topcoat cannot be painted over again and expected to disappear. Ordinary latex or acrylic topcoat has no resin capable of blocking it. Work stops, a stain-blocking primer goes on over the stained area specifically, and the topcoat goes back on once that has been done. Skipping this step and just adding a third or fourth coat of regular paint wastes material and the stain still comes through eventually.
Texture problems, ridges, or heavy stipple showing through the finish trace back to how the primer itself was applied, not the topcoat. If the wall looks rough or streaky under raking light after the topcoat has gone on, the fix usually means a light sanding of the high spots and a full recoat, rather than touching up small areas, since patches applied over already-textured primer tend to show as their own slightly different sheen.
What to settle before you open the tin
Before any primer or paint goes on, walk the room and settle a short list of things that are far easier to fix now than after the first coat is down.
- Identify the actual surface: bare material, glossy old paint, or a sound painted wall, since each takes a different answer to whether primer is needed at all
- Check the wall under a raking work light, not overhead room light, since patches, texture and old repairs only show up at a low angle
- Confirm ventilation before starting: a window open with air actually moving, especially for any sanding or scraping
- Note the building’s age, since older paint layers change the whole approach to prep
That last point matters more than it looks. If any sanding, scraping or heat is going to disturb existing paint on an older building, that is a lead-paint question first and a priming question second. Check official guidance on safe work practices for older painted surfaces before disturbing anything, rather than assuming standard sanding and scraping are safe just because the wall looks fine.
Once the surface, the light, the ventilation and the building’s age are all accounted for, the choice of primer follows directly from which of the four situations above actually applies. Guessing at this stage, buying a generic primer because the can says it works on everything, is how the wrong product ends up on a glossy surface it was never formulated to grip.
Common questions
Do I need to sand a glossy surface if I’m going to prime it anyway?
Yes. Primer bonds better to a dulled, scuffed surface than to an intact gloss, and skipping the sanding step risks the primer itself failing to grip rather than solving the adhesion problem for you.
Can I use the same primer for everything in the house?
No. Bonding primers, stain-blocking primers and drywall sealers are formulated for different problems, and a primer chosen for one situation often does nothing for another. Match the primer to the specific case from the table above rather than treating primer as one interchangeable product.
What if primed drywall sits unpainted for a long time before I get to the topcoat?
Primer left exposed to dust and light for an extended stretch can pick up grime or start to chalk on the surface. Wipe it down and check it under a work light, and give it a fresh light coat of primer if it looks dull or dusty rather than painting straight over it.
Is tinted primer the same thing as paint?
No. Tinted primer has some of the topcoat color mixed into the primer’s own resin so fewer topcoat coats are needed to hide a big color change, but it still lacks the durability and finish sheen of the actual topcoat, and it is not meant to be left as a final surface.