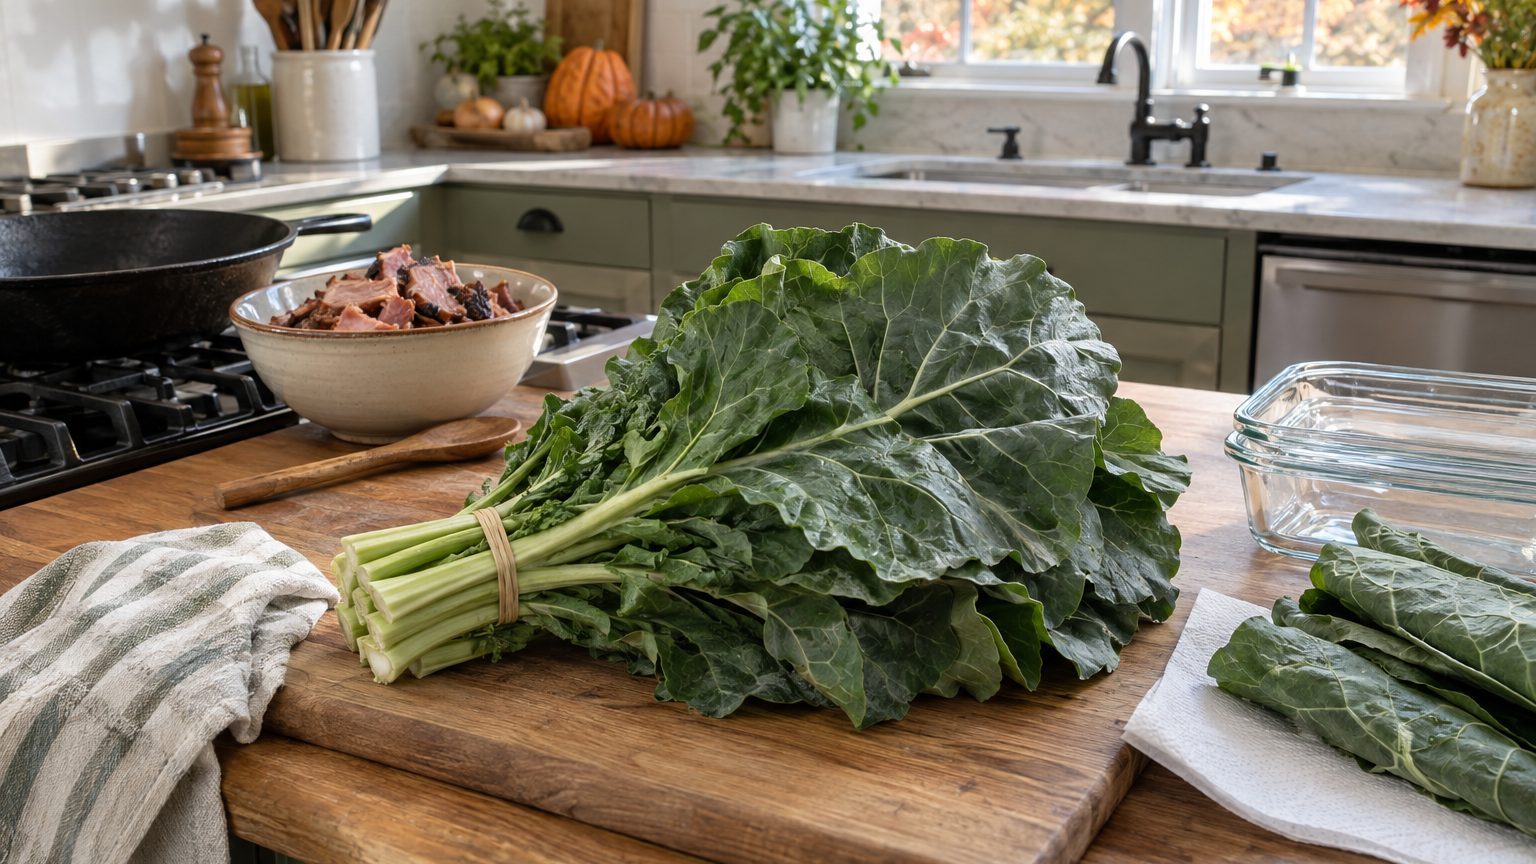

Collards keep for about a week in the refrigerator if you leave them unwashed and wrapped loosely, they freeze well after a three-minute blanch, and they turn tender in anywhere from 15 minutes (thin ribbons in a hot pan) to two hours (the classic Southern simmer with smoked pork). Pick the method before you pick the leaves, because the same bunch behaves very differently depending on how you store and cut it.
That flexibility matters if you grow your own. A single healthy plant can hand you more leaves than one dinner needs, and the harvest keeps coming for months, as covered in Growing Collards: One Planting, Months of Harvest. What follows is the kitchen half of that story: how to hold the leaves, prep them without grit or toughness, and cook them the way Southern kitchens have for generations.
Keeping collards fresh, from fridge to freezer
Collard leaves are sturdier than spinach or lettuce, which is why they survive a week in the crisper drawer when many greens wilt in three days. The trick is moisture control. Wet leaves rot, and bone-dry leaves go limp. Skip washing until you are ready to cook, shake off any surface water from the garden, and lay the leaves flat or loosely rolled in a produce bag or a clean dish towel with a dry paper towel tucked inside. Fridge temperature should sit between 32 and 40°F, and the crisper’s higher humidity helps.
Where you put them matters too. Fruits like apples, pears and ripe tomatoes give off ethylene gas, which pushes leafy greens toward yellowing. Keep the collards in a separate drawer or at least a sealed bag. If the edges still turn yellow after five or six days, trim them. The rest of the leaf is usually fine for the pot, though it won’t be ideal for raw slaw or wraps.
Gardeners have a better option than the produce aisle shopper: don’t store them at all. Collards can stay on the plant and be picked as needed, which is the whole idea behind Harvesting Collards Leaf by Leaf. Treat the fridge as a short bridge between picking and cooking, and aim to cut leaves within a day or two of the meal.
Freezing for the long haul
When a cold snap is coming or the plants are bolting in spring heat, freezing is the way to save a surplus. Skip shortcuts here. Raw greens that go straight into the freezer develop off flavors and a mushy texture because enzymes keep working in the cold. Blanching stops that.
The National Center for Home Food Preservation recommends blanching collards for 3 minutes. The process is simple enough:
- Wash the leaves well, remove the tough stems, and cut or leave the leaves in large pieces.
- Boil them in a large pot of water for 3 minutes, working in batches so the water stays at a rolling boil.
- Move the greens straight into ice water for the same amount of time, then drain thoroughly.
- Pack into freezer bags or rigid containers, leaving about half an inch of headspace in containers, and squeeze out air.
Properly packed, blanched collards hold quality for roughly a year at 0°F, though they taste best within the first six to eight months. Freeze in meal-sized portions. A one-pound raw bunch collapses to a modest block, so a quart bag often equals one family side dish. Frozen greens can go directly into a simmering pot with no thawing, which makes them a good fit for soups and stews.
You can also freeze fully cooked greens along with their cooking liquid. They keep for a few months that way, and the broth protects them from freezer burn. In the refrigerator, cooked greens are good for three to four days (the standard USDA leftover guideline), and reheated portions should reach 165°F.
Prepping collards: grit, stems and the cut that changes everything
Collards grow close to the ground, and rain splashes soil into every fold. A quick rinse under the tap won’t get it out. Fill a clean sink or large basin with cold water, submerge the leaves, swish them around, and let the dirt settle for a few minutes. Lift the leaves out rather than pouring the water off, otherwise the grit goes right back onto them. A second soak is common for homegrown or farmers market bunches. If the bottom of the sink is clean after the final round, you’re done.
Then deal with the stem. The thick center rib is fibrous and stays chewy long after the leaf softens. Fold each leaf in half along the rib and slice the stem away with a knife, or pinch the leaf and strip it off with your fingers. Don’t toss the stems yet. Sliced thin and added to the pot 10 or 15 minutes ahead of the leaves, they become tender and add a mild, sweet, cabbage-like flavor. Some cooks save them for stir-fries or pickling.
Cut size depends on cooking time. For a long simmer, rough chopping into 1 to 2 inch pieces is plenty. For a fast sauté, stack several leaves, roll them tightly like a cigar, and slice crosswise into thin ribbons (a chiffonade). Ribbons cook through in a fraction of the time and don’t need hours of simmering to give up their toughness.
A note on volume: raw collards look like enormous amounts of food, and they shrink dramatically as they cook, to something like a quarter or a third of their starting bulk. A recipe that serves four usually starts with a pound or two of raw leaves, or two big bunches. Cook too few and you’ll end up with a few forkfuls per person.
Cooking collards the Southern way (and a few faster ones)
The slow pot with smoked meat
The classic Southern method is a slow simmer in a broth built on smoked pork, usually a ham hock, smoked turkey wing, or a piece of salt pork or bacon. Start by simmering the meat in water, with an onion and perhaps a few cloves of garlic, for 30 to 45 minutes to make a flavorful base. Add the washed, chopped greens, bring the pot back to a gentle simmer, and cook them uncovered or partly covered until they’re silky. Depending on the age of the leaves and your taste, that runs from about 45 minutes to two hours.
Younger, smaller leaves cook faster than the big, thick ones from late summer. Cold weather helps too. Collards that have been through a few frosts tend to taste sweeter, because the plant converts starch to sugar as protection against freezing. That’s one reason Southern gardeners wait for fall before picking, and it’s worth knowing if you’re comparing a July leaf with a December one.
Season at the end, not the beginning. Smoked meat is salty, and the liquid reduces, so salt early and you risk a pot that’s too salty by the time the greens are tender. Finish with a splash of vinegar, apple cider vinegar being the usual choice, or a spoonful of the pepper vinegar that sits on many Southern tables. The acid cuts the bitterness and brightens the whole pot. A pinch of sugar helps balance heavily bitter leaves, and red pepper flakes add heat.
Faster methods for weeknights
Not every kitchen has two hours. Thin ribbons of collards sautéed in a wide skillet with olive oil, garlic and a splash of broth go from raw to tender in 10 to 20 minutes. Cover the pan for the first few minutes so steam softens the leaves, then uncover to let the liquid cook off. Bacon drippings, or a little diced bacon, bring back some of that smoky Southern flavor without the long simmer.
Other quick options include braising the leaves in a covered pot with onions and stock, stirring them into soups like white bean or sausage and potato during the last 20 to 30 minutes, or blanching whole leaves briefly and using them as wrappers for fillings. Collards are sturdy enough to hold together where spinach would tear. For raw eating, massage very thinly sliced young leaves with oil, lemon juice and salt for a minute or two to soften them, and they work in slaws and salads.
Pot likker, leftovers and what to serve alongside
The savory liquid left in the pot after the greens are done has its own name: pot likker (sometimes spelled pot liquor). It holds water-soluble vitamins and minerals that leach out of the leaves, plus the smoky, salty, slightly sweet flavor of the whole dish. Southern cooks don’t drain it away. They ladle it into the bowl with the greens and serve cornbread alongside to soak it up. If you’re cooking a big batch, save any extra pot likker in a jar. It makes a good base for bean soup, rice, or cooking another round of greens.
Collards are a traditional part of New Year’s Day meals across the South. The common pairing is collards with black-eyed peas and cornbread, with the greens symbolizing paper money and the peas representing coins. Whether or not you believe it brings luck, the combination is balanced: earthy, salty, tangy and starchy on one plate. Other natural partners include rice, grits, roasted or fried chicken, baked ham, and sweet potatoes, whose sweetness plays well against the greens’ bitter edge.
Leftover greens are often better the next day, once the flavors have melded. Stir them into scrambled eggs, pile them on a baked potato, fold them into a quesadilla, or use them as a pizza topping. They also freeze well as noted above, so a large batch of cooked collards isn’t a commitment to a week of the same side dish.
One nutrition point worth passing along: collards are very high in vitamin K, which plays a role in blood clotting. People taking warfarin (Coumadin) are usually advised to keep their vitamin K intake consistent from week to week, so anyone on that medication should check with a doctor or pharmacist before making collards a regular habit or suddenly doubling the portions.
For gardeners short on yard space, there is a final detail: collards grown in pots tend to produce smaller, tender leaves that cook quickly, and that suits the fast-sauté approach well. The setup is covered in Collards in a Container, and a handful of pot-grown leaves is often exactly the right amount for one skillet.