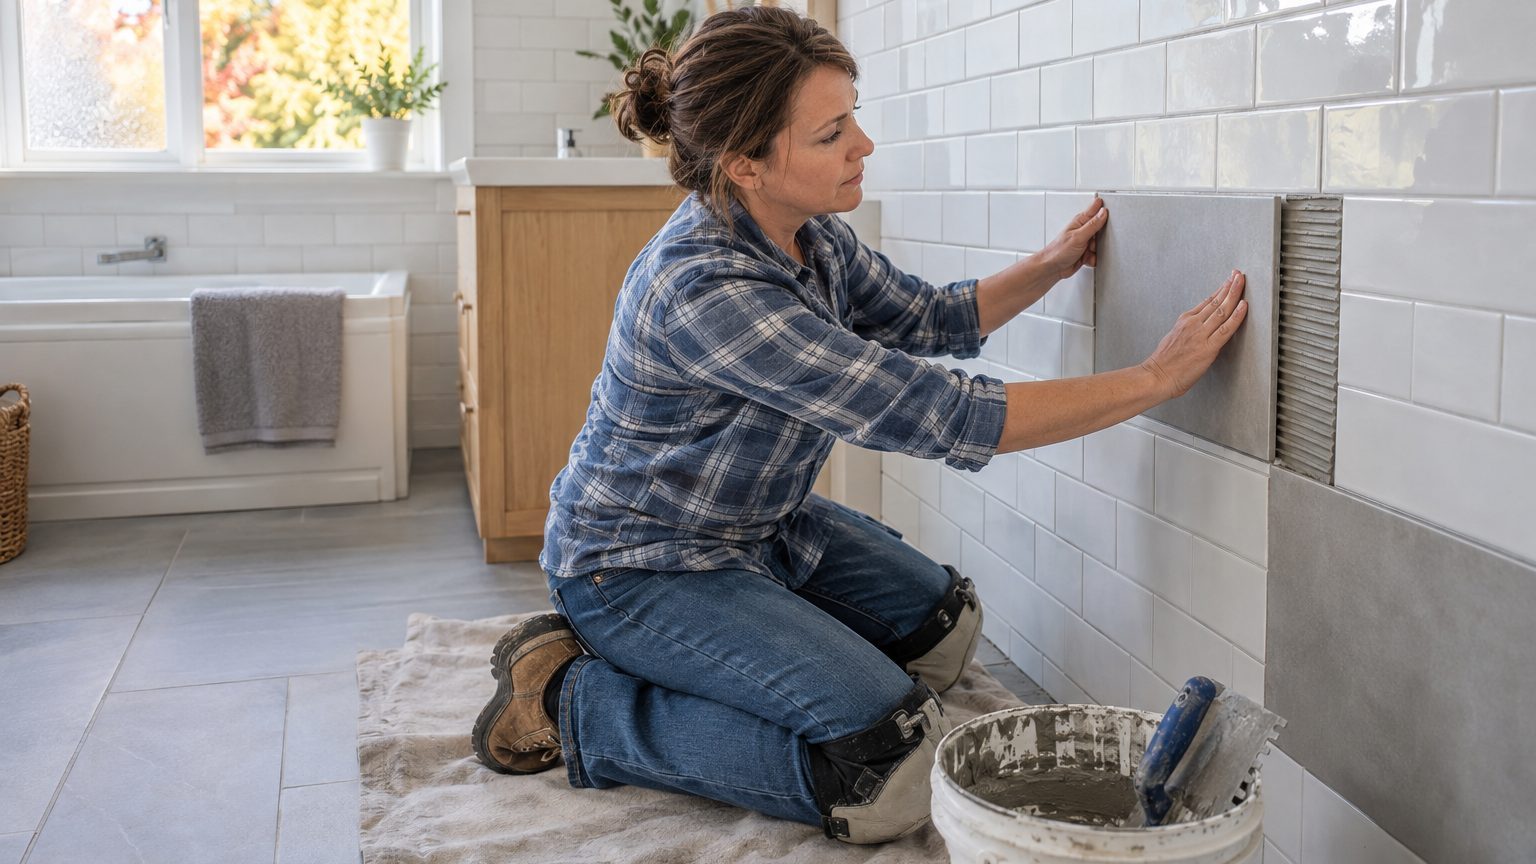

Tiling over existing tile works on a wall when the old tile is tightly bonded, the surface is reasonably flat, and nothing behind it has been getting wet. If all three are true, you can skip demolition, save a weekend of dust, and set new tile directly onto the old with the right mortar and prep. If any one of them is false, the new tile is only decorating a problem.
That qualifier matters. Plenty of walls look solid and aren’t, so a few minutes of testing comes before any buying. For more projects in this category, see the Bathroom section.
The conditions that make tile over tile a sound plan
Start with the bond. Run the handle of a screwdriver, or a quarter held flat, across the whole wall and listen. A sharp click means the tile is fully attached. A hollow, drummy sound means there’s a void behind it, and a few of those are normal. A patch the size of a dinner plate is not. Tiles that sound hollow in clusters, especially at corners and near the tub, tell you the adhesive has let go. New tile can’t be stronger than what it’s sitting on, and every pound you add makes that failure more likely.
Flatness comes next. Hold a straightedge or a 4-foot level against the wall in several directions. Industry installation standards for smaller tile allow about 1/4 inch of variation over 10 feet, and the allowance shrinks for large-format tile (any edge 15 inches or longer) to roughly 1/8 inch over 10 feet. Old walls that were never flat don’t become flat under a second layer of tile. They get worse, because thick mortar tends to follow the contours underneath. Bowed walls can be skim-coated, but at that point you’re adding steps to avoid doing steps.
Then moisture. In a dry location such as a kitchen backsplash, a powder room wall, or a laundry room, moisture is a minor worry, and this is where tiling over tile is at its best. Backsplashes are the classic case: the surface is small, easy to prep, nothing structural hides behind it, and a thin layer of new tile solves the dated-pattern problem. In a shower or around a tub, though, the old tile is only the outer skin. Waterproofing and the backer board live behind it, and you can’t see their condition from the front. Rust-colored stains at the base of the wall, grout that stays dark and damp for days, a faint musty smell, or a wall that flexes when you press it all point to trouble. Moisture meters made for drywall give a quick read if you want something more objective than a hunch.
One more check: what kind of wall is it? Tile set on cement board or a solid mortar bed is a good candidate. Tile set with mastic (a premixed paste adhesive common from the 1950s through the 1980s) on drywall or old greenboard is a weaker one. The bond between the paste and the drywall paper is the weak link, and tile that looks fine can peel off in sheets under the extra load.
Preparing the old surface so the new tile actually sticks
Glazed tile is designed to repel things, including mortar. Skipping prep is the single most common reason overlays fail. The sequence is simple, and every step has a reason.
Clean first. Soap scum, body oils, and hair products leave a film that thinset can’t grip. Scrub with a heavy-duty degreaser or a trisodium phosphate substitute, rinse thoroughly, and let the wall dry fully. Remove any loose or cracked tile, and fill those voids flush with patching compound or thinset so the surface is continuous. Then deal with the grout lines. If the old joints are recessed more than about 1/8 inch, fill them with thinset or a skim coat. Otherwise the new tiles will bridge the channels, and unsupported edges crack.
Next, give the glaze something to hold on to. There are two common routes:
- Abrade the surface with a diamond cup wheel or coarse sanding pads to dull the glaze, then use a polymer-modified thinset.
- Apply a bonding primer made for glazed, non-porous surfaces, following the label for cure time before setting tile.
Either way, plain unmodified thinset is the wrong choice. It relies on suction into a porous surface, and glazed ceramic and porcelain offer none. Look for a polymer-modified mortar whose data sheet specifically lists bonding over existing tile, and check what the manufacturer says about maximum thickness. When you start spreading, press a thin coat into the surface with the flat side of the trowel first, then comb fresh mortar on top. For large tiles, back-buttering each piece helps you reach full contact.
Grinding glaze produces dust that can contain respirable crystalline silica. OSHA regulates exposure on job sites, and the same physics applies in a home bathroom: work wet when you can, use a vacuum with a HEPA filter, wear a properly fitted respirator rated for fine particulates, and seal the doorway with plastic. It’s an annoying step, and worth doing right.
There’s also an older-house issue. Tile adhesives and some backing materials installed before the 1980s occasionally contained asbestos. Overlaying undisturbed tile doesn’t release anything, but grinding, drilling, or demolishing does. If your home is that old and you’re planning any abrasive prep, a lab test of a small sample is inexpensive compared with the alternative. The U.S. EPA publishes guidance on asbestos in homes, and many state health departments can point you to accredited labs.
What an extra half-inch does to the rest of the room
Thickness is the part people forget to measure. Old wall tile typically runs around 1/4 inch. Add 1/8 inch or more of mortar and another layer of tile at 1/4 to 3/8 inch, and the wall surface moves out roughly 1/2 to 3/4 inch. That doesn’t sound like much until you start counting everything attached to that plane.
Electrical boxes are the first casualty. Outlets and switches that were flush will now sit recessed behind the new surface, which is a code issue as well as a cosmetic one. Box extenders (spacers sized for the added depth) fix it, and the power should be off at the breaker while you install them. In a bathroom, outlets are required to be GFCI protected, and the new tile shouldn’t interfere with access to the test and reset buttons.
Window and door returns get awkward. A window sill or trim that sat flush now looks like it has sunk into the wall. You can often build up the sill with a new tile ledge, but trim usually needs to be removed and reinstalled, which means painting and caulking afterward.
Around the tub, the thickness shows up as a gap at the bottom. Wall tile normally laps over the lip of the tub or a pan flange; with a thicker wall, the new tile may stop short of the lip, or leave a sloped, uneven joint. A flexible caulk joint at that transition is standard, but if the gap exceeds what caulk can bridge, you’ll need a trim piece or a different layout strategy. Shower valve trim kits have the same issue, since plates and handles are designed for a specific wall depth. Some can be extended with longer stems, and some can’t.
Layout needs thought too. You’re not starting from the floor, and the lines of the old tile can mislead your eye. Establish a level reference and plan the cuts around the room’s focal points before spreading any mortar. The reasoning is covered in Where to Start Tiling a Wall: Not at the Floor, and it applies just as much when the surface underneath is already tiled.
Weight, and why it rarely decides the question
Homeowners often ask whether the second layer is too heavy. For ceramic and porcelain wall tile on properly framed walls, it usually isn’t. A tub surround of roughly 100 square feet adds some hundreds of pounds of tile and mortar, which is well within what wall framing handles. The weight matters more to the layer being loaded: drywall held by screws or paste. Natural stone, which is far heavier than ceramic, changes the math, and so do very large porcelain slabs. If you’re considering either, check with the tile maker and be conservative about what’s behind the wall.
When tearing out is the smarter move
Some walls shouldn’t get a second layer, no matter how good the tile looks. A shower that has leaked, even a little, belongs on the demolition list, because moisture trapped under two layers of tile gets nowhere to go and the damage keeps growing quietly. Tile over old greenboard in a wet area is another. Greenboard (moisture-resistant drywall) isn’t an approved tile backer for showers and tub surrounds by current standards, and a 1990s shower built on it may be living on borrowed time.
The same goes for any wall where you plan to change how water reaches it. Turning a shower into a doorless layout, for instance, puts more spray and splash on the walls than a closed stall ever saw. That’s a rebuild-the-waterproofing project, not a cosmetic refresh, and A Walk-In Shower With No Door: Where the Water Goes explains why the wall construction matters as much as the floor slope.
Cost and effort also tip the scale. Demolition is the part everyone dreads, but pulling tile off drywall often wrecks the drywall, which means new board, new cement backer in wet areas, and new waterproofing. That’s a bigger job than it first appears. On a sound wall in a dry or lightly used area, you can reasonably avoid it. In a daily-use shower, the savings from skipping demo are real, but small compared with the cost of redoing the job when moisture finds its way in.
A practical middle path: pick one low-stakes spot, like a backsplash or a half-wall in a powder room, and use it as a test of your prep and mortar before committing to a whole room. If the new tile bonds firmly after a few weeks and passes the same tap test you used on the original, you’ve confirmed the approach for that substrate.
One last nuance worth knowing before you buy materials: mortar manufacturers publish maximum thicknesses and approved substrates, and a few of them explicitly exclude installations over existing tile in wet areas unless you use their own primer or membrane system. Reading that data sheet before you open the bag takes five minutes, and it’s the document a warranty claim would be judged against.