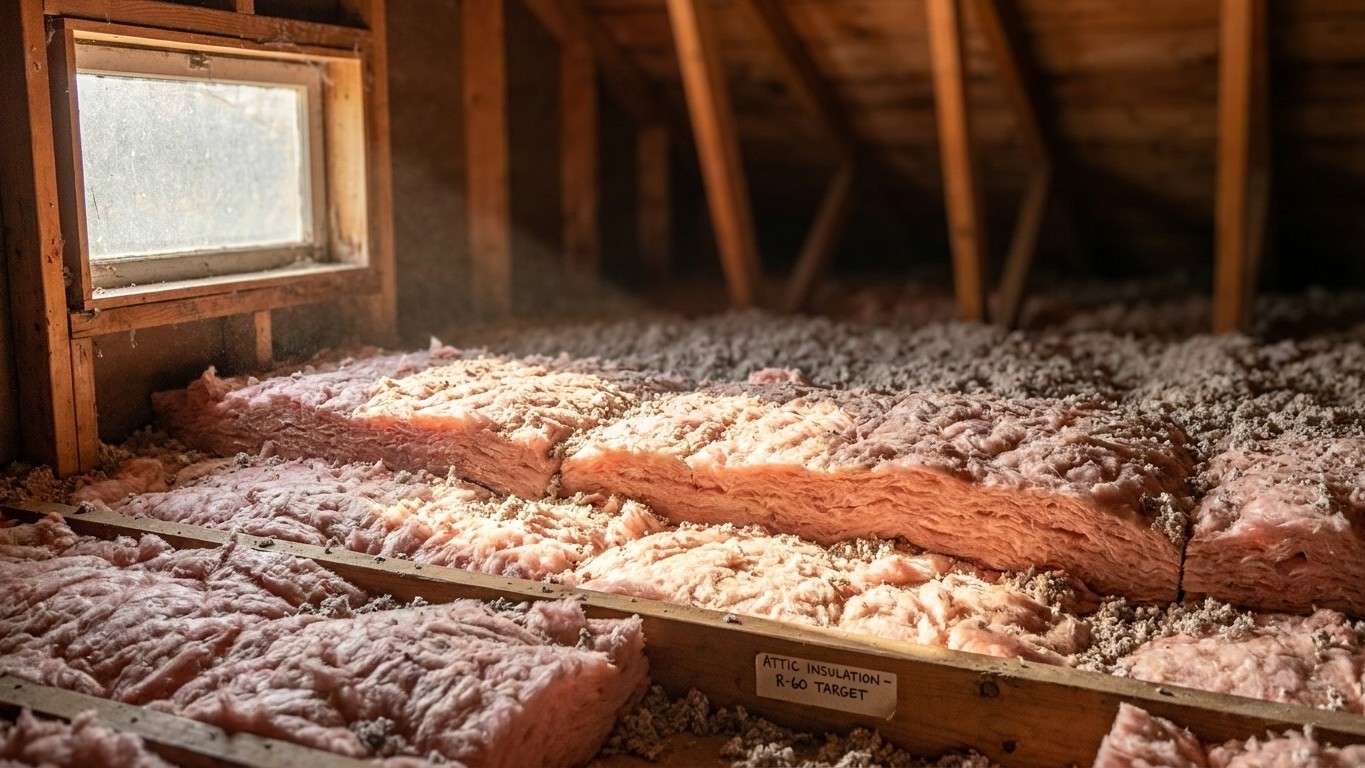

Colorado doesn’t have a single insulation number, because it doesn’t have a single climate. The state’s 64 counties fall into four different IECC climate zones, from the mild foothills to the high mountain counties, and the right R-value for an attic or floor depends entirely on which zone a given county sits in.
Which climate zone Colorado is in

Colorado is split across four IECC climate zones, and there’s no way to average them into one figure for the whole state. According to the 2021 International Energy Conservation Code (IECC), Table R301.1, the breakdown by county is as follows:
| Climate zone | Number of counties |
|---|---|
| Zone 5B | 34 counties |
| Zone 7 | 13 counties |
| Zone 6B | 12 counties |
| Zone 4B | 5 counties |
That’s 34 counties of 64 in Zone 5B, the largest single group, but it’s still barely more than half the state by county count, and a county count is not the same thing as a share of population. A handful of counties in a milder zone can hold a large share of Colorado’s residents, while a wide swath of Zone 7 counties in the high country can be sparsely populated. Neither number tells you where the people actually live, so don’t read “34 counties” as “most Coloradans.”
What a climate zone actually describes is heating and cooling demand, tied to how cold winters get and how long they last. The number (4, 5, 6, or 7 here) marks the severity, with higher numbers meaning colder winters. The letter that follows marks the moisture regime: A for moist, B for dry, C for marine. Colorado’s zones here carry a B, meaning dry conditions, except for Zone 7, which carries no letter at all, since zones 7 and 8 are classified by severity alone. That letter isn’t cosmetic. It changes which row of the insulation table applies, because the ENERGY STAR guidance groups zones by both number and letter, not by number alone.
This page won’t tell an individual reader which of the four zones their own home sits in. That answer lives at the county level, in the IECC table itself or on ENERGY STAR’s zone map, and it matters enough that guessing wrong means buying the wrong amount of material. A homeowner in a Zone 4B county and one in a Zone 7 county are, in effect, insulating for two different climates, even though they share a state line.
The insulation levels that apply here
ENERGY STAR publishes recommended insulation levels for retrofitting existing wood-framed buildings, based on the 2021 IECC. The table has a merged header that trips up a lot of readers: it lists two attic figures side by side (one for an attic that’s currently uninsulated, one for an attic that already has 3 to 4 inches in place) and then a third figure for the floor. Three numbers per zone, but only two of them describe the attic.
| Zone | Attic if uninsulated | Attic if already 3-4 inches | Floor |
|---|---|---|---|
| Zone 1 | R30 | R25 | R13 |
| Zone 2 | R49 | R38 | R13 |
| Zone 3 | R49 | R38 | R19 |
| Zones 4A and 4B | R60 | R49 | R19 |
| Zones 6, 5 and 4C | R60 | R49 | R30 |
| Zones 7 and 8 | R60 | R49 | R38 |
Given Colorado’s spread across Zones 4B, 5B, 6B, and 7, three rows of this table apply somewhere in the state, and none of them can be blended into a single Colorado figure. A home in one of the five Zone 4B counties is working toward R60 (uninsulated) or R49 (already has 3-4 inches) for the attic, with R19 for the floor. A home in the 34 Zone 5B counties or the 12 Zone 6B counties lands on the same R60/R49 attic target, but with R30 for the floor instead, a meaningfully thicker floor assembly. And a home in one of the 13 Zone 7 counties, likely at higher elevation, keeps the same attic numbers again but bumps the floor up to R38, the highest floor target on the whole table.
So a reader in a lower-elevation Zone 4B county and a reader in a Zone 7 mountain county are not shopping for the same project, even though their attic targets happen to look identical on paper. The floor is where the real difference shows up. None of these figures should be interpolated or averaged across zones, and none of them convert cleanly into a depth in inches, since that depends on which material is used. The actual depth needed is printed on the product’s own packaging, not derived from the R-value alone. It’s also worth repeating that these are retrofit levels for existing wood-framed construction, not the standard for new builds, which follow a separate set of requirements in the IECC.
Sealing comes before insulating
ENERGY STAR treats air sealing and insulation as two parts of a single project, and its own guidance puts attic air sealing before attic insulation, not after. The reasoning is straightforward: insulation slows heat as it moves through a material, but it does nothing to stop air moving around or through gaps, cracks, and penetrations. Lay insulation over an unsealed attic bypass and you haven’t closed anything. You’ve just buried it under material that now hides the problem from view.
That order matters enough to spell out as a sequence, and it applies regardless of which of Colorado’s four zones a home sits in:
- Seal air leaks in the attic first, before adding or upgrading insulation there.
- Bring the attic insulation up to the level called for by the home’s zone.
- Address the rim joist, another common and often-overlooked air leak point.
- Move to the floor over any crawlspace, sealing first, then insulating to the zone’s floor target.
- Only then turn to the walls.
One thing worth being precise about: the widely cited savings figure for this kind of work covers sealing and insulating together as one project. It isn’t a number that applies to sealing on its own, so there’s no separate percentage to attach to the sealing step by itself. The two steps are modeled, and reported, as a pair.
For the specifics of how to seal an attic, work a rim joist, or handle a crawlspace floor properly, the national insulation guides on this site walk through each step in more detail than a state-level page like this one can cover. What belongs here is the order, and the reason for it: sealing first, insulating second, every time, in every one of Colorado’s four climate zones.
What the winter here actually asks for
At Denver International Airport, the reference station used by NOAA’s 1991-2020 U.S. Climate Normals, the annual figure runs about 5,862 heating degree days (base 65°F), against roughly 850 cooling degree days. Heating degree days aren’t a temperature reading. They’re a running tally of demand, adding up, for every day of the year, how far the daily mean fell below 65°F. A higher total means more fuel burned to hold the same indoor temperature, and Denver’s number describes a heating season that dominates the year here, with cooling a distinctly secondary concern by comparison. It’s also a single-station figure. A mountain county at higher elevation, in one of the Zone 7 counties, can run considerably colder than what Denver’s airport records show.
What homes here actually heat with matters just as much as how much heat they need. According to the U.S. Energy Information Administration’s 2020 Residential Energy Consumption Survey, Colorado homes lean heavily on furnaces: 77% use one as their main heating equipment, and natural gas is the dominant fuel at 76%. Steam or hot-water boilers account for 9%, electricity for 16%, and propane for 4%. The survey doesn’t publish a figure for central heat pumps in the state (the estimate was suppressed as unreliable), and it reports no households on fuel oil or kerosene. Neither of those should be read as zero. They mean the survey didn’t have enough data to publish a number, not that the equipment doesn’t exist here at all.
A state running mostly on furnaces and ductwork has a different set of blind spots than one leaning on boilers and radiators. Ducts routed through an unconditioned attic are their own source of heat loss, and no amount of ceiling insulation fixes a leaky duct run sitting above it. Given the equipment mix here, a reasonable order of attention looks like this:
- Seal and insulate the attic to the level called for by the home’s zone.
- Check attic ductwork specifically, since three-quarters of homes here rely on a furnace-and-duct system.
- Address the rim joist and floor over any crawlspace.
- Consider boiler and radiator homes separately, since duct sealing doesn’t apply to them.
The duct-specific guides on this site cover attic duct sealing and insulation in more depth, and they’re worth pairing with the attic work described above rather than treating as a separate project.
What the work is worth
ENERGY STAR’s own methodology page states it plainly: “EPA estimates that homeowners can save an average of 15% on heating and cooling costs (or an average of 11% on total energy costs) by air sealing their homes and adding insulation in attics, floors over crawl spaces, and accessible basement rim joists.” Both numbers belong together, since they’re percentages of two different things: 15% of the heating and cooling portion of a bill, 11% of the total energy bill.
These are averages, drawn from energy modeling of a typical existing U.S. home, not a guarantee for any specific house in Denver, Grand Junction, or a mountain county in Zone 7. The modeling also names exactly where the work was done: attics, floors over crawl spaces, and accessible basement rim joists. It doesn’t extend to walls, windows, or doors, so a project focused elsewhere shouldn’t be expected to produce this same result.
It’s worth keeping this figure separate from two others that sound similar but aren’t. ENERGY STAR’s own program landing page cites “up to a 10% savings on your annual energy bills” for the same category of work, phrased as a ceiling rather than an average, on a different base. And the Department of Energy’s often-quoted 10% figure applies to a thermostat setback of 7 to 10 degrees held for eight hours a day, which has nothing to do with insulation at all. Three real numbers, three different claims, and blending them produces a figure nobody actually published.