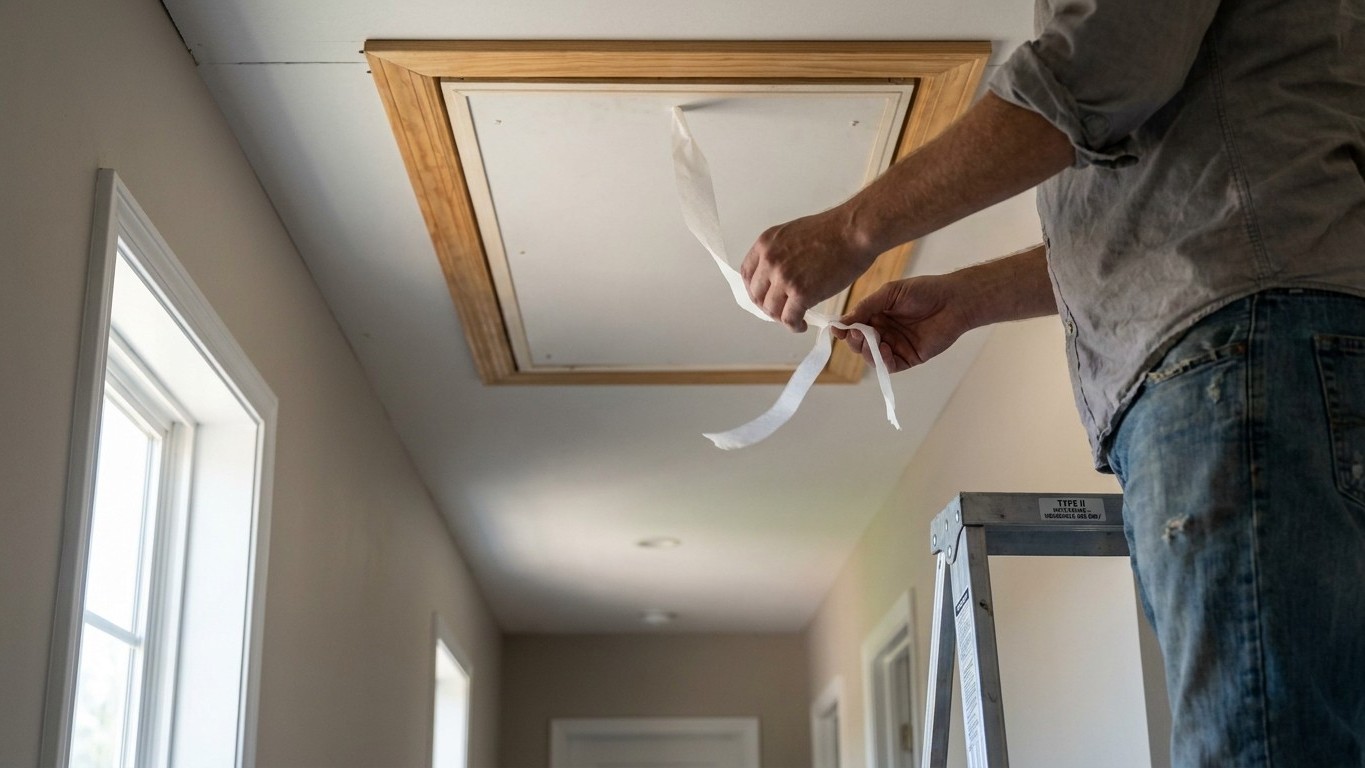

The biggest air leaks in most houses aren’t at the windows. They’re in the attic floor, around the plumbing stacks, at the top of interior walls, and along the rim joist in the basement. Finding them takes a mix of looking, feeling, and in some cases testing air flow with something as simple as a strip of tissue. No special equipment required for the first pass.
Where they actually are, in order of size

Most people start their leak hunt at the front door, checking for a draft along the weatherstripping. That’s not wrong exactly, but it’s backwards in terms of priority. Window and door gaps are real, and they’re the ones you feel because you stand next to them every day. The openings that move the most air are usually out of sight, up in the attic or down in the basement, and they’re often big enough to walk a hand through.
The logic is simple once you think about it: warm air rises. It escapes through anything that punches a hole between the living space and the attic, then pulls replacement air in through the basement and rim joist to fill the vacuum. That’s called the stack effect, and it’s why the biggest culprits cluster at the top and bottom of the house rather than in the middle.
| Location | What to look for |
|---|---|
| Attic access hatch or pull-down stairs | Gaps around the frame, missing weatherstripping, a hatch that isn’t insulated on the back |
| Top plates of interior walls (visible from the attic) | The narrow gap where the wall framing meets the attic floor, often unsealed along its entire length |
| Plumbing and wiring penetrations through the attic floor | Holes around pipe stacks, electrical wires, and bath fan ducts, usually cut larger than the pipe or wire itself |
| Chimney and flue chases | The framed gap around a masonry chimney or metal flue, which by code can’t be sealed with regular caulk near heat, but the surrounding framing gaps can |
| Rim joist in the basement or crawl space | The band of framing that sits on top of the foundation wall, often bare and never sealed since construction |
| Where an addition meets the original house | The seam where two roof lines, wall lines, or foundations join, frequently patched but not actually sealed |
| Windows and doors | Weatherstripping gaps, worn thresholds, and old caulk lines around the trim |
Notice that windows and doors land at the bottom of that list, not because they don’t leak, but because the total square footage of the gap is small compared to what’s hiding in the attic and basement. A single unsealed plumbing penetration in the attic floor can move more air than every window in the house combined. That’s the reordering worth carrying into the rest of this search: start at the top and bottom, finish at the trim.
Four checks that cost nothing
None of these require buying anything you don’t already own, and they work better together than alone.
- The bright-day visual pass. On a sunny afternoon, go into the attic with the lights off and look at the floor from below, or go into a dark closet and look at the exterior wall from inside. Daylight showing through a gap is a leak you can mark with tape on the spot.
- The back-of-the-hand test. Run the back of a slightly damp hand slowly along suspect joints: the attic hatch frame, baseboards on an exterior wall, electrical outlet covers, the rim joist. Skin on the back of the hand is more sensitive to moving air than fingertips, and a damp hand picks up airflow even faster.
- The tissue strip test. Hold a thin strip of tissue paper or a feather near a joint and watch for movement. This is the safer stand-in for the classic lit-incense trick: an open flame or smoldering stick is not the tool to reach for here, since it introduces a fire risk in an attic full of Insulation and old wiring, and the smoke reading isn’t any more reliable than a tissue strip anyway.
- The frost and condensation check, in winter. On a cold morning, look at attic sheathing, window corners, and exterior wall outlets for frost or a damp ring. Moisture collects where warm, humid indoor air is meeting cold air escaping outward, so a frost pattern is really a leak map drawn by the weather itself.
All four checks get noticeably easier with one trick: close up the house first, shutting windows and exterior doors, then run the bathroom and kitchen exhaust fans for a few minutes before you start. Pulling air out of the house creates a slight negative pressure, which pulls outside air in through every gap a little harder than it would on its own. A draft that’s barely detectable under normal conditions often becomes obvious once the house is depressurized this way. It costs nothing, takes five minutes, and turns a marginal leak into one You Can Actually feel or see.
The test that measures it
Hand checks tell you a leak exists. They don’t tell you how big it is relative to every other leak in the house, and they don’t tell you how the house performs as a whole system. That’s the gap a blower door test fills.
The setup is a temporary fan mounted in an exterior door frame, sealed around the edges with a flexible panel. The fan pulls air out of the house (or sometimes pushes it in, depending on the technician’s method), and pressure gauges measure how hard the house resists that change. A tighter house holds pressure more easily; a leakier one loses it fast because outside air is rushing in to replace what the fan is removing.
What that produces is a number describing the whole house’s air leakage rate, not a subjective impression of “drafty” or “fine.” That number becomes the baseline: run the test, seal what you find, run it again, and see whether the number actually moved. Without it, you’re guessing at whether the caulk and foam you applied last weekend made a real difference or just a cosmetic one.
The other advantage shows up during the test itself. While the fan is running and the house is under pressure, a technician can walk room to room with a smoke pencil or an infrared camera and watch exactly where air is entering, gap by gap, in a way that’s far more sensitive than a hand or a tissue strip. Leaks that were too subtle to feel on a calm day become obvious once the whole house is under load.
This kind of test earns its place when you’ve already done the free checks, sealed what you found, and want to know whether it’s worth going further, or when a house has ongoing comfort complaints (a cold room, a musty basement, ice damming) that don’t trace back to any single obvious gap. It’s a diagnostic tool, not a step everyone needs before starting basic sealing work.
What to close first
Once you’ve found leaks with the checks above, or with a blower door test, the order of repair matters as much as the repair itself. U.S. ENERGY STAR’s own project guidance puts attic air sealing before attic insulation, and that sequence isn’t arbitrary. Insulation laid over unsealed penetrations doesn’t stop the air moving through them; it just hides the gap under a layer of fluff while the air continues to flow beneath, around, and sometimes straight through it. Sealing first, Insulating second, is the sequence that actually reduces air movement rather than just covering it up.
Follow the same top-to-bottom priority for the whole house: start with the biggest openings between the living space and the attic (the hatch, the top plates, the plumbing and wiring penetrations), move to the basement and the rim joist, and finish with the everyday gaps at windows and doors. That’s the same order the leaks themselves showed up in earlier in this article, and it’s the order that returns the most air-sealing benefit for the least effort.
On the scale of what that effort is worth, U.S. ENERGY STAR states it plainly: “EPA estimates that homeowners can save an average of 15% on heating and cooling costs (or an average of 11% on total energy costs) by air sealing their homes and adding insulation in attics, floors over crawl spaces, and accessible basement rim joists.” Those are modeled averages for a typical existing U.S. home, tied specifically to those three areas, not a guarantee for any one house and not a figure that extends to wall or window work.
One caution belongs in this same conversation. A house can be sealed too tightly without paying attention to how it’s ventilated. Air sealing reduces the uncontrolled leaks; it doesn’t replace the fresh air a house and its occupants need, and that becomes a genuine safety question wherever a fuel-burning appliance, a furnace, a water heater, a gas range, shares space with the sealed envelope. Tightening a house around a combustion appliance without checking how it draws combustion air and vents exhaust is exactly the kind of situation that calls for a proper evaluation. For more on that risk specifically, see our carbon monoxide safety guide.
Common questions
Do I need to seal every leak I find, or just the big ones?
Working through the biggest openings first, the attic penetrations and the rim joist, delivers most of the benefit. Smaller gaps around trim and outlets are worth closing too, but they matter far less than the large ones described in the table above.
Can I do a blower door test myself?
The equipment and the pressure calculations are specialized, and the test is normally run by a trained energy auditor or insulation contractor. What you can do yourself beforehand is the visual, hand, tissue, and frost checks, which often find the same leaks without needing the fan.
Should I seal the attic hatch the same way as a window?
No. A hatch or pull-down stair opening usually needs weatherstripping around its frame plus an insulated cover on the back, since it’s both an air leak and a gap in the insulation layer at once, unlike a window, which is mostly an air-sealing issue.
Is it safe to seal gaps around a chimney or flue myself?
The framed clearance immediately around a chimney or metal flue is a fire-code clearance, not just an air leak, and it isn’t meant to be filled with standard caulk or foam. The framing gaps further from the flue itself can generally be sealed with fire-rated materials, but this is one area where checking the clearance requirements for your specific appliance first is worth the extra step.