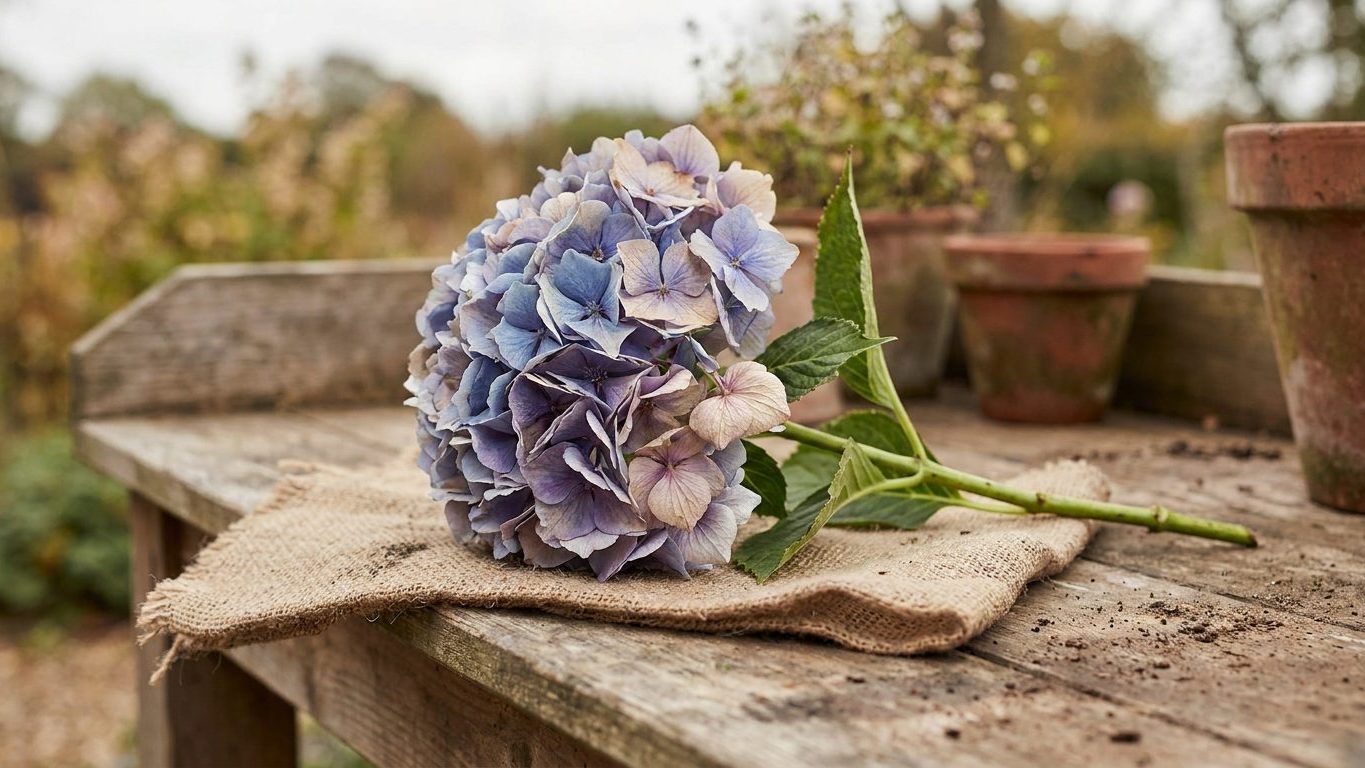

The color you see on a hydrangea bloom the day you cut it is the color you’re stuck with when it dries. Drying doesn’t shift blue to pink or green to purple; it only locks in, fades, or ruins whatever pigment was already there. Get the timing and method right and the bracts stay close to true. Get them wrong and you end up with brown, crumbling flower heads that look nothing like what was on the bush.
Why this matters
Hydrangea bracts (what most people call petals) are thin and largely made of water. Dry them too fast, in direct heat or sun, and the pigment breaks down before the cell walls have a chance to set, leaving flat, papery brown. Dry them too slowly, in a damp or stagnant spot, and mold sets in before the moisture is gone, which also destroys color and can rot the stem from the inside out.
Skip proper drying and you get one of two failures: flowers that shatter the moment you touch them, or flowers that hold their shape but have gone the color of a grocery bag. Done right, a dried bigleaf hydrangea bloom keeps a muted version of its on-bush blue, pink, or purple for a year or more indoors, out of direct light. Done wrong, you’ve spent weeks on a bouquet that goes in the trash.
When to do it
Forget the calendar. The plant tells you when a bloom is ready to cut for drying, and the signal is texture, not date. Fresh hydrangea bracts feel a little waxy and pliable, almost rubbery. A bloom that’s ready to dry has started to feel papery and slightly stiff to the touch while still on the bush, a bit like the flower is already dehydrating itself in place. That change usually shows up as the bloom matures well past its peak, not while it’s still fresh and vivid.
For panicle types (H. paniculata), this stage often lines up with the natural color shift the flower goes through late in its season, as white cones age toward pink or blush and eventually a tan-green. That aged color is exactly what you’re capturing when you dry it, so waiting for it rather than cutting a fresh white cone tends to give a better result. For bigleaf, mountain, and oakleaf Hydrangeas, which flower on old wood, cut the flower stem short rather than reaching deep into the plant. Removing a long stem from an old-wood bloomer can take next year’s buds with it, since those buds are already set on that wood by the time you’re cutting.
If a bloom still feels soft and fresh, give it more time on the bush. Rushing this step is the single biggest reason home-dried hydrangeas end up limp or discolored.
How to do it
Once a bloom has that slightly papery feel, cut the stem with sharp, clean pruners, angled cleanly rather than crushed. Leave several inches of stem below the flower head; you can always trim it shorter later, but you can’t add length back.
Water-drying method
This is the simplest approach and it tends to preserve color better than most people expect. Strip any leaves from the stem (they mold before the flower dries and pull moisture away from the bloom). Stand the stems upright in a vase or jar with an inch or two of water, no more, and set it somewhere out of direct sun with decent air movement, a spare room or a garage shelf works fine. Do not top off the water. As it slowly evaporates over the following days, the flower dries gradually and evenly, which is gentler on the pigment than sudden air-drying. Once the water is gone and the bloom feels crisp and lightweight, it’s done.
Air-drying method
Gather three to five stems into a small bundle, secure with a rubber band (it tightens as the stems shrink, string doesn’t), and hang the bundle upside down. The spot matters more than the technique: dark, dry, and well ventilated beats anything bright or humid. A closet, an unheated garage, or an attic corner all work. Hanging upside down keeps the bloom’s shape from sagging as it loses moisture. Leave it alone for one to two weeks and check by gently flexing a bract; if it feels like paper and holds its shape rather than bending soft, it’s ready.
Silica gel, for the most vivid color
If color retention matters more than convenience, burying the bloom head-down in silica gel crystals inside a sealed container is the method that keeps the most saturation, because it pulls moisture out fast and evenly without collapsing the bract structure. It’s more work and requires buying the gel, so most people reserve it for a specific bloom they especially want to keep looking close to fresh.
Whichever method you use, a properly dried hydrangea bloom feels light, slightly crisp, and holds its shape without crumbling when handled gently. The color will be a shade or two muted from the living flower, that’s expected, but it shouldn’t be brown or gray.
What goes wrong
Cutting too early is the most common mistake. A fresh, still-supple bloom looks tempting to preserve at its peak, but that softness means high water content, and high water content dries unevenly, usually ending in brown, wilted patches rather than an even fade.
Too much water in the vase is a close second. People assume more water keeps the flower fresher longer, but standing water that never gets a chance to evaporate just breeds mold at the stem base, which travels up into the bloom and ruins the color from the inside.
Direct sunlight during drying looks harmless, even helpful, since it seems to speed things along. It’s actually one of the worst things you can do: UV exposure bleaches pigment fast, so a bloom dried on a sunny windowsill often ends up paler than one dried in a dark closet, even though the closet took longer.
The mistake that looks like extra care but isn’t: misting the drying blooms with water to keep them from getting “too dry” too fast. This feels protective, but it reintroduces moisture into a flower that’s trying to lose it, which invites mold and undoes days of progress. Once you’ve committed to drying, leave the humidity alone and let the process run its course.
One more note worth keeping in mind if pets share the house: only bigleaf hydrangea (H. macrophylla) is documented as toxic, and only if eaten in large quantity, causing nausea, stomach pain, vomiting, and sweating in pets and people alike. It’s not a reason to avoid drying the flowers, just a reason to keep the finished arrangement out of reach of a curious dog or cat.
Doing it differently
The right variation depends on which hydrangea you’re drying, not on how it’s grown. Container-grown and in-ground plants dry the same way once the stem is cut, so growing method itself doesn’t change the technique.
What does change things is type. Bigleaf and mountain hydrangeas carry soil-driven color, blue below roughly pH 5.5, pink above roughly pH 6.5, purple in between, and that color is fixed at the moment you cut the stem. Drying can’t restore it or shift it; it can only preserve or dull it. Panicle, smooth, oakleaf, and climbing hydrangeas don’t respond to soil pH at all, so their dried color depends entirely on how far into their natural aging (white to cream to pink to green) the bloom had gotten before you cut it.
If a saturated, true-to-bush color is the goal, silica gel is worth the extra effort, especially for a prized blue mophead bloom. If you’re drying a large batch for arrangements where a slightly muted, vintage look is fine, the water or air-drying methods are far less fussy and give a result most people are perfectly happy with.
Common questions
Will a blue hydrangea always dry blue?
Only if it’s a bigleaf or mountain type grown in acidic soil, and only if it was already true blue on the bush when you cut it. Drying preserves existing color, it doesn’t create it.
Does soil pH matter once the flower is cut?
No. Soil pH only affects color while the plant is alive and taking up aluminum from the soil. Once a stem is cut, the color at that moment is what you’re working with, whether you air-dry, water-dry, or use silica gel.
How long does the whole process take?
Water-drying and air-drying both typically take about one to two weeks, depending on humidity and airflow in the space. Silica gel drying is faster, often just a few days, since it actively pulls moisture out rather than waiting on evaporation.
Can you dry hydrangeas bought from a florist instead of cut from your own plant?
Yes, with one caveat: florist blooms are usually cut fresh and full of water rather than at the papery, mature stage that dries best. Letting them sit in a vase for several extra days at home, until the bracts start to feel slightly stiff, before starting the drying process itself usually gives a better result than drying them straight from the shop.