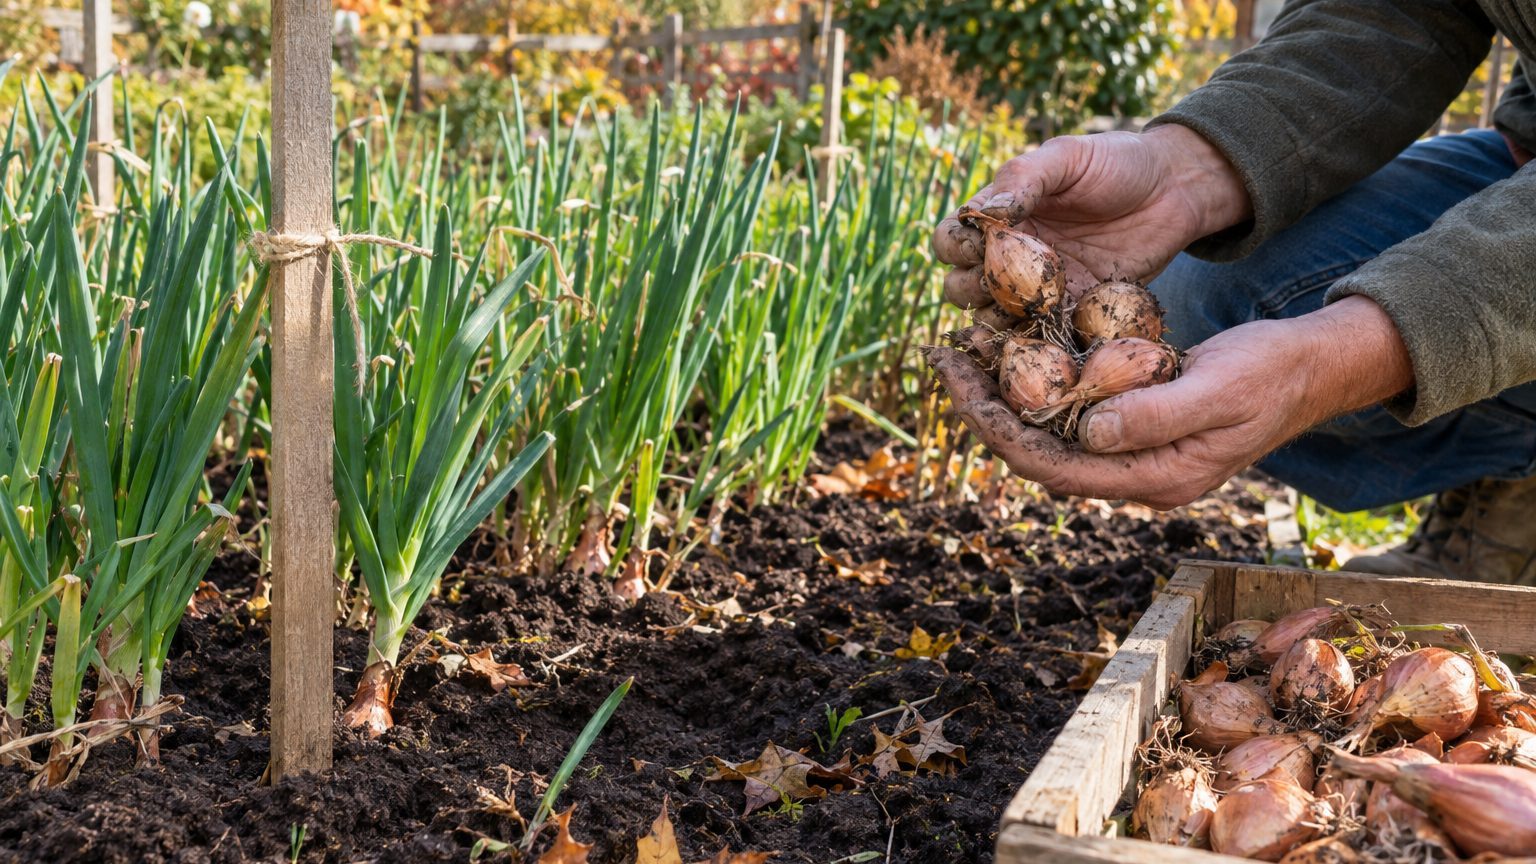

Set aside roughly one shallot in every seven from your harvest, choose medium bulbs about 1 to 1.5 inches across from your healthiest plants, cure them until the necks are dry, and store them somewhere cool, dark and airy until planting time. That’s the whole method. Shallots multiply by division, so each bulb you replant becomes a cluster of several, and a single season’s crop can restock your bed for years.
The details decide whether next year’s crop is better or worse than this year’s. Save the wrong bulbs, store them badly, or carry a soil disease forward, and you’ll replant your problems. This guide covers the selection, the storage, and the point where it pays to buy fresh stock. For the full crop cycle, start with Growing Shallots: One Bulb In, a Handful Out.
Choosing the bulbs worth keeping
Start in the bed, before harvest. Shallots that you plan to save should be marked while the tops are still standing. A bit of twine around the foliage or a stake at the end of the row does the job. Pick plants that grew vigorously, held their leaves upright, and showed no yellowing or soft spots at the base. A plant that sailed through a wet June is carrying something useful.
Size matters more than most gardeners expect. Aim for medium bulbs, around 1 to 1.5 inches in diameter. The biggest bulbs look like the obvious choice, but they tend to produce fewer, larger offsets and are more likely to throw a flower stalk (bolt) the following season, which wrecks the bulb for storage. Very small bulbs, under about three-quarters of an inch, will grow, but they put much of their first season into simply getting established and often give a lighter yield. Medium is the sweet spot, and it’s also the size that stores best through winter.
Reject anything with a thick, woody center (a sign the plant bolted), a wide, hollow-feeling neck, or a doubled, split shape from irregular watering. Skip any bulb with bruising, a soft base or a faint blue-gray mold. One questionable bulb in a storage bag can spoil its neighbors by January.
How many to hold back
A healthy shallot set typically multiplies into somewhere between five and ten bulbs, depending on variety, spacing and soil. Take the conservative end of that range and you’ll need about one saved bulb for every six or seven you hope to harvest. Then pad it. Some will rot, some will sprout early in storage, and some will simply refuse to grow. Setting aside 25 percent more than your math says is cheap insurance.
Here’s a quick way to size the job. A 10-foot row planted at 6-inch spacing takes about 20 bulbs. Hold back 25 to 30 to cover losses, and you’ve got your next row with room to share a few with a neighbor. Gardeners who want to expand the patch should increase the saved portion rather than the bed size, since a first-time expansion with untested stock can be a gamble.
Curing and storing until planting time
Saved shallots need the same curing as eating shallots, and a little more care, because they have to stay alive rather than just edible. Pull the bulbs when roughly half to two-thirds of the tops have fallen over and yellowed, then lay them in a single layer somewhere warm, shaded and breezy. A covered porch, a garage with the door cracked open, or a spare room with a fan all work. Two to three weeks is typical, longer in humid regions like the Southeast or the Gulf Coast, where curing can drag on and mold sets in if air movement is poor.
You’ll know they’re cured when the necks are tight and papery, the roots are wiry and dry, and the outer skins rustle. Trim the roots close, but leave the dried tops in place if you plan to braid, or cut them to about an inch if you plan to bag them. Brush off loose soil. Don’t wash the bulbs. Water on a stored bulb is an invitation to rot.
For storage, think cool, dry, dark and moving air. Mesh onion bags, paper sacks with the tops folded open, or shallow slatted crates are all good. Plastic bags and sealed tubs are not, since they hold humidity against the bulbs. Humidity should stay below roughly 70 percent. A temperature range of about 45 to 60°F suits most home setups, such as an unheated basement, a closet on an exterior wall or an insulated garage in mild climates.
Extension guidance on onion sets warns that long stretches in the middle of the cool range can nudge bulbs toward bolting once they’re planted, while very warm storage speeds up sprouting. Shallots are less fussy than onions, but the lesson carries over: avoid big temperature swings, and don’t park saved stock next to a furnace or in an uninsulated shed that freezes and thaws all winter. Hard freezes will turn a bulb to mush.
Label each bag with the variety and the year. Mixed-up shallots are a pain to sort out in spring, because many look nearly identical until they mature. Then check the stock every few weeks. Pull any bulb that feels soft or smells sour, and watch for green shoots. If sprouting starts early, plant the bulbs as soon as your calendar allows rather than fighting it.
Where saving goes wrong
The weak point of saving your own stock is that shallots are cloned, not grown from seed. Every bulb is a piece of last year’s plant, which means anything living inside it comes along for the ride. Viruses are the quiet problem. Allium viruses, including onion yellow dwarf, build up in vegetatively propagated crops over successive generations and gradually erode yield and bulb size. Nothing dramatic happens in a single season. Instead, the harvest slips: slightly smaller bulbs, slightly more streaky or twisted leaves, slightly lower multiplication. Many growers who have replanted the same line for five or more years report exactly that slide.
Soil-borne disease is the harsher risk. If any plant in your bed showed yellowing leaves with fluffy white growth at the base of the bulb, followed by tiny black seed-like specks, stop. That’s a classic sign of white rot, and a bulb from that bed can carry the fungus into clean ground. The sclerotia survive in soil for many years (figures of 15 to 20 years are commonly cited), so the cost of one careless replanting is a garden you can’t grow alliums in for a generation. Our guide on white rot and how it ends an allium bed explains how to confirm it and what to do next. Never save bulbs from an affected bed, and never move soil or tools from it to a clean one without washing them.
Other pests travel the same way. Stem and bulb nematodes, which cause swollen, distorted, spongy bases, and bulb mites can hitch a ride in stored stock. If a plant looked stunted or twisted all season, leave its bulbs out of the saved pile regardless of how decent they look.
When to buy fresh stock
A reasonable rule: renew from a reputable source every three to five years, or sooner if yields have dropped for two seasons in a row with no obvious weather explanation. Look for certified disease-free stock where it’s offered. Some gardeners keep two lines going, one saved and one purchased, which gives a built-in comparison and a backup if the saved line fails. Growers in places with hot, wet summers, such as the Mid-Atlantic and the South, tend to see disease pressure build faster and may want to renew on the short end of that range.
Some varieties can also be grown from true seed, which resets the virus clock because seedlings start clean. Seed-grown shallots are less uniform and take a full season to size up, but they’re a legitimate way to refresh a line rather than buying everything again.
Replanting your saved stock
Timing depends on where you live. In USDA zones 7 and warmer, fall planting is standard, and with today’s date in early October, the window is just opening in many regions: aim for four to six weeks before the ground freezes so roots can establish. Gardeners in colder zones can plant in fall with mulch, but many do better planting in early spring as soon as the soil can be worked. Either way, fresh-cured saved bulbs are usually ready to go by late summer, so you’ll be storing them for a few weeks to a few months at most.
Separate the bulbs into individual cloves or sections if they’ve divided, and plant each with the pointed end up and the root plate down. Spacing of 6 to 8 inches within rows and 12 to 18 inches between rows gives clusters room to expand. Depth is the detail that trips people up. Set too deep and the bulbs sulk; too shallow and frost heaves them out of the ground. The specifics are covered in How Deep to Plant a Shallot Set.
Rotation counts as much as the bulbs themselves. Don’t put alliums back where onions, garlic, leeks or shallots grew in the last three to four years. Good drainage, loose soil and a bed that gets full sun cost nothing and prevent most rot trouble before it starts.
One last detail for the long game: the shallots you eat first are the ones you should have been saving all along, because bulbs kept back for replanting go through the same winter as any other, and the earliest to sprout in storage are the ones to plant first, not the ones to toss. That small habit, planting the early sprouters and saving a bit more of the late keepers, quietly selects your line toward bulbs that store well in your own garage or basement.