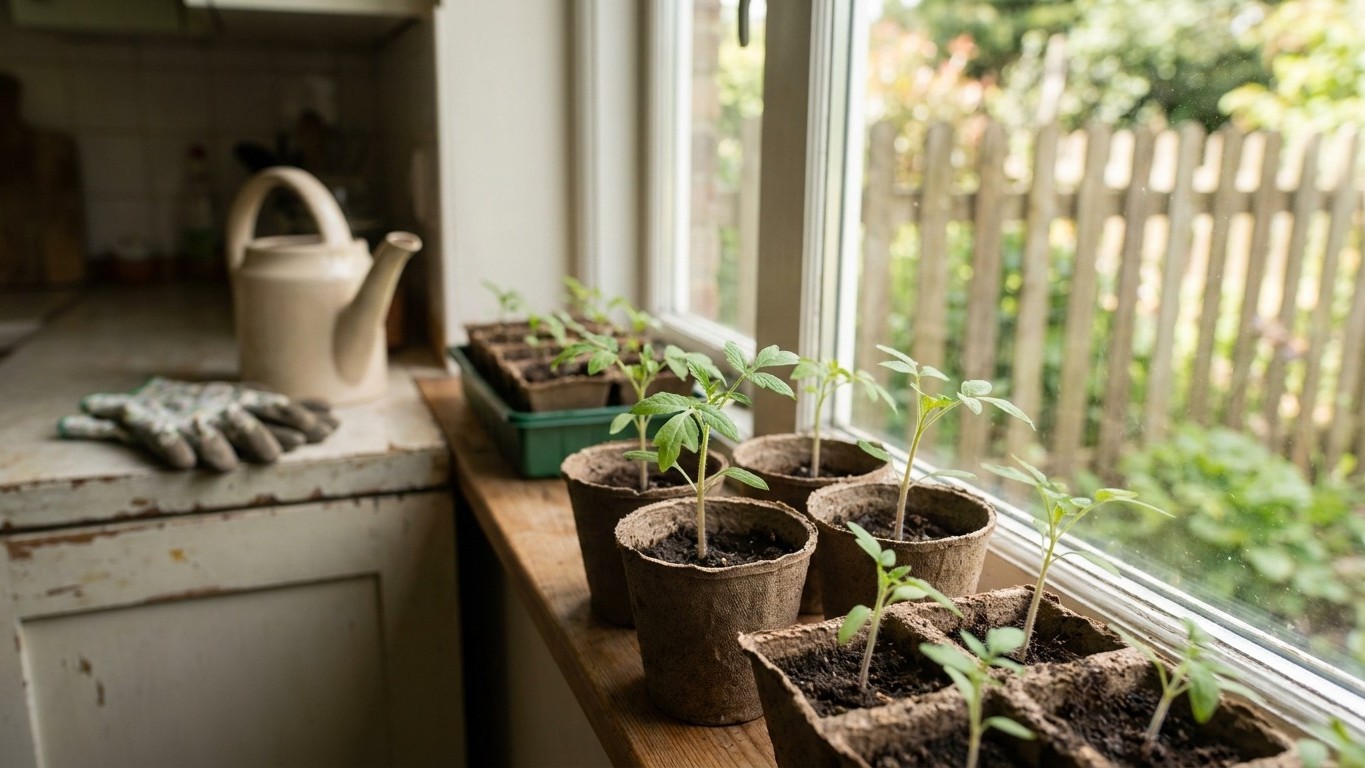

Leggy tomato seedlings happen when the plant reaches for light it isn’t getting, stretching its stem thin and pale between widely spaced leaves. Stocky seedlings come from strong light held close overhead, air on the cooler side once germination is done, and a bit of mechanical stress on the stem as it grows. Move your light source down until it nearly touches the leaf tips and keep it there, raising it only as the plant gains height.
Why this matters
A stretched stem is a weak stem. The cells that elongate fast under dim light don’t build the same wall thickness or vascular tissue as cells that grow under strong light, so the tissue that results bends and snaps under its own weight long before it should. By the time a leggy seedling reaches transplant size it usually needs a stake or a deep burial just to stand up straight, and even then it’s playing catch-up on root mass it should have built weeks earlier.
The plant also pays for it later. Energy spent stretching toward a window is energy not spent building roots, so a leggy seedling transplants with a smaller root system relative to its top growth than a stocky one does. That mismatch shows up as transplant shock, slower establishment, and often a week or two’s delay before the first flowers open. If you’ve already worked through the basics in How to Grow Tomatoes, this is the step that decides whether your transplants hit the ground running or spend their first weeks in the garden recovering instead of growing.
When to do it
Start watching from the moment the first true leaves appear, not the cotyledons. Cotyledons unfold fast and tell you little. It’s the gap between the cotyledons and that first set of serrated true leaves, and then between each successive leaf set, that tells you whether the light is doing its job. A short, tight gap means the seedling is getting what it needs. A gap you can lay two fingers across means it’s stretching.
Keep checking that internode spacing through the whole indoor stage, not just once. Seedlings that look stocky at the two-leaf stage can still stretch later if you let the light drift upward as the plant grows, or if a run of cloudy days pushes you to rely on a lamp that’s sitting too far away. The window to correct course is any time before transplant, but the earlier you catch a stretch, the less stem you have to bury or stake later.
The other marker to watch is stem thickness relative to a pencil. By the time you’re a week or two out from transplanting, a stocky seedling’s stem should feel firm and resist a light pinch near the base. If it still feels soft and flexes easily, the plant needs more time under better light before it’s ready to go out, whatever the calendar says. For the actual move outdoors, timing and spacing are covered in Planting Tomatoes: How Deep, How Far Apart, and Why Trenching Works.
How to do it

Three things build a stocky seedling: light intensity, temperature, and a bit of physical stress. Get all three right and the plant does the rest on its own.
Light
A sunny windowsill almost never provides enough light for a tomato seedling, even in a bright room, which is why windowsill-grown starts are usually the leggiest ones people bring us photos of. A shop light fitted with LED or fluorescent tubes, hung so the bulbs sit just a couple of inches above the leaf tips, works far better than natural light alone. Raise the fixture as the plants grow so that gap never opens up much wider than that. Run the light on a timer for a long day, roughly matching a full summer photoperiod, so the plant never sits in the dark long enough to start stretching toward morning.
Temperature and airflow
Once germination is done, drop the room a little cooler than the warmth you used to sprout the seed. Warm air pushes cell elongation, which is exactly the stretching you’re trying to avoid. A small oscillating fan run for a short spell once or twice a day does two things at once: it strengthens the stem by making the plant flex against resistance, the same way wind toughens a plant outdoors, and it keeps air moving across the leaves to cut down on damping-off and other fungal problems that thrive in still, humid air.
Thinning, spacing, and potting up
Crowded seedlings shade each other and stretch to compete, so thin each cell down to the strongest single seedling once true leaves appear, and space trays so leaves aren’t touching their neighbors. Pot up into a larger container as soon as the first true leaves are fully open rather than waiting until roots are circling the bottom of the cell. The disturbance of potting up, plus burying a little extra stem in fresh mix, encourages more root branching along that buried section, which is one more way to trade stretch for root mass. Use a seed-starting mix rather than garden soil for this stage. The full case for what goes into that mix, and when to switch to a heavier blend, is in Soil Preparation for Tomatoes: What to Add, and When to Add It.
- Light source: shop light or grow light, kept within a couple of inches of the leaf tips
- Timer: set for a long daily photoperiod, adjusted upward only if growth looks pale
- Fan: small oscillating fan, run briefly once or twice a day once seedlings have true leaves
- Container: sized up as roots fill the current one, not before
What goes wrong

Most legginess traces back to light that’s too weak, too far away, or on for too short a day, but a few other habits cause the same result while looking like good care. Overwatering is one of them. Seedlings kept constantly wet grow soft, watery tissue that stretches easily and rots at the stem base, which can look at first glance like a light problem when it’s actually a watering one. Overfeeding with high-nitrogen fertilizer does something similar, pushing fast, weak top growth at the expense of the sturdier tissue slower growth builds.
The mistake that looks like extra care but isn’t is starting seeds too early and then holding the seedlings indoors far past the point they’re ready to go out. A seedling that’s outgrown its container and its light setup will stretch and yellow no matter how well you’ve managed everything else, simply because it’s waiting on a transplant it can’t yet get. More weeks indoors is not automatically better. A younger, stockier seedling started closer to your actual transplant window nearly always outperforms an older, leggier one that’s been held too long.
| Mistake | How it shows up | Fix |
|---|---|---|
| Light too far or too dim | Long pale gaps between leaf sets, thin stem | Lower the light to within a couple inches of leaf tips |
| Overwatering | Soft, watery stem, possible stem rot at soil line | Let the top of the mix dry before watering again |
| Excess nitrogen | Fast, floppy growth, dark green leaves | Cut back feeding, water with plain water for a cycle |
| Held too long indoors | Yellowing lower leaves, rootbound, tall thin plant | Pot up sooner or transplant as soon as conditions allow |
Doing it differently
The method shifts a little depending on where the seedlings will end up and what you’re growing. If you’re raising plants specifically for pots or grow bags, it’s worth starting the stocky-seedling habits early since container-grown tomatoes get less buffering from surrounding soil and show stress from a weak root system faster. The details on pot sizing and watering rhythm once they’re out there are in Growing Tomatoes in Containers: Pot Size, Compost and Watering Rhythm.
Anyone starting seedlings in a greenhouse or hoop house rather than under lights indoors has an easier time on the light side of the equation but needs to watch temperature more closely, since greenhouses swing hotter on sunny days and colder at night than a house does. Venting on warm days does the same job the fan does indoors, keeping stems from growing soft in still, warm air.
Variety matters too. Determinate varieties naturally grow more compact than indeterminate ones, so a determinate seedling that looks slightly leggy may still transplant fine, while an indeterminate variety needs the full stocky treatment since it’s already inclined to grow tall and rangy once it’s in the ground. Either way, once the seedlings are ready, matching them to properly prepared ground matters as much as how you raised them indoors, which is where Soil Preparation for Tomatoes: What to Add, and When to Add It picks up.
Common questions
Can I fix a tomato seedling that’s already leggy, or is it too late?
You can improve it but not fully undo it. Moving it under stronger, closer light and running a fan will thicken new growth going forward, and burying the stretched stem deeper at transplant hides most of the weak section and lets it grow roots along the buried part instead.
Do I need a grow light or will a bright window work?
A grow light works far more reliably. Even a south-facing window rarely delivers the intensity a tomato seedling needs for its full waking day, and one-sided window light also tends to make seedlings lean and curve toward the glass, which adds its own kind of weak stem growth on top of any legginess from low intensity.
Should I cut off a leggy seedling’s stretched stem instead of burying it?
No, leave the stem intact and bury it instead. Cutting removes leaf area the plant needs for photosynthesis and doesn’t give you anything the burying method doesn’t already fix, since the buried stem grows new roots along its length regardless.
How often should I run the fan on my seedlings?
A short session once or twice a day is enough to build stem strength without stressing the plant. Running it constantly, on the other hand, dries out the seed-starting mix faster than expected and can leave seedlings wilting between waterings.