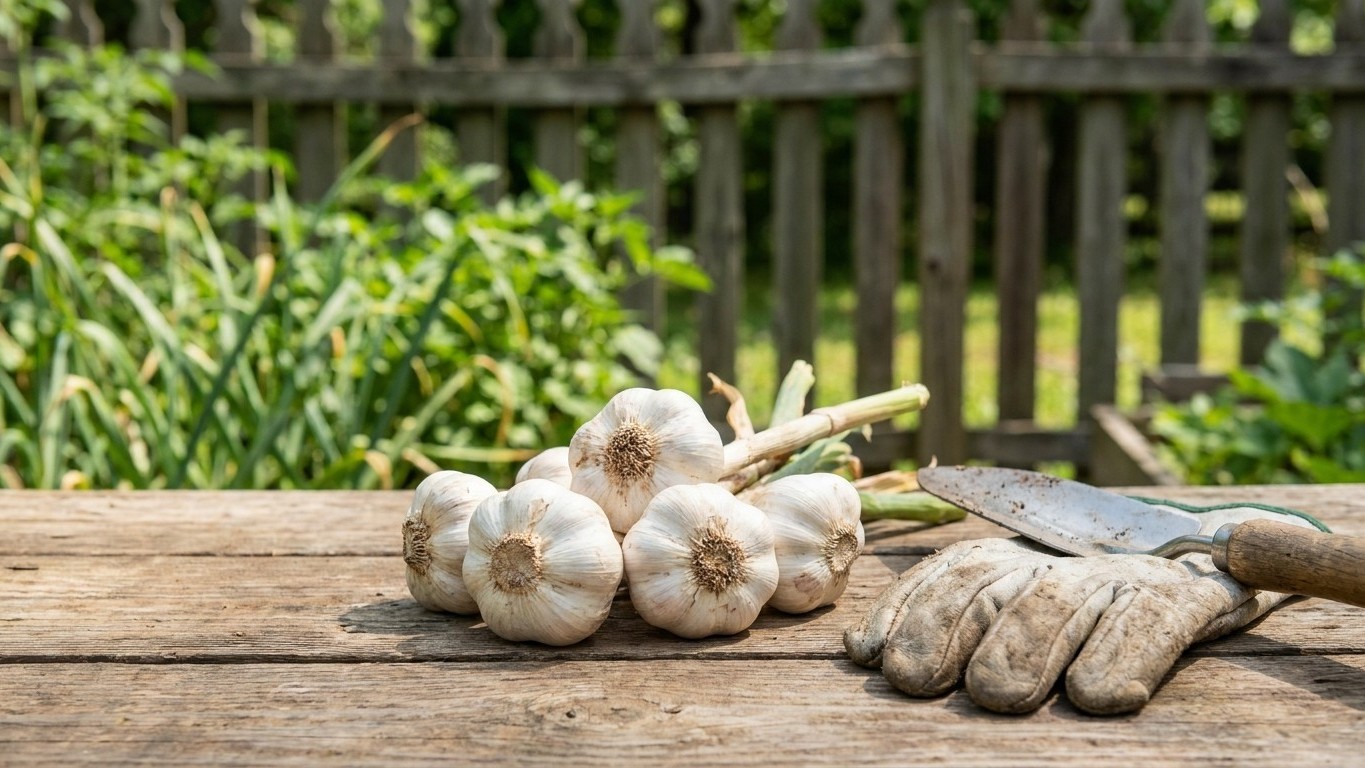

Garlic planted in Georgia in fall comes out of the ground the following summer, and the signal to pull it isn’t a date on the calendar. It’s the plant itself: when the lower leaves have browned back and only a handful of green ones remain up top, the bulb below has usually finished sizing and dividing into cloves. Curing follows immediately, in a dry, shaded, airy spot, for several weeks before storage.
When garlic is ready to lift in Georgia
The harvest clock actually starts the previous fall, at planting. Growers here tuck cloves into the ground in October or November, timing the job loosely around the season’s first hard cold snap so roots establish before winter dormancy sets in. That timing matters because it’s the reference point everything else in the growing cycle gets measured against.
NOAA’s 1991-2020 climate normals put the first fall freeze at the Atlanta-area reporting station (USW00013874) somewhere between November 13 and December 1, based on 32°F freeze probabilities in the 30-70% band. That’s a midpoint, not a promise. In roughly one year out of two, the freeze shows up later than that window, sometimes well later. It’s also worth remembering that this particular station sits at an airport, ringed by pavement and jet exhaust that hold heat, so the number skews milder than what a lot of the state actually experiences. North Georgia and the mountains typically freeze several weeks ahead of that Atlanta window. The coastal plain, on the other hand, tends to run warmer and holds off frost longer.
What to watch once summer arrives
Once garlic is up and growing through spring, the harvest window opens as the plant starts shutting down for the season. The classic sign is leaf color: when roughly the bottom third to half of the foliage has turned brown or yellow while a few upper leaves stay green, the bulb has typically stopped adding size and started forming its papery wrapper layers. Pull a test bulb or two before committing to the whole bed. Peel back the outer skin and check that cloves are plump and distinct, with wrappers still mostly intact rather than split.
Waiting too long is the more common mistake. Once nearly all the foliage has collapsed, wrappers start to degrade underground, and bulbs that looked fine a week earlier can come out with loose, exposed cloves that won’t store nearly as long. Georgia’s summer humidity accelerates that decline once it starts, so the safer approach is to check plants every few days once the lower leaves begin browning rather than waiting for a single obvious “harvest day.”
Curing it, and where to hang it here
Curing is what turns a freshly pulled bulb, still full of moisture, into something that will actually keep. The process is simple in concept: dry the whole plant, bulb and stalk together, in a shaded spot with steady airflow, until the outer wrappers turn papery and the neck tightens down. What trips people up in Georgia is finding the right spot to do that, given how humid the state gets in June and July, right when most bulbs are coming out of the ground.
Direct sun is the first thing to avoid. Bulbs left in full sun can scald or start cooking in their skins, which shows up later as soft or discolored patches in storage. A covered porch, an open carport, a shaded garage with the door cracked, or a barn with cross-ventilation all work better than anything exposed to direct light. The goal is airflow without direct sun and without trapping humidity, since a closed, damp space slows drying and invites mold on the outer skins before the bulb has had a chance to firm up.
How long curing actually takes
Most growers plan on two to four weeks of curing before trimming and storage, though the exact timeline depends heavily on ambient humidity and airflow rather than a fixed number of days. In a muggy Georgia summer, that stretch can run longer than it would in a drier climate, so the better gauge is the bulb itself: wrappers should feel dry and papery, not leathery or damp, and the neck where the stalk meets the bulb should have tightened and dried down rather than staying green and pliable.
Hanging bulbs in small bundles, roots up, with several inches of space between them, tends to work better than piling them on a table or spreading them in a single layer on the ground. Bundles catch airflow on all sides, while a flat layer traps moisture underneath. A box fan pointed at the curing area, run for a few hours a day, can make a real difference during the stickiest weeks of summer when the air itself offers little natural drying.
Storing it through a Georgia winter
Once cured, garlic keeps best somewhere cool, dark, and dry, with some airflow around the bulbs rather than sealed in plastic. A pantry shelf, a mesh bag hung in a closet, or a ventilated basket in a cool room all work. What garlic does not tolerate well is the refrigerator for long-term storage: the cold, humid environment inside most fridges tends to trigger early sprouting and softens bulbs faster than a dry room-temperature space would.
Georgia’s mild winters actually work in a grower’s favor here, up to a point. Rooms that stay in the 40s to 60s Fahrenheit through winter, without swinging into summer-style humidity, tend to hold garlic well for months. The bigger risk in this region isn’t a hard freeze indoors, it’s humidity creeping back in during a warm, damp stretch in December or January, which can soften bulbs or encourage mold on the outer wrappers even after a good cure.
Checking on stored bulbs
Garlic in storage isn’t a “set it and forget it” situation. Bulbs are worth a periodic check, maybe once a month, to pull anything that’s gone soft, sprouted, or developed a moldy patch before it spreads to neighbors in the same bag or basket. Mesh bags or open baskets make that kind of spot-check easy since you can see and feel the bulbs without unwrapping anything. Solid plastic bags or airtight containers hide problems until they’ve already spread, so they’re worth avoiding even though they seem like the tidier option.
Braiding softneck varieties before storage is another option some growers use, both for ease of hanging and for the visual check it gives you: a braid strung in a pantry or mudroom lets you glance at the bulbs regularly without any extra effort, which in a humid climate is a real advantage over bulbs buried in a bin.
What goes wrong here
Most storage failures in Georgia trace back to moisture, not cold. A bulb that went into storage slightly under-cured, or one kept in a spot that got humid partway through winter, is the bulb most likely to turn soft or moldy by February. The fix isn’t more storage tricks, it’s a longer, drier cure up front and a genuinely dry storage spot, checked periodically rather than sealed away and ignored.
Pests are a smaller factor for stored garlic than for the crop while it’s still in the ground. UGA Cooperative Extension documents a range of pests for garden crops across the state, including aphids, Colorado potato beetle, corn earworm, cowpea curculio, cutworms, melonworm, Mexican bean beetle, pickleworm, spider mites, and squash vine borer. Of that list, aphids, spider mites, and cutworms are the ones most likely to trouble a garlic bed directly, feeding on foliage or clipping young shoots at soil level. The rest on that list mostly target neighboring vegetable crops like beans, squash, and cucurbits, so their presence in a garden is more a signal to watch nearby plantings than a direct threat to garlic itself.
Splitting is the other frequent complaint, where cloves push through their wrappers before or during curing. That usually traces back to harvesting a bit too late, after most of the foliage had already collapsed, rather than to anything that happened afterward. Once wrappers have started splitting in the field, no amount of careful curing fully reverses it, though split bulbs can still be used quickly rather than stored long-term. For a bed that’s showing that pattern year after year, a local county office of the UGA Cooperative Extension can offer guidance specific to a given area’s soil and planting timing.
Common questions
How do I know if garlic is ready before I pull the whole bed?
Dig one or two test bulbs when the bottom third to half of the leaves have browned. Peel back the wrapper and check that cloves are plump, separated, and still wrapped tightly rather than loose or split.
Can I cure garlic indoors with air conditioning instead of a porch or garage?
An air-conditioned room can work if it has decent airflow, since air conditioning also pulls humidity out of the air, which helps drying. The main requirement is shade and circulation, not any specific building type.
Does Georgia’s mild winter mean garlic doesn’t need any special storage prep?
Mild winters help, but humidity swings during warm, damp stretches are still the main risk to stored bulbs here. A dry, ventilated spot checked periodically matters more than temperature alone.
Should I plant garlic before or after the first fall frost?
Many growers time planting around the season’s first freeze so roots establish before real cold sets in, but that freeze date is a midpoint from historical data, not a fixed deadline, and it arrives later than the stated window in about half of all years.