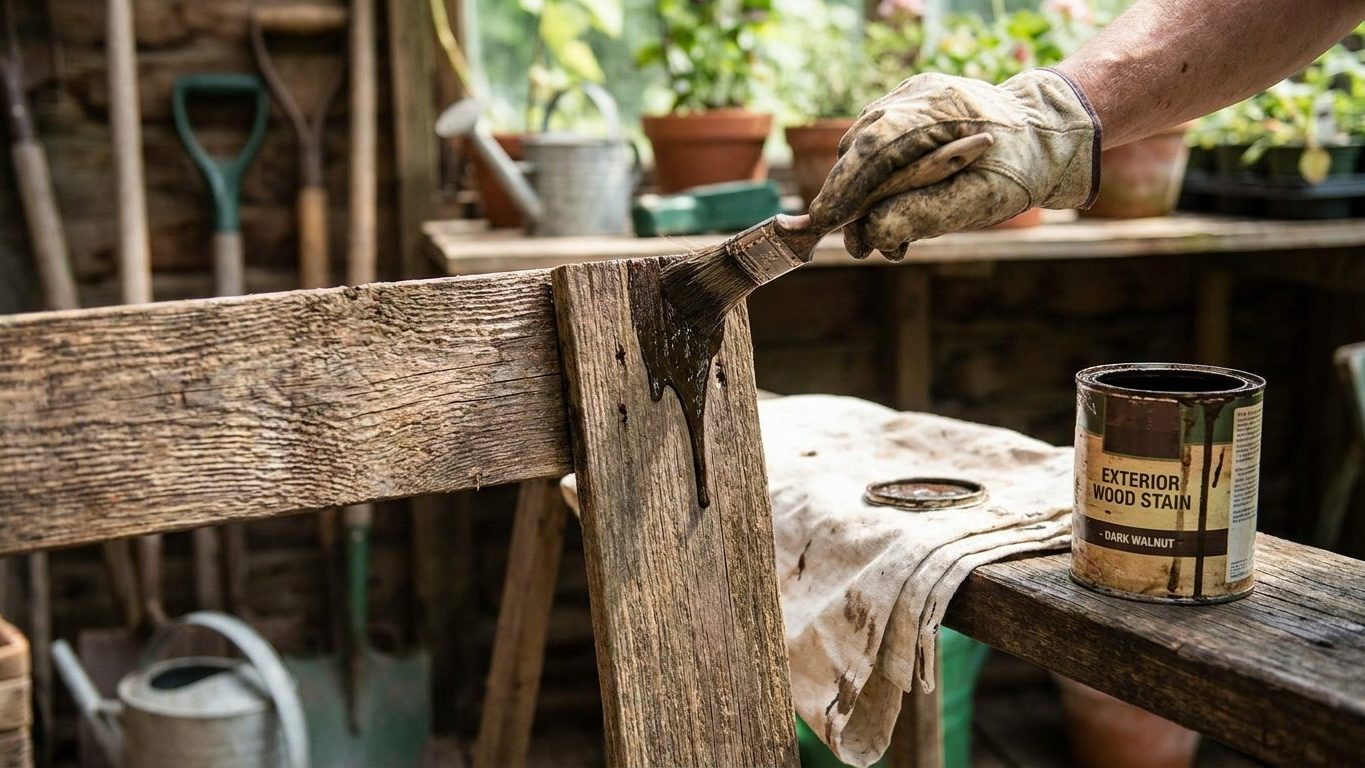

Ten minutes. That is roughly the window between a run you can brush out with no trace and a run you will be sanding and spot-priming next weekend. Walk the wall with a flashlight held at a low, raking angle right after you finish a section, while the paint is still fluid enough to reflow under a light touch.
What is actually going on

A run or sag is gravity beating viscosity. Wet paint is a liquid, and every liquid on a vertical surface wants to flow downward. What stops it is the paint’s own body: thick enough, and surface tension holds it in place long enough for the film to start setting. Put on too much paint, or apply it too thin and runny, and gravity wins before the film can lock the shape. The result is a tear-shaped drip, a wave along a baseboard, or a soft ridge under a windowsill where paint pooled and slid.
Several things push the balance toward gravity’s favor. An overloaded roller or brush deposits more film than the wall can hold at once. A second coat applied before the first has built any body compounds the problem, since two thin coats behave differently than one coat applied twice as thick in a single pass. Warm rooms and low humidity thin the paint’s effective viscosity by keeping it liquid longer, though the reverse is also true: cold, damp conditions can slow the setting stage enough that a run has more time to travel before it locks in. The paint on the tin is the only authority on how it behaves, since formulations vary enough between products that a rule of thumb from one job will mislead you on the next.
Where the mechanism catches you off guard
Vertical surfaces are not uniform risk. A flat wall in open light is the easiest place to control, because you can see what you are doing as you do it. Corners, recesses behind radiators, the undersides of chair rails, and the top edges of doors are harder to see and easier to overload, since a brush working into a tight space tends to push extra paint into the joint rather than spreading it. If the wall underneath was not properly prepared, following the groundwork laid out in Interior Painting: Preparation Is Most of the Work, an inconsistent surface can also absorb paint unevenly, leaving some patches thinner and others heavier than the roller intended.
Whenever you are sanding a set run back to level, you are disturbing the paint film underneath it, and that raises a separate question that has nothing to do with technique. In housing built before 1978, that existing paint may contain lead, and sanding or scraping it releases lead dust into the air of the room. Check the EPA’s guidance on lead-safe work practices before you take sandpaper to any painted surface in a home of that age, regardless of how small the patch looks.
Work in a room with the windows open and a fan pulling air outward whenever you are sanding, scraping or repainting. Ventilation is not a comfort measure here. It is what keeps dust and fumes from building up in a closed space while you work.
Doing it
Catching a run comes down to timing and a light touch, and fixing one that has already set comes down to accepting that some rework is unavoidable. The table below walks through both, along with what goes wrong if you skip a step.
| Step | Why it matters | What happens if you skip it |
|---|---|---|
| Load the brush or roller with a moderate, even amount of paint | Controls how much film lands on the wall in one pass | Overloading is the single most common cause of a run forming in the first place |
| Check the wall with a raking light within minutes of finishing a section | Runs are almost invisible under flat, front-on light but obvious under a low angled beam | You move on to the next wall and the run sets before you ever see it |
| Catch a wet run by dragging a nearly dry brush lightly through it, feathering the edges | Redistributes the excess paint back into the surrounding film while it is still fluid | The lump stays raised and dries as a permanent ridge |
| For a set run, let it cure fully before touching it | Sanding a soft, half-cured film smears it instead of cutting it back cleanly | You create a soft, gummy mess that is worse than the original run |
| Sand the cured run back level, feathering into the surrounding paint | Levels the ridge so the next coat sits flat rather than telegraphing the old shape | The repaired patch still shows as a raised line under angled light |
| Spot prime the sanded area before repainting | Seals the exposed, sanded film so the topcoat lays down evenly | The patch dries a slightly different sheen or tone than the rest of the wall |
Runs tend to reappear in the same handful of places on any given wall: along the bottom edge just above the baseboard, where a loaded roller tips extra paint off as it changes direction; under windowsills and chair rails, where a brush working into a horizontal ledge drips down the face below it. And in the top corners of door and window trim, where cutting-in work concentrates paint in a small area. Once you know a wall has one of these features, slow down specifically there rather than assuming your normal pace will hold.
If you are working in an enclosed room, especially with the doors shut against drafts to keep dust down, keep a window cracked and air moving the entire time you are painting, not only during the sanding stages. Paint fumes build up in still air just as dust does.
What it looks like when it goes wrong
Defects you can usually correct
A fresh, wet run that you catch within the window is fully recoverable. A light brushing feathers it back into the film with no trace once dry. A run that has partially set but not fully cured is trickier: touching it too early smears rather than removes it, so the safer move is to wait for full cure and treat it as a set defect rather than force a wet-stage fix that is no longer available.
A set run that has fully cured is also correctable, just at the cost of more work. Sanding it level, feathering the edges into the surrounding paint, spot priming and repainting the patch will make it disappear, though matching sheen exactly across an old coat and a new spot repair is harder on glossier finishes than on flat ones. Sheen level changes how forgiving the wall is of small texture differences, which is one reason the choice discussed in Matt, Eggshell or Gloss: What the Sheen Actually Changes matters beyond just how the color looks.
Defects that mean going back a stage
Some outcomes are not simple touch-ups. A run that has pulled paint away from the surface underneath, leaving a visible gap or crater once sanded, means the film did not bond properly in that spot, and spot priming alone will not fix an adhesion failure. That patch needs to be sanded back further, cleaned, and primed before any topcoat goes on again.
A wall with runs across a wide area, rather than a handful of isolated spots, usually points to a technique or product problem rather than bad luck in a few corners, and patching each one individually will leave a wall covered in slightly mismatched repairs. In that case it is often faster to accept a full recoat of the affected section rather than chase dozens of small fixes.
Overcorrecting is its own trap. Painters who get burned by runs sometimes start applying paint too thin to avoid the problem, and a film applied too thin does not hold color evenly, does not hide the surface underneath, and can leave the kind of patchy, see-through coverage described in Paint That Will Not Cover, Whatever You Do. Thin enough to avoid runs and thick enough to cover is a real balance, not a contradiction, and it is usually solved by two properly loaded coats rather than one overloaded or one starved one.
Whenever this stage of correction involves sanding into the existing film, ventilate the room and treat any home built before 1978 as a potential source of lead dust until you have checked the EPA’s guidance and ruled it out.
What to settle before you open the tin
Before you load a brush, walk the room and note which walls have the features that concentrate paint: sills, chair rails, deep corners, the tops of trim. Decide in advance to slow down at each one rather than discovering the problem after the fact.
Set up lighting that lets you actually see what you are doing. A single overhead fixture throws flat light that hides a wet run completely. A portable work light or even a flashlight held at a raking angle, moved along the wall as you finish each section, is what reveals a run while it can still be fixed for free.
Confirm the age of the building before any sanding or scraping happens, not after. Homes built before 1978 may contain lead-based paint, and disturbing that paint, whether by sanding a set run, scraping a sill, or prepping a wall, releases lead dust into the air. Check the EPA’s guidance on lead-safe practices before you start. The EPA’s Renovation, Repair and Painting rule requires paid contractors working on pre-1978 housing to be certified in lead-safe work practices. A homeowner working in their own home is exempt from that specific rule, but the exemption is a legal one, not a medical one. The dust is exactly as harmful to breathe whether the person disturbing the paint is certified or not, and a home test kit is not a conclusive answer either way. When in doubt, the EPA’s published guidance is the source to check, not a guess based on the wall’s appearance.
Finally, plan your ventilation before you start, not once the room already smells like paint. Open windows on two sides of the room if you can, for genuine cross flow rather than a single cracked pane, and keep that airflow running through sanding, priming and painting alike. This applies whether you finished your prep work following Interior Painting: Preparation Is Most of the Work last week or you are walking into a room today that someone else already primed.
Common questions
Can I just leave a small run if it’s in a spot nobody will notice?
You can, and plenty of painters do, but a run that is invisible under normal room light often becomes obvious the moment low sun or a lamp hits the wall at an angle. If it is in a spot that ever gets raking light, sand and touch it up rather than gamble on nobody noticing.
Why does the run only show up after the paint dries?
Wet paint reflects light evenly enough to hide small texture differences, and the film only reveals its true surface once it sets and loses that wet sheen. This is exactly why checking with a raking light while the paint is still wet catches problems that a normal glance at a dried wall would miss until it is too late to fix for free.
Is it the paint’s fault or my technique if I keep getting runs?
Technique is the more common cause, specifically an overloaded brush or roller and moving too fast to check your work as you go. Paint that has been thinned incorrectly or is being applied outside the temperature and humidity range on its own label can make runs more likely, but check your loading and pace first before blaming the product.
Do I need to sand the whole wall or just the run itself?
Just the run and a feathered margin around it, wide enough that the edge of the repair blends into the surrounding film rather than leaving a visible line. Sanding the entire wall is unnecessary work and, on any pre-1978 surface, unnecessary lead dust exposure for no added benefit.