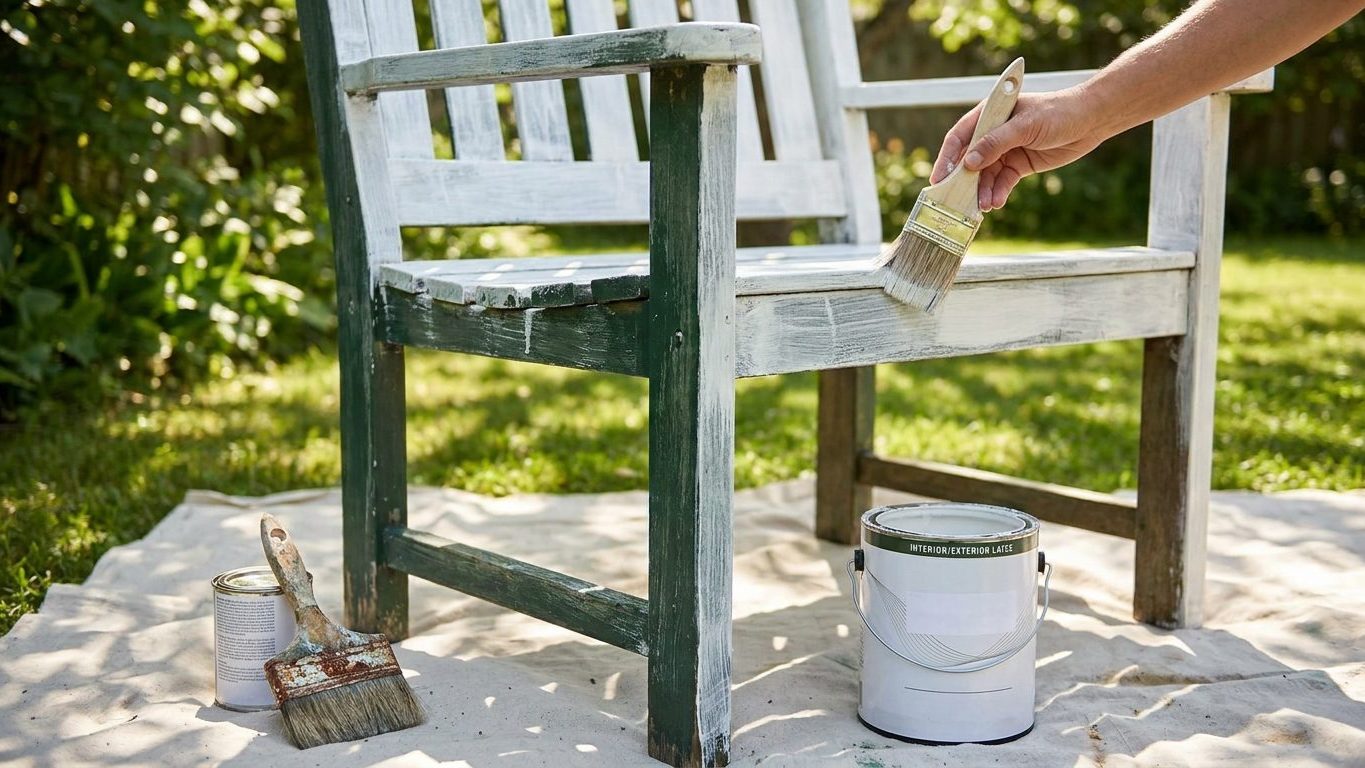

Deep red accent walls are the classic case: four coats in, and the wall still reads pink in raking light. The instinct is to blame the paint, buy a pricier can, and try again. The paint is rarely the problem. Reds, yellows and some saturated blues carry pigments with naturally low hiding power, so no number of topcoats fully masks what’s underneath. Ask for a tinted base coat matched to the topcoat color, and stop adding coats you don’t need.
What is actually going on

The thing to understand here is pigment opacity. Every paint is pigment suspended in a binder, and the pigment’s job is to scatter or absorb light so the surface beneath disappears. White pigment, almost always titanium dioxide, does this extremely well because of its high refractive index. It scatters light so effectively that a thin film goes opaque fast. The organic pigments used to make bright reds, yellows, oranges and some purples and blues don’t behave the same way. Their refractive index is lower, so a given thickness of paint film lets more light straight through to whatever is underneath, whether that’s white drywall, an old dark color, or a patched repair. This is a property of the pigment chemistry, not the brand, the price tier, or how carefully you rolled it on.
This is why the “one coat, two coat” claim on a paint chip is close to meaningless for a color change like this. Those figures are usually generated over a substrate close in tone to the new color, or over a gray test panel designed to be forgiving. Painting deep red over bright white, or pale yellow over a dark accent wall from a previous owner, is the worst case for hiding power in both directions: light pigment struggling to bury dark undertone, or saturated pigment struggling to bury bright white showing through as a washed, chalky version of the intended color.
Why more coats stop helping
Paint film has a practical thickness limit per coat. Beyond it, the paint sags, drips, or dries with an uneven texture before it ever gets thick enough to fully hide. Piling on a fourth or fifth coat of the same topcoat doesn’t add proportional opacity, because you’re fighting the same low-hiding pigment every time, just adding thin films of the same translucent color on top of each other. Diminishing returns set in fast, and you can spend an entire second can of paint and still see shadowing at the edges of a patch or around a window trim.
The distinction between water-based and oil-based paint has some bearing on film build and leveling, but it does not change this basic pigment physics. A premium oil-based red and a budget water-based red made with the same pigment family will both struggle to bury white in the same number of coats. Where the paint quality does matter is pigment loading and dispersion, meaning how much colorant the manufacturer put in and how evenly it’s ground, which is part of why one brand’s “true red” hides slightly better than another’s at the same price. It is a difference of degree, not a fix for the underlying problem.
If any of this work involves sanding old paint, scraping loose material, or working in a closed room with the windows shut, open a cross draft or run a fan before you tint, sand, or spray anything. This applies to prep as much as to the paint itself, and it is not a comfort measure, it is how you avoid a room full of dust and vapor with nowhere to go.
Doing it
The fix for a low-hiding color is almost never a fourth topcoat. It’s a base coat tinted toward the target hue before the real color goes on, so the topcoat has a mid-tone to build on rather than stark white or a contrasting dark. Most paint stores can tint a primer or a “gray” base coat close to your finish color for exactly this reason. Skipping that step is the single most common cause of poor coverage.
| Step | What it does | What happens if you skip it |
|---|---|---|
| Check the color under the room’s actual light | Confirms the color reads true under daylight and any artificial light in the room | You mistake a color shift under different lighting for a coverage failure and repaint unnecessarily |
| Clean and scuff-sand the existing surface | Removes grease and gloss so the new paint has something to grip | New paint beads, slides, or dries with a patchy sheen no matter how many coats go on |
| Spot-prime repairs, stains, and patched drywall | Seals porous or stained areas so they take paint the same way as the rest of the wall | Repaired patches flash through as dull or glossy spots under the topcoat, sometimes permanently |
| Tint the primer or base coat toward the target color | Gives the pigment in the topcoat a mid-tone to build on instead of a stark contrast | You end up buying and applying three, four, or five topcoats trying to do the primer’s job |
| Apply full, even wet coats without stretching the paint too thin | Keeps the pigment film thickness consistent across the wall | Thin patches show through at edges, corners, and anywhere the roller ran dry |
| Recoat only once the previous coat is fully cured, per the label | Lets solvent or water finish leaving the film before it’s covered again | The new coat streaks, lifts, or stays soft and never levels out properly |
None of this assumes you’ve skipped the basics. This picks up after the groundwork described in Interior Painting: Preparation Is Most of the Work, which covers cleaning, patching, and taping before color ever enters the picture. If a room is going from one saturated color straight to another, ask the store whether they can tint that primer coat rather than just handing you a can of white. It costs one extra step at the counter and usually saves an entire can of topcoat later. If tinting, mixing, or sanding is happening in a room with the windows closed, keep it ventilated the whole time, not just while the paint is wet.
What it looks like when it goes wrong
A few specific defects trace straight back to opacity problems, and it’s worth knowing which ones you can correct with another coat and which ones mean going back a stage.
- Flashing or patchy sheen: some areas look duller or shinier than the rest of the wall. Usually caused by unprimed patches or repairs absorbing paint differently. Correctable with a properly primed, even coat over the whole wall, not just the patch.
- Visible streaking or banding: lighter and darker bands follow the roller or brush strokes. Caused by uneven film thickness as the paint was applied. Often correctable with one more full, even coat if the film underneath is otherwise sound.
- Ghosting, where the outline of the old color or a repaired seam is faintly visible through the new color: this is the classic low-hiding-power symptom. It is not correctable with more of the same topcoat. It needs a tinted base coat applied over the whole surface before the topcoat goes back on.
- Peeling or lifting at edges and corners: this is not an opacity problem at all, it’s an adhesion failure, usually from skipped cleaning or sanding. If paint is lifting rather than just showing color through, that’s covered separately in Paint That Peels: Reading Where It Lets Go, and no amount of tinting fixes it.
The honest answer for ghosting and true opacity failure is that you cannot paint your way out of it with more of the same color. The pigment math doesn’t change no matter how patient you are. What changes it is putting a mid-tone or tinted layer underneath so the final coats aren’t doing all the work of burying white or dark on their own.
What to settle before you open the tin
The surface and the light
Look at the wall in the room’s own light, not under a store’s fluorescent tubes, before you commit to a color known for weak hiding power. Check whether the existing surface is glossy, chalky, or freshly patched, since each of those changes how much prep and priming the job actually needs. If the current paint is intact and sound, a scuff-sand and a tinted base coat is usually enough. If it’s failing already, that’s a separate problem to solve first, not something a new color will paint over.
Ventilation and the age of the building
Decide where the air is going to move before you start, especially in a small bathroom or a bedroom with one window. Set up a cross draft or a fan running the whole time you’re sanding, tinting, or applying paint, not only while the fumes are strongest. If the work will disturb old paint layers by sanding, scraping, or heat, and the building is old enough that earlier paint could contain lead, stop and check the lead-safe work practices before doing anything mechanical to that surface, since that changes the containment and cleanup steps you need regardless of what color you’re aiming for.
Settle the color and the base coat together, at the same counter visit, rather than buying topcoat now and coming back for a tint later. Most stores can match a primer or a mid-tone base to your target color on the spot, and doing it in one trip means you walk out with the actual fix instead of another can of the same paint that already isn’t covering.
Common questions
Will a second coat of primer fix a color that keeps showing through?
Plain white primer alone usually doesn’t help much for a deep or saturated color. The primer needs to be tinted toward the target hue so the topcoat isn’t trying to bury white and add color in the same step.
Can I just mix tint into a white base myself to save a trip back to the store?
It’s not a good substitute for a properly tinted product. Store tinting machines dispense colorant to a calibrated ratio, and hand-mixing tends to leave the color inconsistent between batches, which shows on the wall as patchiness even before opacity becomes an issue.
Does a higher-sheen paint cover better than a flat one?
No, sheen and hiding power are separate properties. A satin or semi-gloss version of the same color has roughly the same pigment load as the flat version, and the extra sheen actually makes uneven film thickness more visible, not less.
How many coats should I actually budget for a color change like this?
It varies by color, surface, and product, and the only number that applies is the one on the can you’re using. Budget for a tinted base coat plus at least two topcoats for anything in the red, yellow, or deep saturated family, and treat the label’s coat count as a starting point rather than a promise.