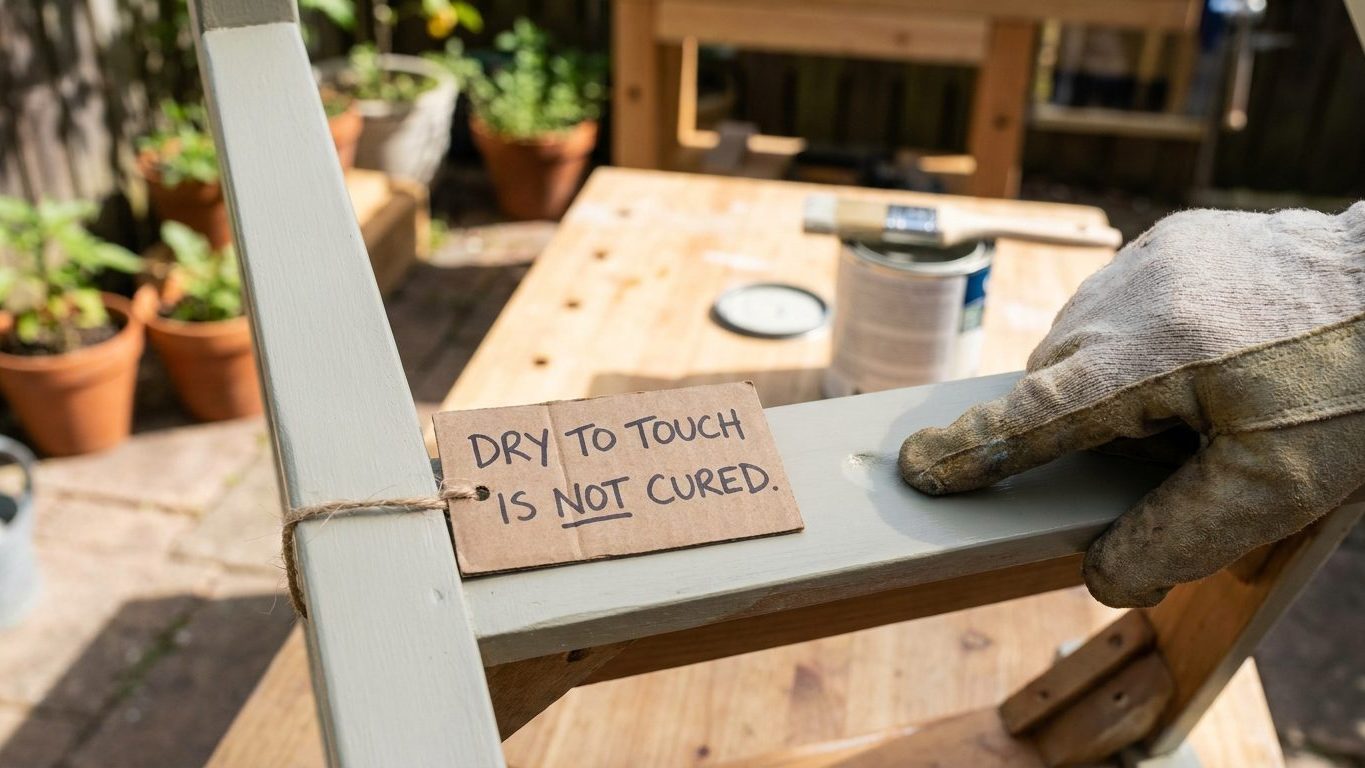

Run a finger over a wall eight hours after the second coat and it feels solid, cool, done. That surface is dry. The film underneath is still soft, and it will stay soft for days or weeks, softening further if the room is damp or cold, and that gap between dry and cured is exactly where most early paint damage happens. Treat the wall as vulnerable to marking, blocking, and washing damage for the full cure period listed on the can, not just until it stops feeling tacky.
What is actually going on

Paint goes through two separate processes, and they run on completely different clocks. The first is evaporation: water, in a water-based paint, or solvent, in an oil-based one, leaves the film and moves into the air. That part happens fast, within hours in most rooms, which is why a wall can look and feel finished the same day it was painted.
Two clocks running at once
The second process is film formation, and it has nothing to do with whether the surface feels wet. In a water-based paint, the tiny particles of resin that were suspended in that water have to draw together and fuse into a continuous film, a process called coalescence, and then that film continues to firm up as it loses the last of its moisture and the polymer chains link together. In an oil-based paint, the film hardens through oxidation, a chemical reaction with the air that keeps going long after the surface has stopped feeling tacky. Neither process finishes on the day the wall looks dry. It finishes when it finishes, and that depends on temperature, humidity, airflow, how thick the coat was, and how many coats went on.
This is why the same paint cures faster in a warm, dry, well-ventilated room in summer than in a cold, damp one in winter, and why a second coat applied heavy will take longer underneath than a thin one, even though the surface looks identical from across the room. None of this is guesswork you have to do yourself. The can carries recoat and cure guidance calculated for that specific product, and it is the only number that applies to the paint you are actually holding.
Airflow matters here beyond comfort. Moving air carries away the solvent or water vapor as it leaves the film, and a closed, still room slows that exchange and extends the whole cure window, which is one more reason ventilation while painting is a functional requirement rather than a nicety, especially in a small bathroom or a bedroom with the windows shut for winter. This section assumes the wall was already properly prepared, cleaned of dust and grease, and primed where needed, the groundwork covered in interior painting preparation. Skipping that step doesn’t just risk a patchy finish, it also changes how the paint above it dries, since a porous or dusty surface pulls moisture out of the film unevenly.
Doing it
The practical question is not “is it dry” but “what stage is it at, and what does that stage allow.” The table below separates the two, because treating a wall as finished the moment it stops feeling tacky is where most of the damage in the first few weeks starts.
| Stage | What’s actually happening | Safe to do | Not yet safe, and what goes wrong if you do it anyway |
|---|---|---|---|
| Surface dry | Water or solvent has left the top layer of the film | Look at the color and sheen, remove tape carefully if the can says it’s ready | Wash or scrub it: light surfactant streaking and dulled patches show up because the film below hasn’t hardened enough to resist water |
| Recoat ready | The film is firm enough to accept another coat without lifting | Apply the next coat, per the timing on the can | Skip this and recoat too soon: the new coat can wrinkle, trap solvent, or pull the first coat up with the roller |
| Handling cure | The film resists light pressure and fingerprints | Rehang light items, put outlet covers back on | Lean furniture against it or close a freshly painted door: blocking can pull the finish apart where two coated surfaces meet |
| Full cure | The film has reached its final hardness and washability | Scrub marks, hang shelves, push furniture flush against the wall | Doing any of this earlier risks permanent marking that sanding and a partial recoat is the only fix for |
The order matters because each stage depends on the one before it finishing properly, not on the calendar. A cold snap or a run of humid days can stretch every stage in that table without changing how the wall looks in between, which is exactly why touch and appearance are unreliable guides and the printed timing on the can, adjusted a little for your actual room conditions, is the only reference worth trusting.
Washing a wall too early is the single most common mistake, because it looks like a reasonable thing to do once the room smells clean and looks finished. The surfactants in most water-based paints rise to the surface as the film cures and need time to fully bind in or wear away. Wipe a new wall down before that has happened and you drag a faint sheen or streak across it that was not there the day before, and that mark is often permanent once the film has fully hardened around it.
What it looks like when it goes wrong
Blocking

Blocking happens when two painted surfaces, most often a door and its frame or a window sash and its stop, are closed against each other before the film has hardened enough to stop being tacky. Pull them apart and the paint tears rather than releasing cleanly, leaving a dull, torn patch where the sheen used to be even. On a door edge this is usually confined to a narrow strip and can sometimes be touched up. Across a wider painted surface, it means sanding the torn area smooth and recoating it, because the torn film will not lie flat again on its own.
Burnishing

Burnishing shows up as a shiny or glossy patch standing out against a flat or matte wall, almost always where a hand, a cloth, or a piece of furniture has rubbed the surface before it fully hardened. Flat and matte paints are the most prone to it because their surface texture, which is what scatters light and keeps the sheen low, gets polished smooth by the rubbing. A light case sometimes softens as the room’s dust settles back into the texture over time. A hard case, from repeated rubbing or an early scrub, does not come back on its own and needs a light scuff sand and a fresh coat over the affected area, feathered out so the repair doesn’t show as its own patch.
Lap marks

A lap mark is a faint band, sometimes rectangular, sometimes just a streak, where one pass of paint began drying before the next pass overlapped its edge. It reads as a slightly different sheen or color running across the wall, most visible in raking light from a window or lamp. Lap marks are a technique problem rather than a cure problem, caused by working too slowly or in sections that are too small, and once the paint has dried this way, no amount of waiting corrects it. The fix is sanding between coats to knock down the ridge and applying a full new coat edge to edge without stopping partway across a wall.
Imprinting

Imprinting is a texture pressed into the film, the weave of a drop cloth, the outline of a box edge, sometimes even a fingerprint, left behind because something touched the paint while it was still soft enough to hold a shape. On a fresh wall this is almost always avoidable and, once it has happened, it usually needs a light sand and a partial recoat, because the texture is physically in the film, not sitting on top of it.
What to settle before you open the tin
Most of what causes damage in the first weeks after painting was decided before the first coat went on, not during the drying itself.
Before you start
Check the room for airflow first. A window that opens, a fan that moves air across the wet surface, or a door propped for cross-ventilation all shorten the practical waiting time by helping evaporation happen evenly, and in a closed room with no airflow at all, both the fumes and the extended cure time become real problems rather than inconveniences.
Check the light. A wall that looks perfectly even under the flat daylight of a cloudy afternoon can show every lap mark and roller line once a lamp or low winter sun rakes across it at an angle, so it is worth looking at a test patch under the lighting the room will actually have in the evening, not just the light you happened to paint it in.
Check the surface itself before assuming the old paint is sound. If the building is old enough that earlier layers of paint might be involved, and you will be sanding, scraping, or otherwise disturbing that existing paint at any point, stop and confirm what you are dealing with before doing anything that creates dust, since some older paints require specific handling that this page does not cover.
Check what the can actually says about your paint, your finish, and your conditions, because that printed guidance was written for the product in your hand, adjusted for a room that is warmer, cooler, damper, or drier than average, and it will always beat a general rule pulled from a different can or a different climate. The single decision that prevents most of the damage described above is simply waiting for the stage the job is actually at, not the stage it looks like it has reached.
Common questions
How do I know if it’s cured and not just dry?
There is no touch test that tells you reliably, because the surface can feel completely dry while the film underneath is still soft. The only trustworthy reference is the cure time printed on the can for your specific paint, adjusted upward if the room has been cold, damp, or poorly ventilated.
Can I speed up curing with a fan or heater?
Moving air helps by carrying away moisture as it leaves the film, so a fan pointed at a freshly painted wall, with the room properly ventilated, generally helps rather than hurts. Direct heat is riskier, since it can dry the surface faster than the film underneath can keep up, which sometimes causes the surface to skin over while trapping softness below.
I already washed the wall too soon and left a mark. Is it ruined?
Not necessarily. A light streak from early cleaning sometimes fades as the film finishes hardening and the surfactants that caused it wear away with time. A deeper mark, where the cloth actually burnished or scuffed the film, usually needs a light sand and a touch-up coat rather than more waiting.
Does it matter if I used a water-based or oil-based paint?
Yes, the mechanism is different even though the practical advice is the same. Water-based paint hardens as its resin particles fuse together while the last moisture leaves the film, while oil-based paint hardens through a chemical reaction with air that tends to run over a longer period, which is one more reason to rely on the can’s own guidance rather than assume both behave the same way.