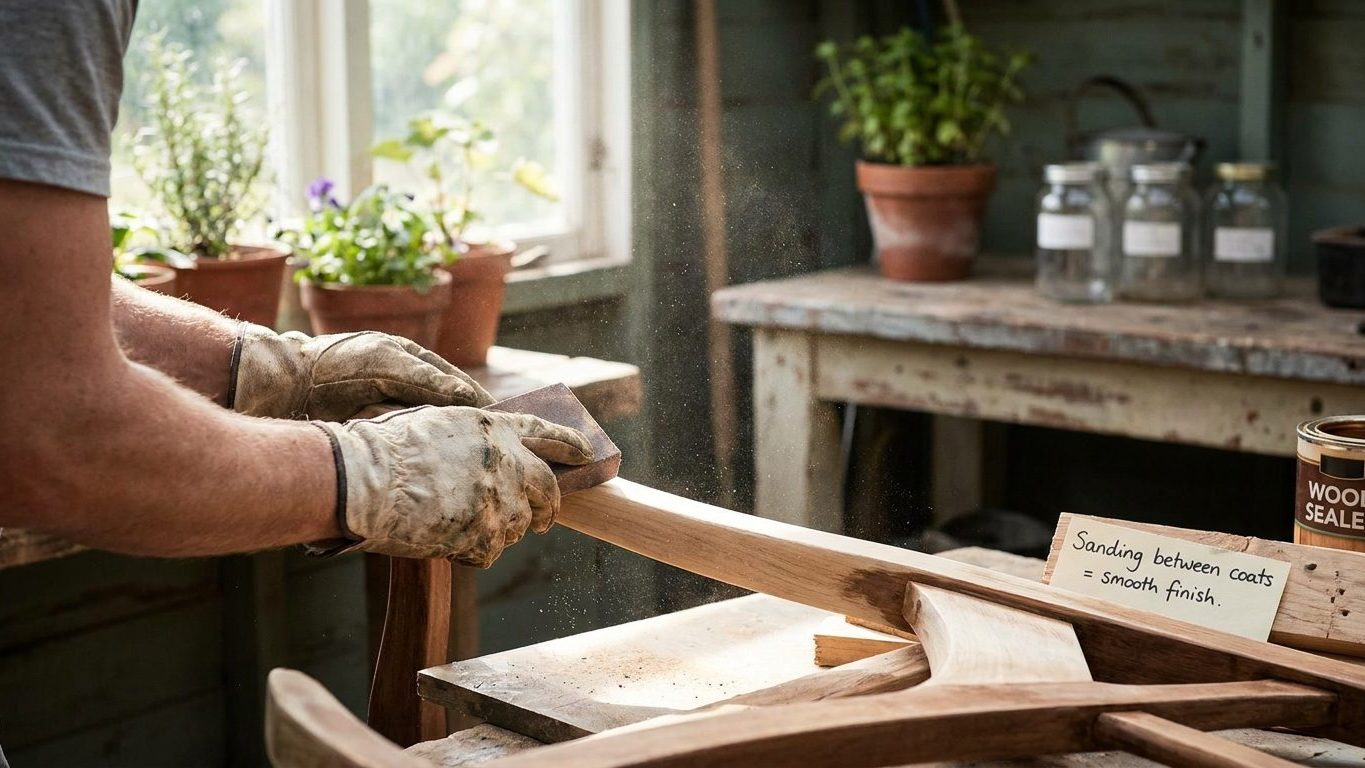

That closet door where the fresh coat peels off in sheets a few weeks after painting, right along the old glossy trim, is not a paint failure. It happened because the new coat had nothing to bite into. Scuff every glossy surface dull with sandpaper before the next coat goes on, and that kind of peeling stops happening.
What is actually going on

Paint does not dissolve into the surface beneath it the way water soaks into a sponge. It sits on top and holds through mechanical grip: microscopic ridges, scratches, and pores in the surface that the wet film can lock into as it dries. A glossy painted surface has almost none of that texture, because the sheen was built specifically to be smooth and reflective, which is exactly what makes it a poor base for the next coat. Run a fingernail across a glossy door panel and you can feel how little there is for anything to hold onto.
Why the abrasion matters more than the smoothness
Dragging an abrasive across a hard, shiny film opens thousands of tiny scratches per square inch, multiplying the surface area available for the next coat to key into. That is the entire purpose of sanding between stages: not to make a surface feel smoother to the hand, but to make it rougher at a scale small enough that you can’t see or feel it, yet large enough for paint to grab. This matters most wherever the existing finish is glossy or semi-gloss, on trim, doors, and cabinets. It matters far less on a wall that was already painted with flat paint, since a flat film already carries enough texture of its own. Between a primer coat and a topcoat it matters for a different reason again: primer is formulated to be sanded, and a light pass knocks down raised wood grain and dried dust nibs so the topcoat lands on a level plane instead of a bumpy one.
Lead paint and ventilation
Any sanding that disturbs old paint layers carries a hazard that has nothing to do with the finish. Homes built before 1978 may contain lead-based paint, and sanding it releases lead dust into the air and onto every surface in the room. Check the EPA’s guidance before starting work on any pre-1978 surface, and do not treat a quick home test kit as a conclusive answer either way. The EPA’s Renovation, Repair and Painting rule requires paid contractors working on pre-1978 housing to be certified in lead-safe practices. A homeowner sanding their own walls is exempt from that rule, but the exemption is legal, not medical: the dust is exactly as harmful to the lungs of the person breathing it either way.
Ventilation is not a comfort question here. Sanding of any kind produces fine dust that hangs in the air long after the sanding stops. Open a window, run a fan that pushes air out of the room rather than around it, and don’t sand in a room that will be closed up and slept in that night.
Doing it
This step assumes the surface has already been through the earlier work described in “/painting/”>Interior Painting: Preparation Is Most of the Work, since sanding a surface that still has grease, dust, or loose old paint on it just polishes the problem instead of fixing it. The order and grit below matter as much as the sanding itself. Skip a stage or use too coarse a grit and the finish coat inherits every mistake underneath it, magnified rather than hidden.
Grit progression by stage
| Stage | Grit | What it does | What happens if skipped |
|---|---|---|---|
| Old glossy paint, before primer | Fine, roughly 150 to 220 | Breaks the gloss so primer has something to key into | Primer beads up or slides, adhesion fails within weeks |
| Cured primer, before topcoat | Fine, 220 or finer | Knocks down raised grain, dust nibs, and brush ridges | Topcoat telegraphs every bump, looks patchy under raking light |
| Between first and second topcoat | Very fine, 320 or a fine sanding sponge | Removes dust nibs and lint the first coat picked up while drying | Second coat traps the debris and the surface stays gritty for good |
| Filled or patched areas | Medium, then fine, working down | Levels the filler flush with the surrounding surface | The patch stays visible as a raised or sunken spot once painted |
Dust control
Sanding throws off two kinds of debris: coarse dust that settles fast where you can see it, and fine dust that stays airborne for hours and settles later on every horizontal surface in the room, including the wet paint you’re about to apply. Vacuum the sanded surface with a soft brush attachment rather than blowing or brushing it off, since brushing mostly redistributes the dust instead of removing it. Wipe the surface with a barely damp cloth right before painting, not an hour before, because dust resettles quickly in a room where anyone is still moving around.
Any gaps between trim and wall should already be sealed before this stage, the kind of work covered in Caulking the Gaps That Make a Room Look Unfinished, since sanding over caulk that hasn’t fully cured just tears it back out of the joint. The same dust discipline applies between primer and topcoat and again between two coats of finish paint, which is one reason Why Two Thin Coats Beat One Thick One holds up even on a wall that already looks covered after the first pass.
What it looks like when it goes wrong
Most sanding mistakes show up only once paint has already gone over them, which is what makes them frustrating rather than dangerous. Some can be sanded out and recoated. Others mean going back a stage.
Defects you can still correct
Old brush marks or fine scratches showing through the new coat under angled light mean the surface wasn’t sanded thoroughly enough before the topcoat went on. Sand the affected area again with a fine grit and recoat. A gritty, bumpy feel in the dried film usually means dust settled into wet paint. It can be sanded smooth once cured and covered with another thin coat. Patchy sheen, where some areas look duller than others under the same light, usually means some glossy patches were missed during scuffing. Sand the missed spots and recoat just those areas.
Failures that mean starting over
Paint peeling off in sheets, sometimes whole panels at once, means a glossy surface was never scuffed at all before the previous coat went on. This cannot be spot-patched. The peeling paint has to be scraped back to a sound edge and the surface prepared properly before anything goes back on it, and if the paint underneath is old enough to be a concern, the same lead precautions apply to scraping as to sanding. Sanding all the way through to bare wood or an older color in an isolated spot creates a low point that will show through as a shadow or a texture change once painted, and needs filler and another full primer cycle rather than a quick coat over the top. On thin veneer or delicate trim, sanding through to bare substrate sometimes can’t be built back up at all, and the only real fix is replacing the piece. Do this work with the same ventilation as the sanding itself, since scraping and re-sanding a failed area throws off just as much dust as the first pass did.
What to settle before you open the tin
A few things are worth confirming before any sandpaper touches the wall, because they change how you sand rather than whether you do it at all.
- Age of the building: if it was built before 1978, check the EPA’s guidance on lead-safe work practices before sanding any existing paint, and don’t rely on a home test kit to rule it out.
- The surface itself: run a hand over it and check under raking light, a work light held low and angled across the wall, to spot glossy patches and old brush marks before the first coat reveals them for you.
- Ventilation: confirm you can open a window or run a fan that moves air out of the room, not just around it, for the whole time you’re sanding and for a while after.
- Light: sand and inspect under the same angled light you’ll use to check the finished coat, since overhead lighting hides exactly the flaws raking light shows up.
None of this takes long to check, and skipping it costs more time later than checking it costs now, since a missed glossy patch or an unventilated room turns into a redo rather than a touch-up.
Common questions
Do I need to sand between every single coat, even two coats of the same paint?
Usually yes if the paint has fully dried to a hard film between coats, since even flat paint can pick up dust and lint while curing. A very light pass with a fine sanding sponge is enough. It’s less about roughness and more about knocking off anything that dried into the surface.
Can I skip sanding if I’m using a bonding primer instead?
A bonding primer reduces how much sanding you need on a glossy surface, but it doesn’t replace scuffing entirely on a very hard enamel finish. Check the label on the can you’re using, since formulations differ, and when in doubt scuff the surface dull first anyway.
What grit is too coarse for sanding between coats?
Anything below roughly 150 grit on already-painted surfaces risks leaving scratches deep enough to show through the next coat, especially under raking light or a satin or gloss sheen. Coarser grits belong to stripping down to bare material, not to prep between coats.
How do I know if my old paint has lead in it before I start sanding?
You can’t know for certain without following the EPA’s guidance on testing and lead-safe work practices, and a home test kit is not a conclusive answer either way. If the home was built before 1978, treat the paint as a possible lead risk and check the EPA’s resources before disturbing it.