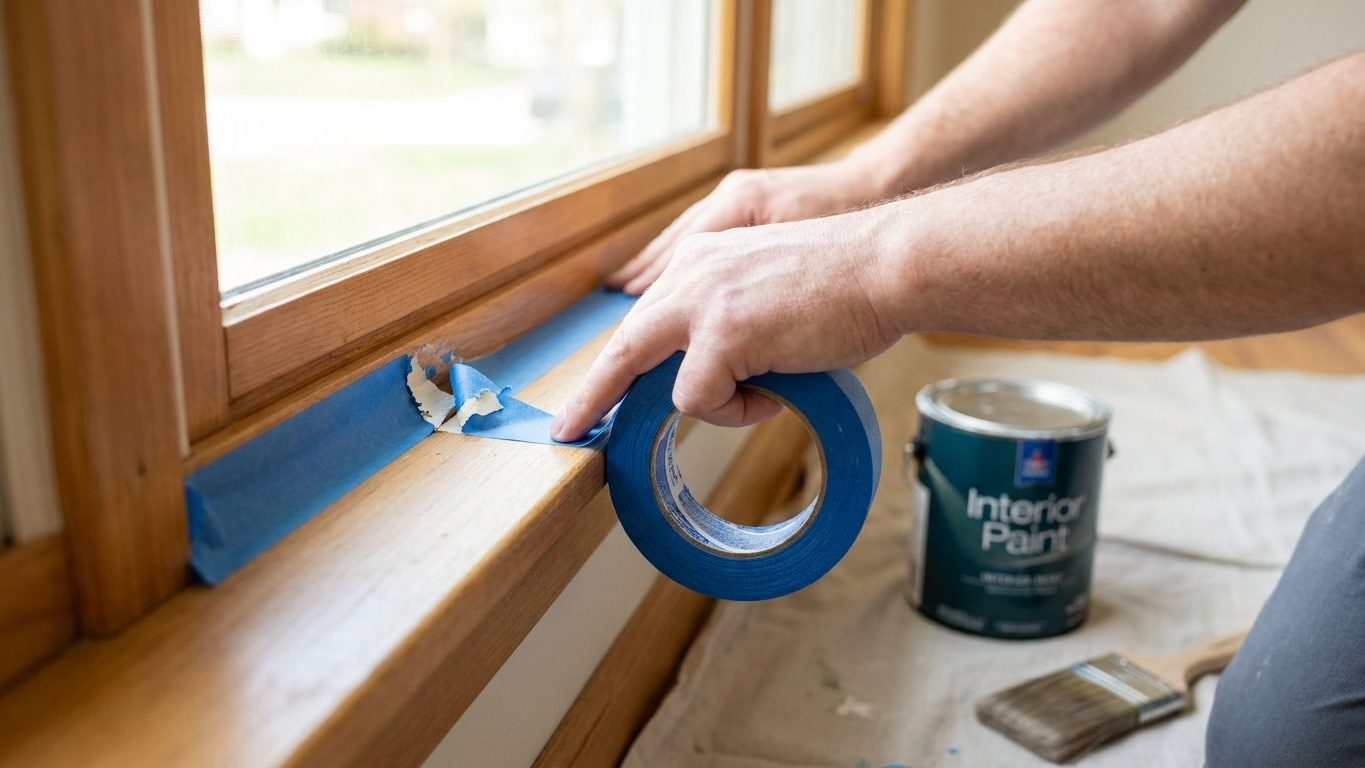

Torn paint along a taped line means the tape sat too long, or the seal under it never really held, and now you’re peeling ribbons of finish away with the tape itself. Tape earns its keep on hard, straight boundaries like window glass, hardware, and floor trim, but on textured walls, old caulk lines, or uneven ceiling edges it slows you down and creates more cleanup than it prevents. Press a scrap of tape onto the actual surface first and peel it back right away to see whether it lifts anything before you commit a whole roll to the job.
What is actually going on

Paint is thinner than the ridge tape leaves behind, and it moves toward any gap it can find. Bleed happens when the tape edge isn’t pressed down tight enough to block that movement, so paint creeps underneath it and dries as a thin, ragged line on the surface you meant to protect. It shows up most on textured walls, over old caulk lines, or anywhere the tape has to bridge an uneven surface instead of lying flat against it.
The opposite failure is pull. Tape adhesive bonds to a paint film as that film cures, and the longer the tape stays down, the stronger that bond gets. Pull it off too late and the tape takes the top layer of paint with it, sometimes down to bare wood or old finish that was never meant to see daylight again. Tape left on for the whole length of a job, instead of removed at the right moment, is one of the most common ways a masking job ends up costing more time than it saved.
Tape is a mechanical seal, not a paint-repellent coating. It only works where you make it work: pressed down firmly along its whole length, tooled into corners and against uneven trim with a putty knife or a fingernail so there’s no gap for paint to find. A roll of tape stuck to a wall and left alone does nothing more than mark a line. Masking is only one piece of the wider preparation job, and as Interior Painting: Preparation Is Most of the Work lays out, the surface underneath the tape matters more than the tape itself.
Tape genuinely earns its keep on hard, straight boundaries where a brush has nothing to rest against:
- window glass meeting a wood sash
- door and cabinet hardware left in place
- floor trim meeting carpet or tile
- a straight line between two colors on a flat wall
On anything without a hard, even edge, a steady hand with a brush usually does a cleaner job than tape ever will. A loaded brush dragged with confidence lays paint exactly where the bristle spring puts it, and a practiced hand can follow a wavy trim line or an uneven ceiling edge in a way tape cannot. Tape can only follow the surface it’s stuck to, not the line you actually want.
Doing it
The steps below assume you’ve already decided which edges get taped and which get cut in freehand.
- Clean and dry the surface before you tape it. Dust, grease, or leftover cleaning residue keeps the adhesive from sealing fully, and that gap is exactly where paint bleeds through later. Skip this and you get a tape line that looks sealed while still letting paint creep underneath.
- Press the tape down along its entire length, not just at the ends. Run a putty knife or a fingernail along the edge to force it flat against every dip in the surface. Skip this and the tape looks sealed while leaving hairline gaps wherever the surface isn’t perfectly flat, which is most surfaces.
- Cut in the first coat by moving the brush away from the tape edge, not into it. Pushing a loaded brush directly at a taped line forces paint against the seal under pressure and raises the odds it finds a gap. Working away from the edge lets you come back with a lighter, more controlled pass to finish the line.
- Check the tape edge in raking light before the next coat goes on. A low light angled across the wall shows ridges, gaps, or bleed that normal room light hides. Skip this check and you carry a flaw into every coat that follows, and it only becomes more visible as coats build up.
- Pull the tape at the right point in the process, not at the end of the whole job. Remove it while the paint has set enough to hold a clean line but before it has fully hardened against the adhesive, pulling back on itself at a low angle rather than straight up. Leave it until the project wraps up and you risk tearing the finish off with it, especially at corners and over trim where the film is thinnest.
Do this work with windows open or a fan pulling air out of the room, not for comfort but because the tape adhesive and the fresh paint both release vapors as they cure, and a closed room lets those concentrate faster than most people expect.
What it looks like when it goes wrong
A thin, feathery line of paint just outside where the tape sat is bleed, and it’s usually the easiest defect to fix. Once the paint is fully cured, a light scrape or fine sanding clears the ridge, and a small spot of primer under the touch-up coat keeps the repair from flashing a different sheen than the surrounding wall.
Tape pull is a different problem. If the tape came away with a strip of finish still stuck to it, and especially if it exposed bare wood or old paint underneath, that spot cannot simply be recoated. The exposed surface has different absorbency than the painted field around it, and paint laid straight over it will dry a visibly different sheen or color depth. That patch needs to be feathered, spot-primed, and blended before the next coat goes on, which is exactly the decision covered on “/painting/priming/”>When You Actually Need Primer, and When You Do Not.
Ridges, residue, and corners
A raised ridge of paint that dried thicker along the old tape line, sometimes called a tape line ridge, comes from paint pooling against the tape edge instead of laying flat. This is fixable once the paint has cured fully: light sanding knocks the ridge down, though sanding through to bare material means you’re back to spot-priming that section before it gets a final coat.
Leftover adhesive or torn bits of paper stuck to the wall are cosmetic and fixable with mild abrasion, no repainting required. Paint that fingered its way into an inside corner because the tape wasn’t sealed tight against the joint is fixable only if you catch it while still wet, lifting it with a damp cloth or a careful scrape. Once it has fully cured in the wrong spot, the only real fix is cutting a fresh, correct line over it, which means redoing that corner rather than patching it.
What to settle before you open the tin
Check that the surface is clean, dry, and sound before any tape goes down. Loose paint, chalky residue, or a greasy film from years of cooking or cleaning near a doorway will keep tape from sealing no matter how carefully you apply it, and that failure shows up as bleed later, not while you’re taping.
Set up enough light to actually see the edge you’re working. A raking light held low across the wall, even a simple work lamp angled sideways, shows gaps and unevenness that overhead room lighting hides completely, and it’s far easier to fix a poor seal before the first coat than after.
Ventilation has to be settled before you start, not adjusted once the fumes are already noticeable. Open windows on opposite sides of the room if you can, or run a fan pulling air toward an open door, for the whole time tape and paint are curing. Ventilation While Painting: Not a Comfort Question walks through what that setup should look like in a room that can’t be left open all day.
Last, think about the age of the building. If any part of the job involves scraping, sanding, or otherwise disturbing existing paint rather than just masking around it, treat that as a separate decision. Older homes can have lead-based paint under later coats, and disturbing it carries real health risk that ordinary masking prep does not. Check official guidance on lead-safe work practices before you scrape or sand anything you haven’t already confirmed is safe to disturb.
Common questions
Do I really need to tape trim if I’m using a good brush?
Not always. A steady hand with a well-loaded brush can cut a straight line against trim without tape, and many painters find it faster once they’ve practiced the motion. Tape is a safety net for a hand that isn’t confident yet, not a requirement for a good result.
Can I reuse the same length of tape on a second wall?
You can, but the seal won’t be as reliable. Adhesive picks up dust and loses tack the first time it’s pressed and pulled, so a reused strip is more likely to let paint bleed underneath it on the second application than a fresh piece would.
Why did I get a ridge line even though I pulled the tape while the paint was still wet?
Pulling tape early prevents pull damage but doesn’t stop a ridge. A ridge forms while the paint is still on the wall, from paint pooling against the tape edge as it’s applied, so the fix is in how the coat goes on, not in when the tape comes off.
Is there any surface where tape just doesn’t work at all?
Heavily textured surfaces, like stucco-style walls or popcorn ceilings, are the worst case. Tape can’t seal against all the peaks and valleys in the texture, so bleed is nearly guaranteed, and cutting in freehand or using a shield held by hand usually gives a cleaner result than any tape will.