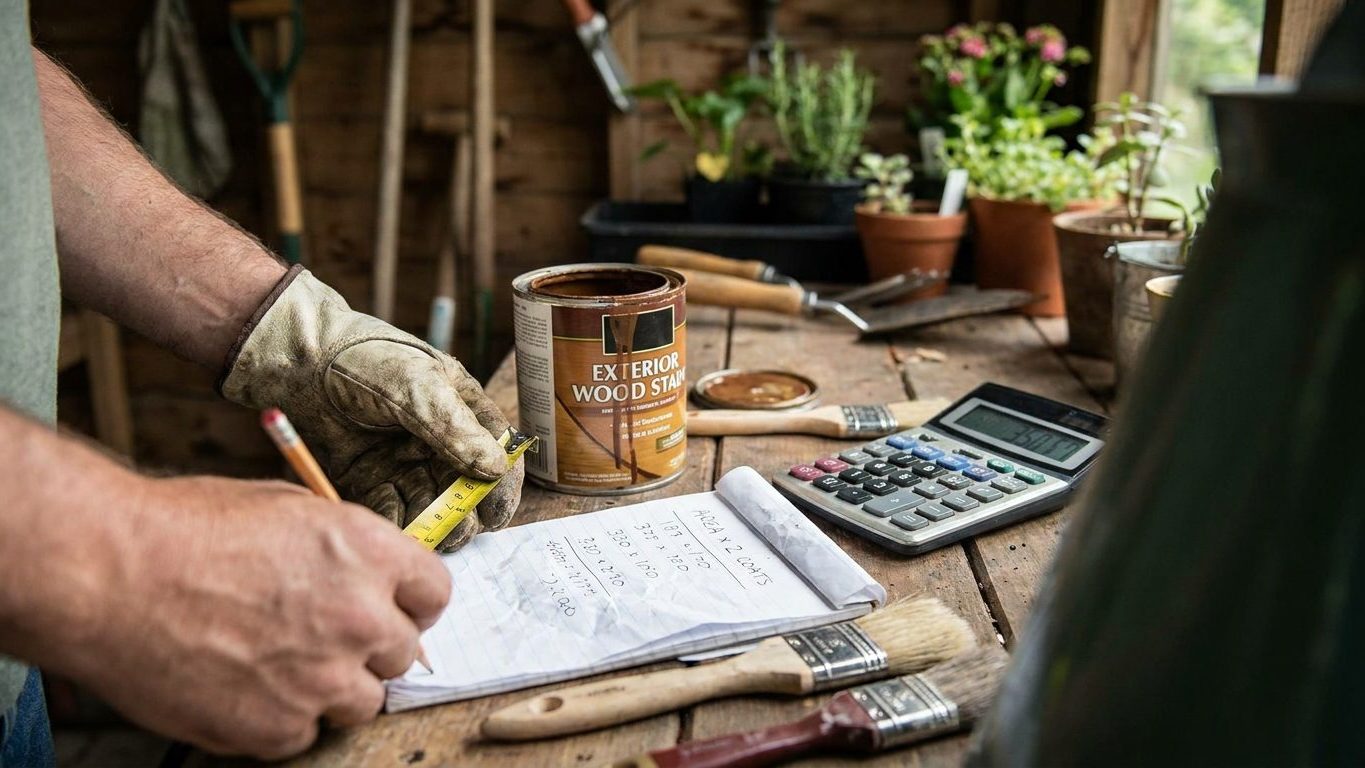

Square footage of wall, not square footage of floor, is what decides how much paint you need. Measure the walls you’re covering, subtract the doors and windows, divide by the coverage rate printed on the can, and multiply by the number of coats. Round the total up to the next full can, and buy enough from one batch to box together before you start.
What is actually going on

Paint is mixed in batches, and even when the label reads the same color name and code, the exact amount of colorant loaded into any given can can drift slightly from one batch to the next. Custom-tinted colors drift more than factory-standard ones, because the tinting machine is doing small, human-adjustable pours rather than a fixed factory recipe. Most of the time the difference is too small to see side by side on a paint chip. On a wall, under a window’s raking light, it shows.
That’s the real reason running short is worse than buying too much. Painting a wall works because you keep a wet edge going, overlapping each stroke into paint that’s still workable so the strokes melt together with no visible seam. If you run out partway across a wall and have to wait for a fresh can, that edge sets before you get back to it. The new paint goes on next to paint that has already started to dry and flash, and even if the color match were perfect, the sheen and texture at that join usually aren’t. You end up with a faint line running down the wall that no amount of careful brushing will blend out, because by the time you’re brushing, the earlier coat has already fixed its texture.
Why extra paint doesn’t cost you anything
Unused paint sitting in a sealed can in the garage costs you nothing but shelf space. A gallon short costs you a special trip back to the store mid-project, a wait for the store to remix or find the right batch, and a wall that now has to sit half-finished while it happens, which is exactly the condition that produces a visible line. This is why the calculation on this page always rounds up rather than down. It is also why professional painters buy the full estimated quantity from a single batch at the start of a job rather than topping up as they go.
None of this is about the paint being defective. It is ordinary manufacturing tolerance meeting a surface that is unusually good at showing tiny differences in reflected light. A wall is essentially one long, flat mirror for whatever light source is hitting it, low winter sun through a window, a ceiling downlight, a lamp at the end of a hallway, and all three exaggerate the smallest inconsistency far more than daylight in a paint store ever will. If you’re working in a closed room to keep drafts and dust out while you paint, keep a window cracked or a fan running anyway. Ventilation is not optional even for water-based paints, and it matters more, not less, in a small or sealed space.
Doing it
The measuring and buying process is the same whether the room is a small bathroom or a whole floor of a house. What changes is the number of walls, the number of openings to subtract, and how forgiving or unforgiving the surface is about soaking up paint. This page assumes the walls are already clean, sound, and ready for a topcoat; if they aren’t yet, that groundwork is covered separately in Interior Painting: Preparation Is Most of the Work.
- Measure the height and width of every wall you’re painting and multiply each pair to get that wall’s area, then add the areas together for a total. Skip this and estimate by eye, and you’ll almost always undercount, because a room looks smaller from the middle of it than the tape measure says it is.
- Measure every door, window, and built-in you won’t be painting and subtract that area from the total. Skip this and you’ll overbuy, which costs you nothing directly but throws off the batch count you’re trying to keep small and consistent.
- Decide how many coats the job needs and multiply the wall area by that number. A single coat over a color close to the existing wall is different math from two full coats over a color change or a repaired patch, and guessing low here is the single most common reason people run out mid-wall.
- Divide the total by the coverage rate printed on that specific can, not a number remembered from a previous job or a different sheen. Coverage rate varies by sheen, by finish, and by the porosity of the surface underneath, so a figure from a different project is not a safe substitute.
- Round the result up to the next full container size, then add a modest amount on top for cutting-in mistakes, touch-ups, and the fact that a roller always leaves some paint in the tray and the sleeve at the end of the job.
- Box the tins together before you start: pour all the cans for one room into a single larger container and stir, or pour a portion of each can into every can so the batches even out. This is the direct fix for the batch-variation problem described above, and it costs a few minutes against a possible repaint of half a wall.
Coverage also isn’t fixed the way the number on the can implies. A wall with fresh drywall compound patches, bare plaster repairs, or old flat paint underneath will drink up noticeably more paint than the rest of the same wall, because those areas are more porous. If you’ve measured and bought carefully and the paint is still going on thin and patchy in places, that’s a surface problem rather than a math problem, and it’s worth reading Paint That Will Not Cover, Whatever You Do before you assume you simply need another can.
What it looks like when it goes wrong
The most common visible failure is a faint vertical line or soft edge running down a wall where one can of paint stopped and another started, or where you paused long enough for the wet edge to set. Under flat daylight it can be almost invisible. Under a lamp or low sun through a window it reads clearly. If it happened because of a batch difference rather than a stopping point, it cannot be fixed by touching up that one strip. The only real fix is repainting the whole wall, or at minimum the whole section between corners, with boxed paint so there’s no seam left to see.
A related defect is patchy sheen, sometimes called flashing, where part of a wall looks slightly glossier or duller than the rest. This usually happens when a small touch-up was done with paint from a different can, or applied after the surrounding paint had already begun to set. Like the batch line, spot-fixing rarely solves it, because the eye catches the boundary of the touch-up itself. A full recoat of the affected wall, edge to edge, is usually the only way to make it disappear.
Thin coats from stretching too little paint
The other common failure comes from trying to make a can go further than it should, usually because the buyer under-calculated at the start. The paint goes on translucent, the old color or the primer shadows through, and the temptation is to call it done and hope the next coat, applied later, will fix it. It sometimes does, but only if that next coat is a genuine full coat rather than another thin stretch. Two thin coats do not reliably add up to one properly opaque one, because each thin layer has already begun to dry unevenly before the next goes on. If a wall looks streaky or shadowed after it has fully dried, the fix is another complete coat over the whole surface, not a partial pass over the thin-looking patches, which would just create a new version of the same problem in reverse.
None of these defects are a sign the paint itself is faulty. They’re nearly always the visible trace of a shortcut taken somewhere earlier in the process described above: skipping the measurement, guessing at coats, or not boxing the cans. That’s also the good news buried in the bad: every one of them traces back to a step on this page, which means every one of them is avoidable on the next wall even if this one has to be redone.
What to settle before you open the tin
Decide the full quantity, from a single boxed batch, before the first roller goes on the wall. Once you’ve opened and started using paint, it’s too late to fix a batch mismatch cheaply, so this decision belongs at the very start, not partway through when the can starts running low.
Check the surface itself. Bare patches, old peeling paint, or unprimed repairs all change how much paint the wall will actually absorb, and no amount of accurate area measurement fixes a surface that isn’t ready. If the prep work hasn’t been done yet, it’s worth going back to Interior Painting: Preparation Is Most of the Work before buying anything.
Check the light the room actually gets, not the light in the store where you picked the color. A color that reads calm under a paint chip can shift noticeably under a west-facing window or a warm bulb, and that same light is what will expose any batch line or thin patch you didn’t catch. If the color itself is still an open question, that decision is worked through in Choosing a Colour That Still Works in the Room.
Ventilation and the age of the building
Ventilation is not optional in any closed room where paint is being opened, poured, or applied, even water-based paint, and even for a job expected to take an hour. Open a window, run a fan, and keep air moving the whole time you’re working, not just while the smell is strongest.
If the building is old enough that you’ll be sanding, scraping, or otherwise disturbing existing paint layers to get the surface ready, stop and get it tested for lead before you disturb anything. That’s a separate decision from how much paint to buy, but it has to be settled first, because the answer changes how the whole prep stage is done.
Common questions
What if I have leftover paint from a previous job, is it still good to use?
Check it before you count on it. Paint that has been opened and resealed can separate, thicken, or develop a skin over the surface, and even if it stirs back to a usable consistency, it’s a different batch from anything you buy new, so it should go through the same boxing step as fresh cans rather than being used to patch in on its own.
Do I need to subtract the ceiling and trim from my wall measurement?
Yes, if you aren’t painting them the same color. Measure only the surface you’re actually applying that particular paint to, and do a separate calculation for the ceiling or trim if they’re a different color or finish, since they usually have different coverage behavior than a flat wall.
Can I just buy one extra can to be safe instead of doing the measurement?
You can, but it solves the wrong problem. Buying extra without measuring still leaves you guessing at coat count and surface porosity, and an extra can from a different batch than the rest doesn’t help if you end up needing it mid-wall. Measuring first tells you whether you need that extra can at all, and buying it upfront as part of one boxed batch is what actually prevents a mismatched seam.
Does a darker color need more paint than a lighter one?
Often, yes, especially over a much lighter existing color, because hiding a strong contrast usually takes a full extra coat that a similar-tone repaint wouldn’t need. Build that expectation into your coat count before you calculate quantity, rather than discovering it halfway through the first coat.