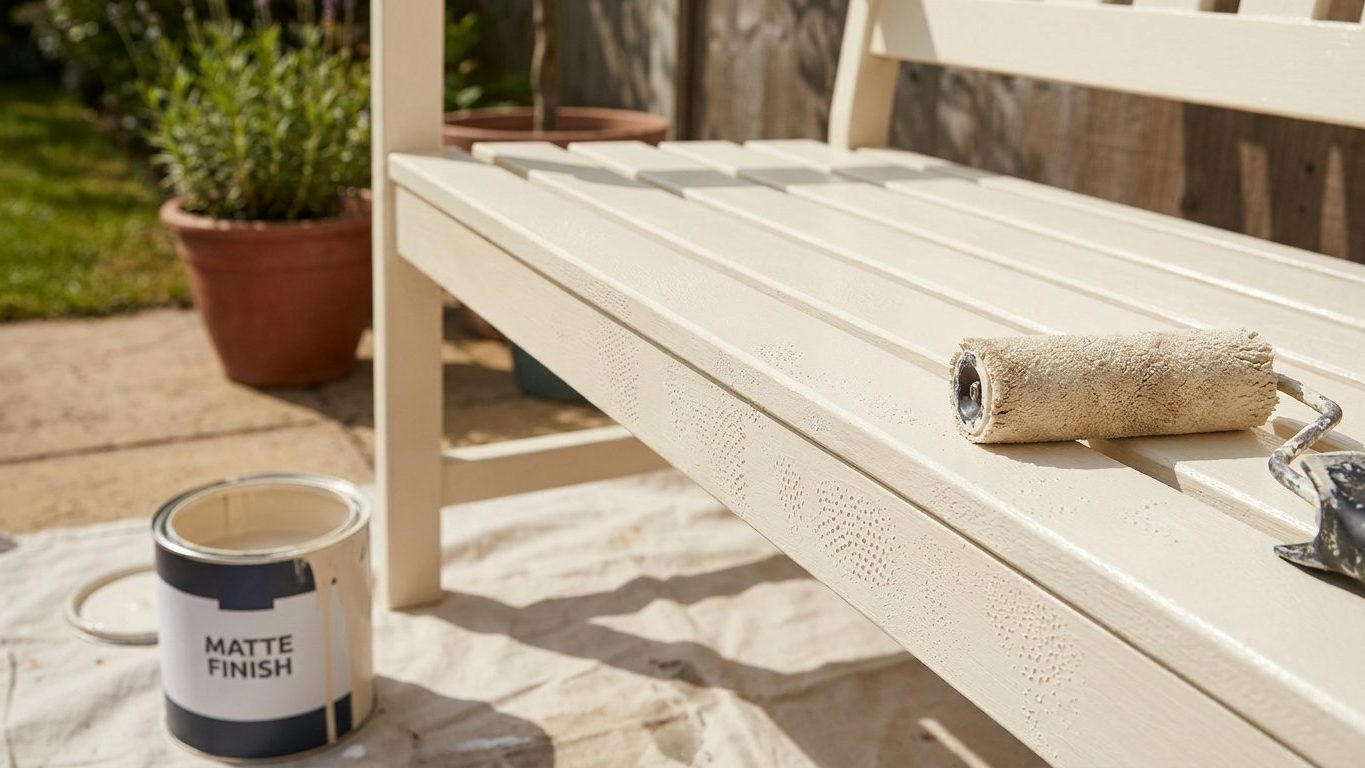

Roller marks that disappear while the paint is wet come back once it dries because dried paint is thinner where the roller skimmed and thicker where it doubled back, and light raking across the wall picks up every difference the wet sheen was hiding. Check the wall under a raking light, a lamp or work light held close to the surface at a low angle, before you call the coat finished. Correct any ridge you can still feel with a fingertip by rolling it out again while the paint is still wet, rather than waiting for a second coat to cover it.
What is actually going on

Ridges and stipple that show up only once the wall has dried are almost always a film thickness problem rather than a paint quality problem. A roller never lays down a perfectly even coat. The center of the nap holds more paint than the edges, and wherever the roller lifts off, changes direction, or comes back to blend a section, it leaves a band that is slightly thicker than the paint around it. While the coat is still wet, the surface sheen is uniform enough to hide that difference. As the water or solvent in the paint flashes off and the film shrinks down onto the wall, the thin areas flatten first, and the thicker ridges sit a fraction of a millimeter proud of the surrounding surface. That tiny height difference is enough to catch light unevenly and read as a mark.
Sheen makes the problem more or less visible on its own, without anything else changing. A flat or matte finish scatters light in every direction, so small thickness differences blend into the surface. A satin, semi-gloss, or gloss finish reflects light in a narrower, more directional way, so the same ridge that would disappear under flat paint shows up as a visible line under anything with more sheen. If you have chosen a higher-sheen paint for a kitchen or bath, expect roller technique to matter more, not less.
Stipple, the fine pebbled texture rather than a linear mark, comes from the roller nap itself. A thicker nap holds more paint and releases it less evenly, which is useful for textured surfaces like stucco or heavily patched drywall but produces a visible orange-peel texture on a smooth wall. This is a separate cause from ridging, and it is worth knowing which one you are looking at before you try to fix it, since the two need different corrections. Both problems are made worse by working in a closed room without air movement, since paint that dries unevenly across its surface because of hot, still air is more likely to show lap and ridge marks than paint that dries at a steady rate. Whenever you are rolling indoors, open a window or run a fan to keep air moving through the room, not for comfort but because still, humid air changes how the film levels out as it cures. This assumes the wall has already been properly prepped and primed, a step covered in Interior Painting: Preparation Is Most of the Work, since roller technique cannot fix a surface that was never sanded or sealed correctly.
Doing it
There are four distinct causes behind marks that show up after drying, and each one leaves a different visual signature. Working out which one you had is most of the job, because the fix for an overloaded roller is not the fix for the wrong nap.
| Cause | How to tell | What to do about it |
|---|---|---|
| Overloaded roller | Random, curved, overlapping ridges with no regular pattern, often thicker at the start of each stroke | Load less paint per pass and roll it out fully before reloading. If the ridge is still wet, go back over it lightly with a nearly dry roller to level it. |
| Wrong nap for the surface | A fine, even pebble texture across the whole wall rather than isolated lines | Switch to a shorter nap suited to a smooth wall and re-roll once the current coat has fully cured, since a thin nap cannot correct texture already laid down by a thick one. |
| Uneven pressure through the stroke | Regular vertical or diagonal bands, heavier at one edge of each pass | Keep pressure constant from the top of the stroke to the bottom and always finish a section with a light, unloaded pass in one direction. This is the same mechanism behind the banding described in Bands and Stripes Down a Finished Wall. |
| Recoating before the film has properly set up | Patchy sheen differences that follow the pattern of the second coat rather than the first | Wait for the surface to feel and look fully set before adding another pass. There is no fixed number of hours that applies to every paint, room, and season, so use the guidance printed on the can for that specific product as your only reference point. |
Skip the diagnosis step and you end up guessing. Reloading a roller with less paint will not fix stipple caused by too thick a nap, and switching nap thickness will not fix banding caused by inconsistent pressure. Match the fix to the cause or you will spend a second coat correcting the wrong thing while the real problem is still there under it.
What it looks like when it goes wrong
Four defects come from the causes above, and they are not equally forgiving.
Tram lines and ridges
Straight or curved raised lines that catch light from one direction are the clearest sign of an overloaded roller or inconsistent pressure. If caught while the coat is still wet, these can usually be rolled out and corrected in place. Once the film has fully cured, a ridge has to be knocked down with fine sandpaper before a fresh coat will lie flat over it, since paint applied straight over a hardened ridge just telegraphs the same shape through the new layer.
Orange peel and stipple
A fine, even pebbled texture across a wall that was meant to be smooth is a nap problem, not a technique problem. Light stipple can sometimes be softened with a very light sanding pass followed by a thin, well-rolled top coat using a shorter nap. Heavy stipple, where the texture is deep enough to feel with a flat hand, usually needs a full sand-down before repainting, because no amount of careful rolling on top will hide texture that is already baked into the dried film.
Picture framing
A visible rectangle or border near the ceiling line and corners, where the roller could not reach, shows up as a different texture or sheen from the field of the wall rolled in by the brush used to cut in. This is a technique and sequencing issue rather than a paint fault, and getting the transition right often comes down to how the edges were taped off in the first place, which is covered in Masking: Where Tape Helps and Where It Costs You. It is correctable with a careful blending pass while the coat is still workable, but once fully dry it needs a light scuff-sand and a full repass to disappear.
Flashing
Dull or shiny patches that follow the outline of touch-up areas or a second coat applied unevenly are a sheen inconsistency, not a texture problem. Flashing cannot be sanded out because there is no ridge to remove, only a difference in how much paint sits under the surface. The only real fix is a full, even coat rolled over the entire wall rather than a spot repair.
What to settle before you open the tin
Most of what causes marks after drying gets decided before the roller ever touches the wall. Settle these first.
- Surface condition: patched drywall, old plaster, and bare new board all absorb and reflect paint differently, and an uneven surface will show through even a perfectly rolled coat.
- Light source and direction: identify where the strongest raking light in the room comes from, whether a window or a fixed light fitting, since marks invisible from the doorway can be obvious from that angle once the sun moves.
- Ventilation: confirm you can get real cross airflow through the room before you start, not after, since still air during drying is one of the more common and avoidable causes of uneven film buildup.
- Age of the building: in a home built before the late 1970s, assume there may be lead-based paint under the existing layers and check current guidance from a certified professional or your local health department before sanding, scraping, or otherwise disturbing old paint, since dry sanding old painted surfaces can release lead dust regardless of what color or coat you are trying to fix.
None of this replaces the groundwork of a properly prepared wall. If you have not already gone through priming, patching, and sanding, that sequence is worth reading in full before you pick up a roller at all, since technique only matters once the surface underneath it is sound.
Common questions
Can I fix roller marks without repainting the whole wall?
Sometimes, if the mark is a ridge or a small area of picture framing that can be sanded and blended locally. Flashing and widespread stipple almost always need a full coat across the whole wall, since a spot repair leaves a visible edge of its own.
Why did the marks only show up the next day?
Because the wet paint’s sheen hides thickness differences that only become visible once the film shrinks down and cures. This is normal and is exactly why checking under a raking light before calling the job done matters more than judging the wall while it is still wet.
Does a cheap roller cause more of this than an expensive one?
Nap quality affects it, but nap thickness matters more than price. A nap that is too thick for a smooth wall will stipple regardless of what it costs, so match the nap to the surface texture rather than assuming a higher price solves it.
Will a second coat cover up ridges from the first coat?
No, a hardened ridge usually telegraphs straight through a second coat rolled directly over it. Sand the ridge down first, then recoat, or the same shape will still be visible once the new layer dries.
Sources : sherwin-williams.com