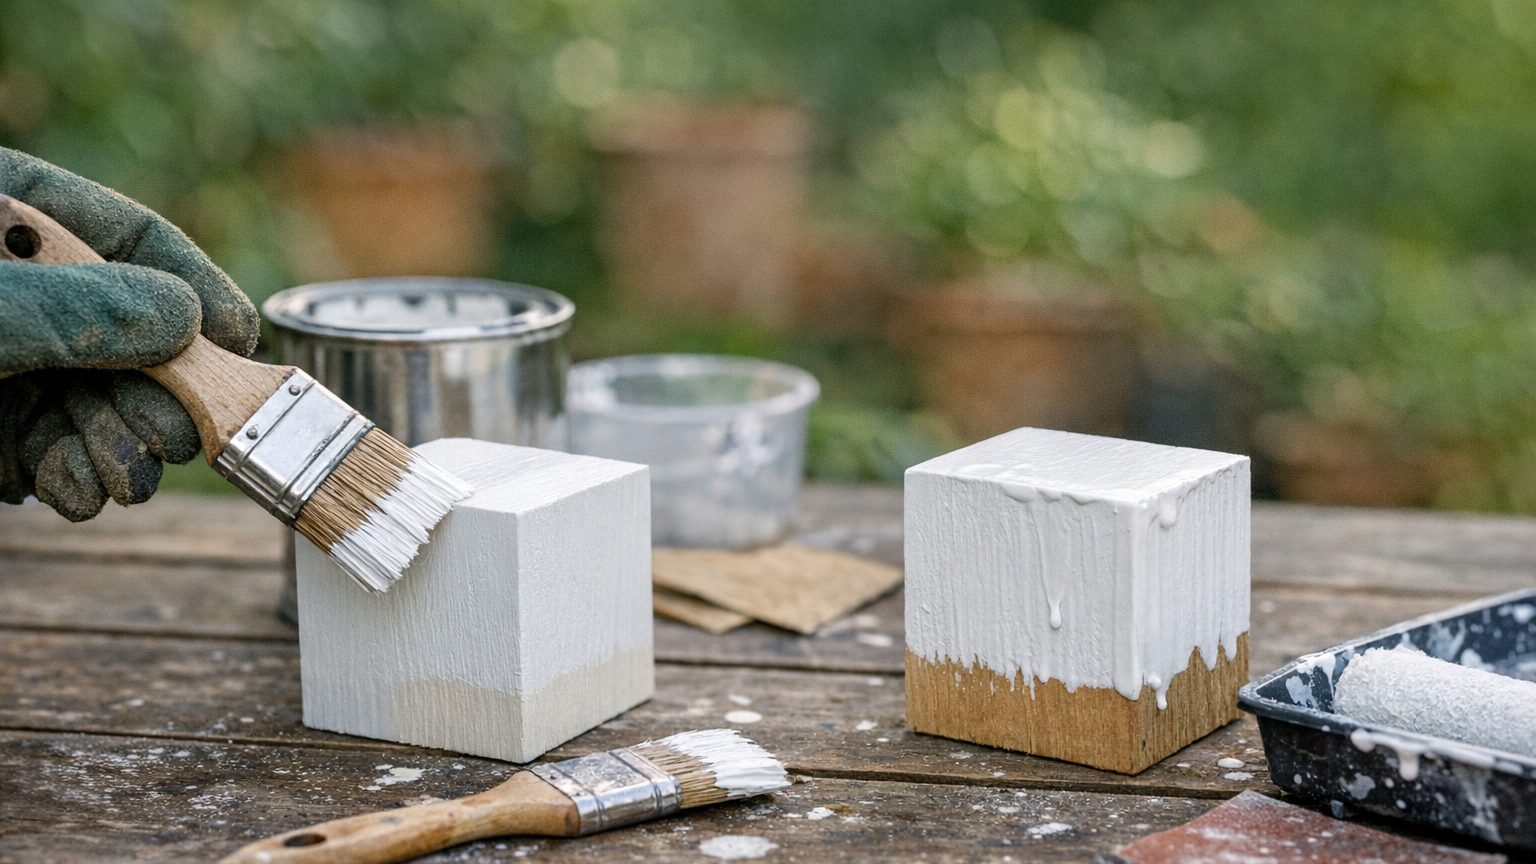

That heavy roller load that seems to cover the wall in one pass around the room is the exact reason the wall will look wrong once it dries. Two thin coats beat one thick one because each thin film cures the way the paint was formulated to cure, while a single loaded coat skins over on top and stays wet underneath. Load the roller lighter than feels right, and plan on a second full pass instead of one heavy one.
What is actually going on

This page picks up after the wall is already clean, sanded, and patched, the preparation stage covered in Interior Painting: Preparation Is Most of the Work. Once you’re standing there with a loaded roller, the thing that decides whether the job looks right is film formation. Paint is not finished the moment it looks dry on top. It has to lose its solvent, whether that’s water or something else, evenly through the whole depth of the film, and the binder has to settle into one continuous layer as that happens. A thin, even film does this at close to the same rate all the way through. A thick film does not.
Load the roller heavy enough to cover a wall in a single pass and the film going down is uneven before it starts to dry. Paint pools in the low spots and in the valleys of the roller texture, thins out at the high points, and sags anywhere it was applied a fraction too generously on a vertical run. As it starts to set, the top of that thick film skins over first, sealing solvent in underneath. The surface forms a skin while the paint below stays wet and mobile, and that mismatch is what produces most of the defects people blame on the paint itself. It is not the paint. It is a coat too thick for that paint to cure the way it was made to.
Why coverage improves with two coats, not one
Two thin coats sidestep the problem because each one is shallow enough for solvent to escape through the whole film at close to the same rate. The first coat cures properly because it never carries more paint than it can manage. The second, applied once the first has firmed up, adds the missing opacity and levels out the minor texture the first coat left behind, without asking a single film to do a whole job’s worth of covering. This also explains why two thin coats of the same paint usually hide a color change better than one thick coat, even with a similar total volume applied. A thick single coat is inconsistent in depth across the wall, so the old color shows through in patches even where the average thickness looks fine. Two even coats build a consistent film depth everywhere, and that consistency is what actually blocks what’s underneath.
The difference between a coat that is dry to the touch and one that has actually cured matters here too, and it’s covered in full in Dry to Touch Is Not the Same as Cured. None of this is about patience for its own sake. It is about giving the film the physical conditions it needs to form correctly, and a still, closed room works against that from the first stroke. Open a window, run a fan across the room, and keep air moving the whole time you’re painting and for a good while after. A closed room holds solvent vapor near the surface, which slows the exact process a thin coat depends on.
Doing it
The order below matters more than any single step in it. Skip one and the next step inherits the problem.
- Check the spreading rate printed on the container and treat it as a starting number, not a target to hit with one pass. Ignore it and you’ll load the roller by feel, which is exactly how a first coat ends up too thick in some spots and starved in others.
- Load the roller by dipping and rolling off the excess on the ribbed part of the tray before it touches the wall. Skip this and the roller drips and leaves fat ridges at the start of every stroke, which show through both coats.
- Apply the coat in overlapping W or N shapes, then tip off in one direction to even out the texture. Skip the tipping-off pass and you get visible roller stipple that a second coat won’t smooth on its own.
- Judge the first coat’s coverage in raking light, not straight-on under an overhead fixture. Straight-on light hides thin patches that raking light shows instantly, and a coat that looks finished head-on can still be uneven enough to need real attention in the second pass.
- Let the first coat firm up before recoating. How long that takes depends on the paint, the room’s temperature, and its humidity, and the only number that applies is the one printed on the container. Recoat too soon and the roller drags the first coat instead of laying a new one over it.
- Apply the second coat with the same light touch, working one manageable section at a time so you’re always working into a wet edge rather than over one that’s already begun to set. Skip this and you get visible lap marks where the edges overlap unevenly.
- Decide whether a third coat is actually needed rather than assuming two is always enough. A dramatic color change, a previously unpainted or very porous surface, or a stain that keeps bleeding through despite a proper second coat all call for a third thin coat rather than a second thick one.
Two thin coats is the default, not a rule that overrides what the wall is actually telling you. A wall that still shows the old color through raking light after two properly applied coats needs a third, and trying to force full coverage by loading the second coat heavier than the first just reintroduces the exact problem two thin coats were meant to avoid.
What it looks like when it goes wrong
Some of these defects sand out. Others mean stripping back and starting the coat again. Knowing which is which before you pick up sandpaper saves a lot of wasted effort.
| Defect | What causes it | Fixable or redo |
|---|---|---|
| Sagging or curtaining (drooping runs, usually near the top of a wall or on trim) | Too much paint loaded in one pass on a vertical surface | Redo. Must cure fully, then be sanded flat and recoated. Cannot be corrected while wet without smearing it further. |
| Lap marks or picture framing (a visible rectangle where a section overlaps the next) | Second coat applied over an edge that had already begun to skin over | Usually fixable with a light sand and a properly applied, thin recoat working section to section without stopping mid-wall. |
| Uneven roller stipple or texture | Roller loaded unevenly, or the tipping-off pass skipped | Fixable. A light sand followed by a correctly loaded finish coat evens it out. |
| Flashing (patches of different sheen across one wall) | A small area touched up after the rest of the wall had already dried, instead of recoating the whole surface | Redo of the affected wall. Spot touch-ups almost never blend into a coat that’s already cured. |
| Soft or wrinkled film with solvent trapped underneath | A single overly thick coat that skinned over on top before the film underneath finished releasing solvent | Redo. Must be scraped or sanded back to sound paint, since another coat on top will not cure through a film that never cured properly itself. |
The pattern across all of these is that the fixable ones are surface-level unevenness in an otherwise sound film, and the ones that need a redo involve a film that never actually cured all the way through. Sanding smooths texture. It does not finish a cure that got sealed off from the air halfway through.
What to settle before you open the tin
Test the wall’s actual condition before deciding your coat count. Run a hand over it in raking light and feel for old drips, patched holes, or texture differences left by a previous paint job. If the wall still has dents or old nail holes, deal with them now rather than hoping two coats will hide them, which is the subject of Filling Holes and Dents So They Do Not Show, since paint follows the surface underneath it rather than smoothing it out.
Air, light, and the age of the building
Set up ventilation before you start, not once the room already smells of paint. A window cracked on one side of the room and a fan pulling air across it works better than a single open door, and this matters for both coats, not just the first. Ventilation is not a comfort question here, it’s part of what lets the film cure the way it’s supposed to.
Check the light you’ll actually be judging the work in. A wall lit only by an overhead fixture at night will look finished when it isn’t, so plan to check coverage in daylight or with a raking light held close to the surface before calling either coat done.
If you’ll be sanding, scraping, or otherwise disturbing existing paint on a wall, trim, or ceiling in an older building, stop and check for lead paint before doing anything mechanical to that surface. Disturbing old paint by sanding is a different hazard from applying fresh coats over an intact surface, and it’s worth confirming what you’re dealing with through your local health department or a certified lead-safe professional before you pick up any tool that removes material rather than adding it.
Common questions
Do I really need two coats if I’m painting over the same color?
Usually yes, even on a like-for-like color match. A single coat still leaves an uneven film thickness across the wall, and that unevenness shows up as slight sheen and color differences once the light changes across the day, even if the pigment match is exact.
Can I thin the paint to make one coat go further?
Thinning reduces the film’s ability to hide what’s underneath and can affect how it cures, so it works against the goal rather than toward it. If a coat feels too thick to apply evenly, the fix is a lighter roller load and a second coat, not diluting the paint itself.
What if I already put down one coat too thick? Can I save it?
It depends on. While it’s still wet you can sometimes redistribute it with the roller before it sets, but once it’s skinned over with soft paint trapped underneath, the fix is letting it cure fully, then sanding back to a sound surface before recoating.
How do I know if I need a third coat instead of stopping at two?
Check the wall in raking light after the second coat has cured. If you can still see the old color or a stain pattern through it in that light, that’s a real third coat, not a touch-up, and it should go on as another full thin coat rather than a heavy patch over the weak spot.