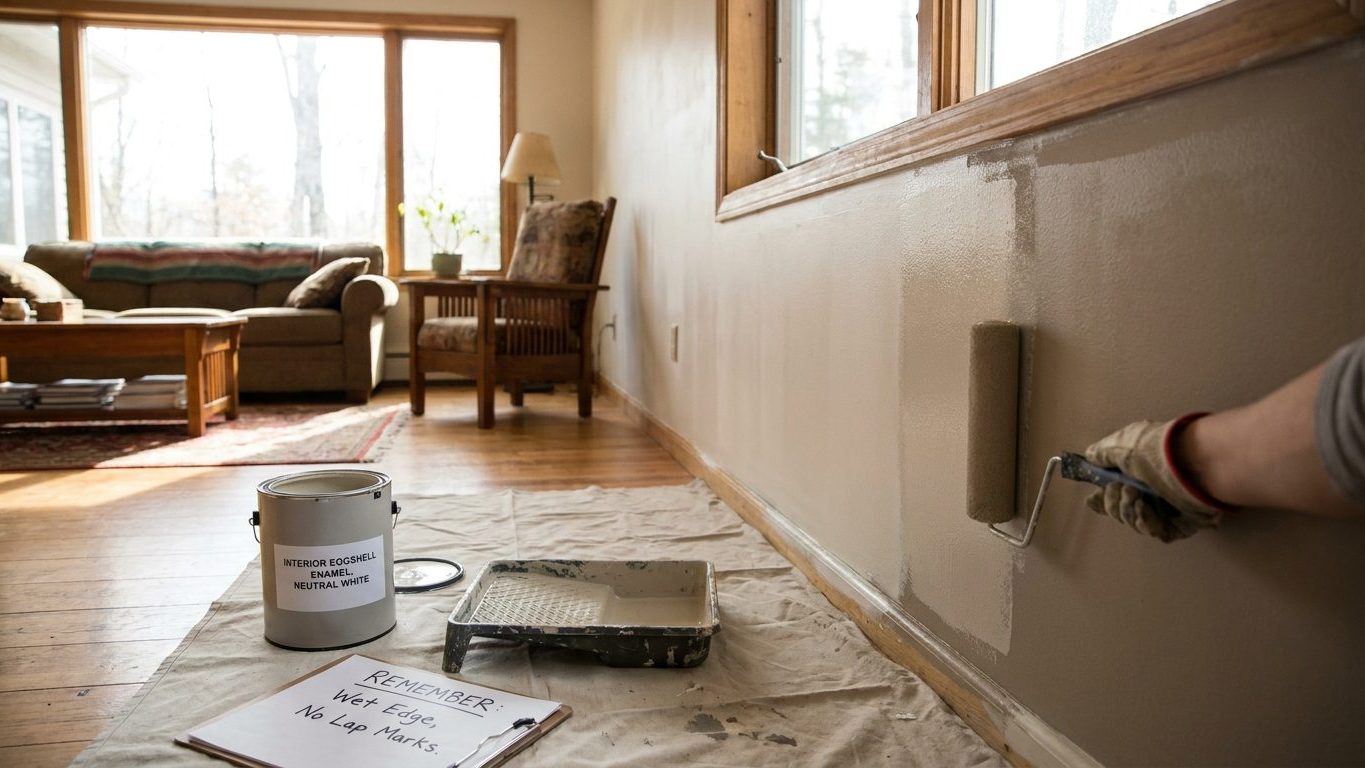

A short wall between two doorways forgives a hesitant roller. A long, unbroken wall lit from one side by a window does not, and every lap mark shows as a stripe the moment the sun crosses it. Keeping a wet edge has nothing to do with speed and everything to do with the order you work in. Plan your route across the wall before loading the roller, and work end to end in one continuous pass rather than filling in patches at random.
What is actually going on

Almost every streaky wall in a house comes down to one mistake with one name: rolling fresh paint over a patch that has already started to dry. As paint sits on a wall, the water or solvent in it evaporates from the surface first. Within minutes the top of that film thickens and starts to skin over even while the paint underneath is still soft. Roll a fresh stroke across that skinning edge and the two films don’t merge into one smooth layer. They meet at a visible seam, a band where the paint has doubled up, sits slightly raised, and reflects light differently than the paint on either side of it. That seam is a lap mark, and once the paint has fully cured it is baked into the wall.
The edge of a rolled section always dries faster than the middle of a can of paint, because it’s spread thin across more surface area and exposed to more air. A wide wall, a high ceiling, strong sunlight through a window, or a running furnace or air conditioner all shorten how long that edge stays workable. So does a warm, dry room. None of these change the paint itself. They squeeze the window during which a fresh stroke can still blend into the last one, which is what painters mean by keeping a wet edge.
Working in a closed room without ventilation isn’t only a health question during application. Stale air holds more solvent and moisture vapor near the wall surface, which changes how evenly the film dries across different parts of the same wall. Open a window and run a fan that pulls air out of the room rather than one aimed directly at the wet paint, which would dry one patch faster than the rest and create the exact unevenness you’re trying to avoid.
This whole discussion assumes the wall itself is already sound: patched, sanded, and free of dust, the preparation work covered in Interior Painting: Preparation Is Most of the Work. A wet edge problem on a poorly prepped wall is the smaller of your two problems.
Doing it
Keeping a wet edge is mostly a matter of sequence, decided before you dip the roller for the first time. The order below keeps every stroke landing on paint still soft enough to blend into it.
- Map the wall into sections using its natural breaks, corners, windows, door frames, before you start. Skip this and you’ll begin rolling in the middle of a blank stretch with no logical stopping point, which guarantees a stall partway across.
- Cut in only as far ahead of the roller as you can cover before it sets. Cut in the whole room’s trim first, then start rolling, and the cut line will dry long before the roller ever reaches it, leaving a hard edge along every corner.
- Roll each new stroke into the wet edge of the last one, lapping back a few inches while it’s still soft, rather than starting fresh and working away from it. Roll away from the previous stroke instead and you create a new raised edge rather than erasing the old one.
- Keep the same roller nap and the same amount of paint on it throughout the wall. Switching to a drier roller partway through lays down a thinner film that dries faster than what came before, and that shows as a mismatched patch even without a hard lap line.
- Work one full wall, start to finish, in one continuous session. Stop for a break in the middle of a wall and the paint you’ve already rolled will have set past the point where the next stroke can merge into it, no matter how fast you get back to it.
- Shrink your section size on a hot, dry, or sunny day rather than sticking to a fixed area out of habit. A section that worked fine last week can out-dry you on a day with different temperature and humidity, and you won’t know until the lap mark is already there.
- If a coat looks thin or patchy while it’s still wet, leave it alone rather than going back over it in the same session. A second pass while the first is still workable just doubles the thickness unevenly. Wait for the coat to reach the recoat point on the label and apply a proper second coat instead, the logic behind Why Two Thin Coats Beat One Thick One.
What it looks like when it goes wrong
A handful of specific defects trace back to a wet edge that wasn’t kept, and it helps to know which ones you can quietly fix and which ones mean starting the wall over.
- Classic lap marks: parallel or patchwork stripes with a slightly different sheen from the paint around them, most visible under raking light from a window or a lamp positioned low and to one side. Once the paint has cured, these cannot be blended away. The only real fix is a fresh coat over the affected area, feathered well past the edges of the mark, or a full recoat of the wall if the marks run across it in several places.
- Picture framing: a visible rectangle or line left where rolling paused for a break, tracing the outline of whatever section got painted while the rest of the wall waited. This behaves the same as a lap mark. It cannot be blended in after the fact and needs a proper recoat over the whole affected section.
- Flashing: patches that look duller or glossier than the surrounding wall, usually from uneven film thickness rather than a hard overlap line. It’s harder to spot under flat, even light and much more obvious under raking light. A full second coat, applied evenly, often corrects this without needing to redo any surface prep.
- Ridging you can feel but barely see: a raised line detectable with a fingertip run across the wall even when the eye can’t quite pick it out under normal light. This is cured paint sitting on top of itself at a seam. Light sanding followed by a fresh coat can reduce it, but it rarely disappears completely, which is the main argument for preventing it in the first place rather than trying to sand it away afterward.
What to settle before you open the tin
Before any roller touches the wall, a few things are worth confirming, because they change how much margin you actually have.
Surface, light, and sheen
Grease, dust, or old cleaning residue on the wall changes how paint levels out and can leave a line that looks like a lap mark but is really a contamination line underneath the new coat. Washing the wall first, as described in Washing Walls Before Painting, and Where It Matters Most, removes that variable before you ever load a roller. Stand where you’ll actually view the finished wall day to day, at whatever angle the main window or light fixture hits it, and check that angle before you settle on a sheen. A glossier finish exaggerates any lap mark far more than a flat one does, which matters more on a wall that gets raking light than one that doesn’t.
Ventilation and conditions
Decide where the air is going to move before you start, not while you’re mid-wall. Windows open, a fan pulling air toward the outside, and nothing blowing directly across the wet surface. The room’s temperature and humidity on the day you paint, measured against what the paint’s own label calls for, tell you more about how much time you’ll have than anything else discussed here.
If any part of the job involves sanding, scraping, or otherwise disturbing paint that’s already on the wall, and the building is old enough that earlier layers might contain lead, that changes the precautions needed. Check with a professional or your local health department before disturbing any old paint film, rather than assuming the surface prep described here applies.
Common questions
Can I fix a lap mark without repainting the whole wall?
Sometimes, if you feather a fresh coat well past the edges of the mark so it blends into the surrounding paint rather than stopping at a hard line of its own. If the wall has several marks scattered across it, one full recoat is more reliable than chasing each mark individually.
Does a fan help or hurt keeping a wet edge?
A fan aimed straight at the wall speeds up drying and shortens your working window, which makes lap marks more likely, not less. Point airflow toward a window or doorway instead, clearing fumes out of the room without sweeping directly across the wet film.
Do lap marks show up more on ceilings than on walls?
Often, because ceilings tend to get raked by light from windows and fixtures at a shallower angle than a wall does, which exaggerates any ridge or sheen difference. The same section-planning applies, just orient your passes relative to the room’s main light source.
Is it the paint’s fault if I keep getting lap marks?
Rarely. Some paints have a longer working time than others, but the conditions in the room usually matter more than which product is in the can. If marks keep showing up in the same spot on a wall, check what’s near it: a vent, a window, or a heater drying that patch faster than the rest of the wall.