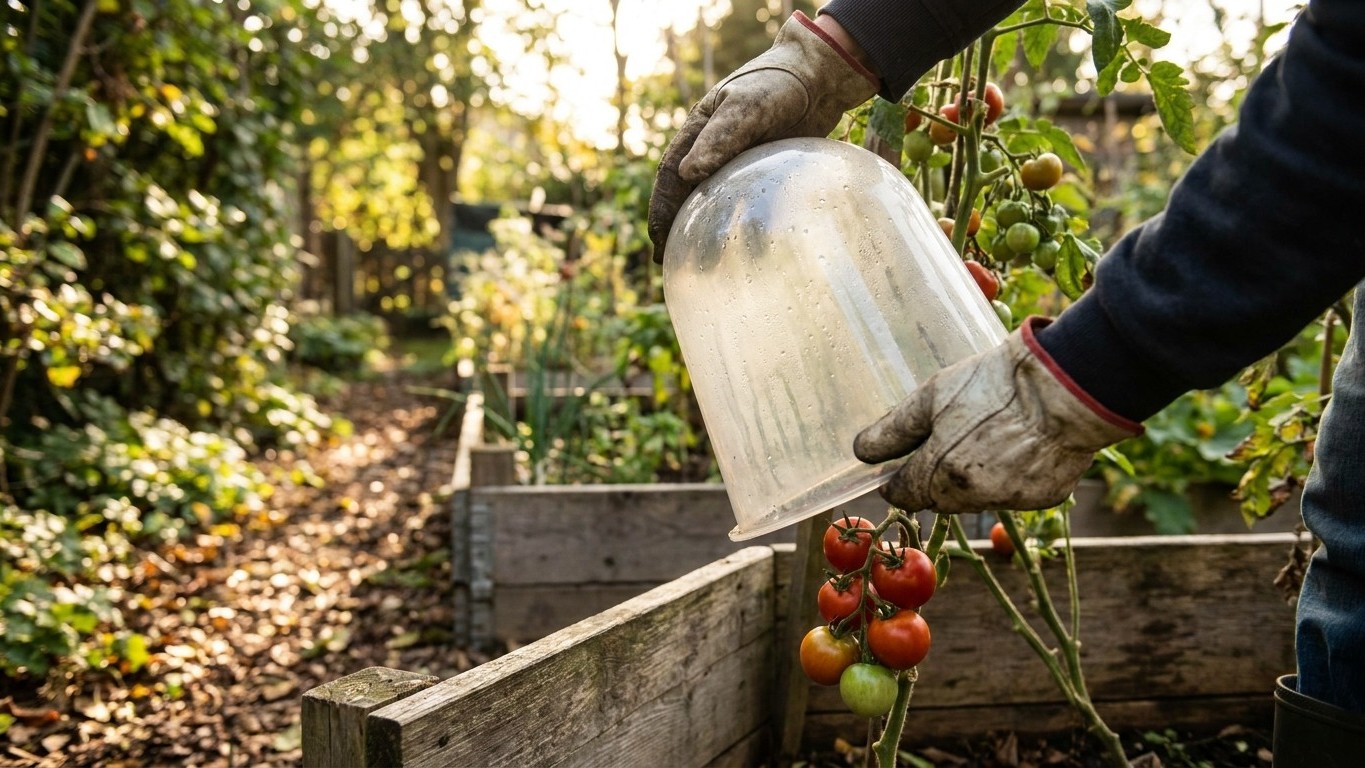

Nighttime temperature is what decides this, not the calendar date. Tomatoes don’t wait for frost to suffer — chilling injury starts the moment nights dip into the range they handle poorly, sterilizing pollen and dropping blossoms while the plant still looks perfectly healthy. That stall costs you a week or two of production you won’t notice until later ripening leaves a gap. Push that threshold back in spring and hold it off in fall, and you’re not stretching the season cosmetically — you’re buying the plant more weeks to set fruit.
Why this matters
Tomato plants are frost-killed outright: a hard freeze ruptures the cells in the leaves and stems and the plant is dead by morning, with no recovery possible. But damage starts well before an actual freeze. Chilling injury sets in when nighttime temperatures dip into the range tomatoes handle poorly, still above freezing. Cold nights stall growth, cause blossom drop, and can leave pollen sterile so flowers open and fall without ever setting fruit. A plant that looks fine in the morning may simply stop producing for a week or two after a cold snap, and you won’t notice why until there’s a gap in ripening fruit later on.
Skipping protection at the front end means you plant later, after the soil and air have already warmed on their own, and you lose the head start that gets a plant to first flower sooner. Skipping it at the back end means a healthy plant loaded with green fruit gets killed by the first freeze instead of finishing its crop. Either way the cost is measured in weeks of harvest, not days, since tomatoes that get an easier start also tend to set more fruit through the middle of the season.
When to do it
This assumes you already have plants in the ground, a step our guide to growing tomatoes covers in full. Season extension is what happens before you transplant and after the plant would otherwise be finished. Early protection starts before plants ever go in the ground: whatever structure or cover you’re using needs to be built, tested, and holding heat reliably before transplant day, not improvised the first time a cold night catches you off guard.
Once transplants are in, watch the first true leaves and first flower clusters as your cue. A plant that’s flowering is more sensitive to cold nights than one still in vegetative growth, so tighten up protection right as buds appear rather than waiting for fruit to set. At the other end of the season, watch the plant slow down: fewer new flowers, existing fruit taking longer to size up, and evenings cool enough that you’re reaching for a jacket. That’s the point to start covering plants overnight even before frost is forecast, because the goal is to keep the plant working normally, not just to keep it from dying outright. Once a hard freeze is actually forecast, protection stops being optional: either cover every plant that night or pick everything with a chance of ripening and bring it indoors instead.
How to do it

Getting an early start
Start with the soil, not the plant. Laying black plastic mulch over the bed for a week or two before transplanting raises soil temperature measurably, and warm soil at the roots matters more to a young tomato plant than warm air around the leaves. Our guide to soil preparation for tomatoes covers how to get the bed ready underneath it. Cut planting holes through the plastic once you’re ready to set transplants in.
For the plant itself, a Wall O’ Water, a ring of water-filled plastic tubes that stands around a single transplant like a teepee, uses the thermal mass of the water to hold heat overnight and lets you set plants out well ahead of when they’d otherwise survive. Floating row cover, a lightweight spun fabric, does a similar job over a whole bed: drape it directly over the plants or over a hoop frame made from wire or PVC, then weight the edges down with soil, bricks, or garden staples so wind can’t get underneath. Lighter fabric grades pass more light but only fend off a light frost. Heavier grades block more cold at the cost of some sunlight getting through. A cold frame, essentially a bottomless box with a clear lid over the bed, works well for hardening off transplants: prop the lid open during the day once the sun heats the inside up, and close it again before evening.
Stretching the fall harvest
The same row cover and hoop setup that worked in spring goes back on in fall. Pull it over the plants each evening once nights turn cold and remove it again in the morning so the plants still get sunlight and airflow during the day. Pulling covers on and off daily is tedious but it matters: fabric left on around the clock for days at a stretch blocks light and traps humidity against the foliage.
Once a hard freeze is actually forecast, covering stops being worth the effort for plants that are mostly done anyway. Instead, pick every fruit showing a hint of color change, the “breaker” stage, plus any full-size mature green fruit, and bring them inside. Lay them in a single layer in a cardboard box or paper bag, out of direct sun, at room temperature, and check every few days. They’ll ripen over one to several weeks depending on how far along they already were. Fully green, immature fruit rarely ripens well off the vine and is better used fried or pickled than left waiting on a windowsill.
| Method | Protection level | Best for | Effort |
|---|---|---|---|
| Black plastic mulch | Warms soil only, no air protection | Pre-transplant soil prep | Low, lay once |
| Wall O’ Water | Light to moderate freeze | Individual transplants set out early | Medium, refill each use |
| Floating row cover | Light frost, more with heavier fabric | Whole beds, spring and fall | Low to medium |
| Cold frame | Moderate freeze with daily venting | Hardening off, short plants | Medium, needs daily attention |
| Milk jug cloche | Light frost only | Single small transplants | Low, free materials |
What goes wrong

The most common mistake with cold frames and closed row cover tunnels is forgetting to vent them on a sunny day. A closed frame can climb to lethal heat inside within an hour of full sun even when the outside air is still cold, and a plant that survived the frost the night before cooks by early afternoon. Check any closed structure by mid-morning on a clear day, every time, not just when the weather feels warm.
Fabric or plastic that touches the leaves directly transfers cold straight through to the plant tissue at the contact point, so a row cover draped without a hoop frame underneath can leave frost-burned patches exactly where it rested on the foliage even though the rest of the plant is fine. Always give the cover something to stand on, wire hoops, stakes, or a tomato cage, so it forms a tent rather than a blanket.
The mistake that looks like extra care but isn’t: leaving row cover on around the clock for days running instead of pulling it off each morning. Trapped humidity under fabric or plastic is exactly the condition fungal diseases need, and a grower who thinks they’re protecting the plant can end up handing it early blight or gray mold instead. Our guide to tomato diseases covers how to read those symptoms once they show up. Warm, sheltered conditions under mulch and covers also draw in slugs and pill bugs looking for cover from the same cold, so check the base of covered plants for chew damage. The tomato pests guide covers what’s doing it.
Doing it differently
Container-grown plants have an advantage at both ends of the season: a pot can simply be carried into a garage or covered porch on a frost night, no fabric or frame required. The small soil volume also chills faster on an ordinary cool night than an in-ground bed would, so containers need watching more closely, not less. Raised beds warm up faster in spring than ground-level rows for the same reason, less soil mass to heat, and that head start alone can add days before any row cover goes on.
An unheated hoop house or greenhouse buys more than a row cover ever will, because the whole structure buffers temperature swings instead of protecting just the plants nearest the fabric. It’s the strongest option if you’re extending the season by more than a couple of weeks at either end. The tradeoff is that ventilation becomes non-negotiable on sunny days, and pest populations, aphids and whiteflies especially, can build up faster inside than outdoors since natural predators mostly stay out. The tomato pests guide covers what to look for.
Variety type changes how much any of this is worth doing. Determinate varieties set nearly all their fruit in one flush and finish over a few weeks regardless, so extending the season mostly shifts that flush earlier rather than adding to it. Indeterminate varieties keep flowering until frost kills them, so late-season protection captures fruit a determinate plant was never going to produce anyway.
Common questions
Can I use a regular bed sheet instead of buying row cover fabric?
In an emergency, yes, for one light frost. A sheet won’t breathe or insulate as well as spun agricultural fabric, and it gets heavy and can crush stems once it’s wet with dew or rain. Fine as a one-night fix, not worth relying on for a whole season.
Will a tomato plant survive a light frost with no cover at all?
Sometimes. If the frost is brief and light, you may see blackened tips on the topmost leaves while the rest of the plant keeps growing. A harder or longer freeze usually kills the whole plant regardless, which is why it’s worth covering rather than gambling on how light the frost turns out to be.
How late in the fall is it actually worth still protecting plants?
As long as the plant is still setting new flowers or carrying fruit that’s realistically close to ripening. Once flowering has stopped and the remaining fruit is small and far from mature, the effort usually isn’t worth it, and you’re better off picking what’s there and letting the plant go. Your state extension service can tell you what a typical fall frost pattern looks like in your area.
Can I bring a whole tomato plant indoors and keep it fruiting over winter?
You can keep it alive in a very sunny window or under grow lights, but tomatoes need long day length and strong direct light to keep setting new fruit, so most indoor attempts just keep the plant limping along without much new production. Taking cuttings instead is usually more worthwhile: tomato cuttings root easily in a glass of water and give you a head start on next spring’s plants for free.