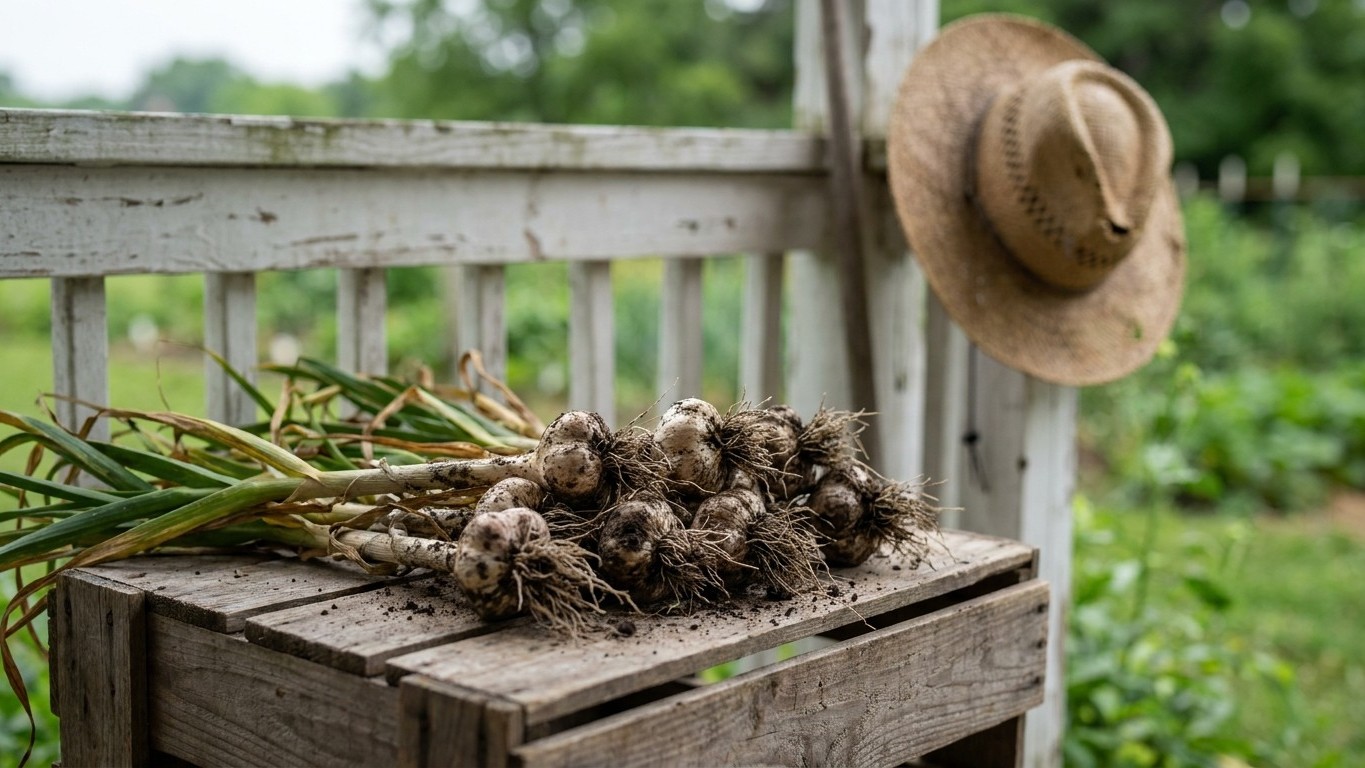

Garlic planted last fall in Yukon is usually ready to lift in early to mid-July, once the lower leaves have browned while five or six upper leaves are still green. Curing takes several weeks in a dry, sheltered spot with good airflow, often moved indoors given how quickly the weather turns here. Cured bulbs then keep through winter in a cool, dark, dry location. Because the growing window is short, each step needs closer attention than it would further south.
When garlic is ready to lift in Yukon
Garlic set out the previous autumn spends the winter dormant under mulch, then pushes up fast once the ground warms and daylight stretches long. That long daylight is part of why the top growth can look deceptively lush even as the bulb underneath is only just filling out. The calendar isn’t the reliable signal here. The plant is.
Reading the leaves, not the calendar
Watch for this combination:
- The bottom three or four leaves have turned brown and papery
- Five or six leaves above them are still green and upright
- The stalk has started to feel less rigid near the base
Pull one test bulb before committing to the whole bed. Slice it in half. The cloves should be well-defined and the wrapper skins should still be intact, not splitting apart. If the skins have already cracked and separated, the bulb has been in the ground too long and individual cloves may start to pull away from the base, which shortens how long they’ll store later.
Hold off on watering for a week to ten days before you plan to dig. Drier soil lets the outer wrapper start sealing down while the bulb is still in the ground, which gives curing a head start. Then lift with a garden fork worked in a wide circle around each plant, not by yanking on the tops, which tears the stalk away from the bulb and leaves an open wound that invites rot. Set the fork a few inches out from the stem so the tines don’t nick the cloves, since a bruised bulb is a bulb that won’t keep.
Shake off loose soil by hand rather than knocking bulbs together or against a hard edge. Any bruising at this stage becomes a soft spot within weeks, long before you’d notice it just by looking.
Curing it, and where to hang it here
Curing is what turns a freshly dug bulb into one that survives winter. It dries down the neck, tightens the wrapper skins, and lets the flavor settle. Skip it, or rush it, and bulbs that looked fine in July turn soft and moldy by October.
Racing the first frost
This is where Yukon’s climate changes the plan compared to warmer regions, where growers often cure garlic outdoors under open-sided shelter for a month or more. Here, the window to do that safely is narrow. Environment and Climate Change Canada’s Canadian Climate Normals for 1981-2010, recorded at the Whitehorse A station, put the average first fall frost at August 25. That’s a midpoint, not a safe cutoff: in one year out of two, frost arrives later than that, and in the other half it arrives earlier. Communities north of Whitehorse or at higher elevation typically see frost weeks ahead of that average, so a bulb curing on a porch table in those areas needs to come under cover sooner.
Given that timeline, most growers here move their curing indoors rather than gambling on an open shed through late August and September. A garage, an unheated spare room, or a covered porch with a window cracked for airflow all work, as long as the space stays dry and out of direct sun. Direct sun scorches the wrappers and can actually cook the cloves in warm afternoons, so shade matters even indoors.
Lay bulbs in a single layer on a screen, a wire rack, or spread across newspaper, or hang them in loose bundles of five or six by the stems if you have the ceiling space. Either way, air needs to move freely around every bulb, not just the ones on top. Leave the roots and stalks attached during this stage. Curing generally runs three to four weeks, and it’s done when the neck feels tight and papery rather than fleshy, and the outer skins rustle like dry paper instead of feeling soft or damp.
Storing it through a Yukon winter
Once cured, trim the roots close to the base and cut the stalks down to an inch or two, unless you’re braiding softneck types, in which case leave them long. Brush off any remaining dry soil, but don’t wash the bulbs. Water at this point undoes the curing you just spent weeks on.
Picking the right spot
The ideal storage location is cool, dark, dry, and has some airflow, conditions a root cellar or an unheated but frost-free closet or entryway can often provide.
| Storage location | Typical risk in this territory |
|---|---|
| Root cellar or unheated basement corner | Usually the most stable option if it stays above freezing |
| Attached unheated shed or porch | Can swing to freezing on the coldest nights, which damages cloves |
| Living space near a heat source | Too warm and often too dry, which triggers early sprouting |
| Refrigerator | Too cold and too humid for whole bulbs meant for long storage; also tends to encourage sprouting |
Store bulbs loose in mesh bags, open crates, or cardboard boxes with holes punched in, never sealed in plastic, which traps moisture and speeds up rot. Check on them every few weeks through the winter and pull out any bulb that’s gone soft or started sprouting before it affects its neighbors. Set aside your best, largest bulbs separately if you’re planning to replant them the following autumn, since those are the ones you’ll want to keep from the general eating stock.
What goes wrong here
Most storage failures trace back to one of two things: a pest that got in before harvest, or moisture that got in after. On the pest side, UAF Cooperative Extension documents a handful of species relevant to growers in this region.
| Pest | What to watch for |
|---|---|
| Aphids | Clusters on leaves and stems that weaken plants before harvest |
| Cutworms | Seedlings or young shoots severed near soil level |
| Root maggots | Tunneling damage to bulbs and roots underground |
| Slugs | Ragged holes chewed into leaves, especially in damp conditions |
| Spruce beetle | Primarily a forest pest, but worth noting if garden beds sit near affected spruce stands |
Beyond pests, the most common mistake is curing in a spot that’s too humid or too still. Bulbs that never fully dry down at the neck are the ones that mold first in storage, often before the grower even notices anything wrong. The second most common mistake is the opposite: curing too fast in a hot, sunny spot, which can scorch outer skins without properly drying the neck underneath, leaving a bulb that looks cured but isn’t.
Frost damage before harvest is a real risk too, given how variable that August 25 average really is. A bulb still in the ground when a hard freeze hits can suffer at the neck and shoulders even if it survives, which shows up later as a soft spot in storage that seemed to appear out of nowhere.
Common questions
Can I leave garlic in the ground a little longer if the leaves haven’t browned yet?
Yes, within reason. Check a test bulb rather than guessing by the calendar. Waiting too long past the point of five or six green leaves risks split wrappers and cloves that separate, which shortens storage life.
Do I need to wash garlic before curing it?
No. Brush off loose soil by hand and let the bulb cure with its natural coating intact. Washing introduces moisture right when the goal is to dry the bulb down.
How long will properly cured and stored garlic actually keep?
That depends heavily on variety and storage conditions, and no specific duration is published for this territory here. What’s documented is the process: full curing followed by cool, dark, dry storage with airflow gives bulbs their best chance of lasting well into winter.
Where can I find more region-specific growing guidance?
The federal Agriculture and Agri-Food Canada site is a starting point for growers looking for guidance that applies at the national level.