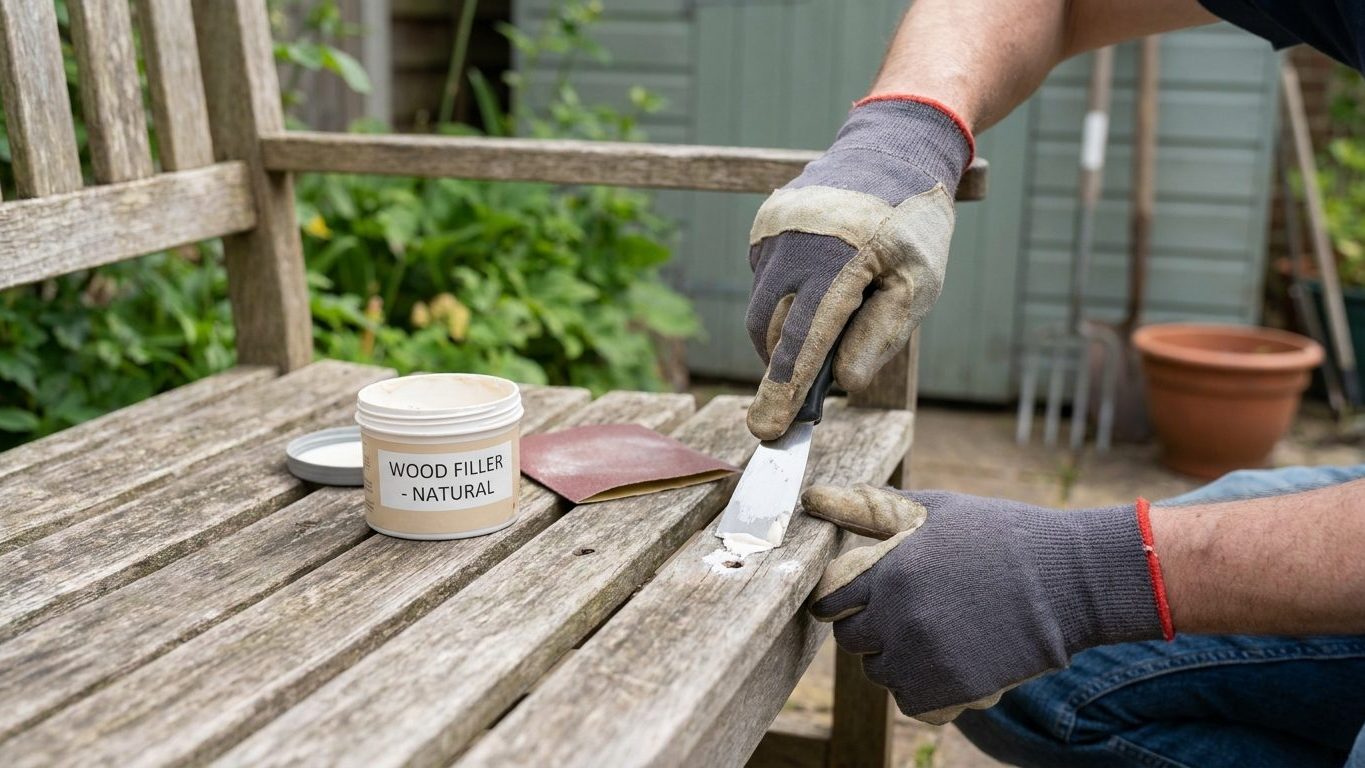

That faint halo around a patched nail hole, the one that only shows up when the afternoon light rakes across the wall, means the filler dried lower than the paint around it and the edge was never feathered out. Sand the patch until you can’t feel its edge with a fingertip, not just until it looks flat, and prime it before you paint over it.
What is actually going on

Every filler,, is mixed with water or another carrier that has to leave before the material cures hard. As that carrier evaporates, the patch loses volume. A hole packed flush with the wall today can sit slightly below the surrounding plane by the time it has fully dried, and if you painted before that shrinkage finished, the dip telegraphs straight through the topcoat. This is why the fault you see after painting is almost never the hole itself. It’s the ring around it.
The ring shows up because the edge of the patch is a boundary between two different surfaces, old painted plaster or drywall on one side and new filler on the other. Filler is more porous than a painted surface, so it soaks up paint differently and dries to a slightly different sheen even from the same can. Under flat, even light you might not notice. Under raking light, the kind that comes low across a wall from a window or a lamp, that sheen difference turns into a visible halo that follows the exact outline of the repair.
A second cause sits underneath the first. If the filler was applied slightly proud of the surface and never sanded flush, or sanded flush but left with a shallow crater at the center where the knife pulled material out, the wall itself has a low-grade ripple in it. Paint does not hide surface texture, it reveals it, because paint is glossy enough at the edge of any depression to catch light differently from the flat field around it. A flat, feathered patch that reads as invisible before priming is the only version that stays invisible after two coats of finish paint.
This is also why patch quality matters more on some walls than others. A hallway lit by a single fixture straight overhead will hide a mediocre patch that a stairwell with a window at the far end will expose without mercy. The angle and intensity of the light hitting a wall, not the paint itself, decides how forgiving that wall is. If this repair is one of several across a broader repaint, it helps to treat the filling stage as part of the same preparation pass described in Interior Painting: Preparation Is Most of the Work, rather than as a quick fix squeezed in before rolling.
Doing it
The sequence is the same. The difference is how many rounds it takes to get there.
The steps, and what skipping each one costs you
- Clean out the hole and scrape away any loose paint or debris. For a soft dent or old nail hole, push the edges in slightly so filler has something to grip instead of a smooth-sided crater. Skip this and the patch can pop loose from the edges later, taking a ring of paint with it.
- Pack the filler in slightly proud of the surface, pressed firmly enough to avoid trapping air, then left a little higher than the wall around it rather than flush. Filler shrinks as it cures, so a patch applied flush today is a shallow dish tomorrow.
- Let it cure fully before touching it again. Go by the working and cure times printed on the container you are using, not by how the surface looks or feels, since a skin can form on top while the material underneath is still soft.
- Sand it flush, feathering out past the edge of the patch itself in a light circular motion so the transition from filler to old paint thins gradually instead of stopping in a hard line. A patch sanded flat only in its own footprint still leaves a stepped edge that paint will show. For how much pressure and grit this actually takes, see Sanding Between Stages: What It Is Actually For.
- Check whether it needs a second, thinner coat before you go near it with primer. Larger holes and deep dents almost always do, because a thick single fill rarely cures evenly all the way through. Skipping this second application is the single most common reason a patch that looked perfect while wet shows a faint dip once it is painted.
- Prime the patch and a few inches beyond it in every direction. Filler and old paint absorb topcoat at different rates, and priming only the patch leaves a visible edge where primed and unprimed surface meet.
All of this sanding throws fine dust into the air, and it settles slower than it looks like it does. Work with a window open and, if the room has no cross breeze, run a fan pointed out through it. Wear a dust mask rated for fine particulate rather than a loose paper one, especially if you are working through more than a small handful of patches at once.
What it looks like when it goes wrong
Most filling mistakes are visible only once paint is on, which is exactly why it pays to know what they look like in advance rather than discovering them after two coats.
The failures, and whether they can be fixed on top of what you already did
| What you see | What caused it | Can it be fixed without redoing the patch |
|---|---|---|
| A faint ring or halo that only shows under raking light | Sheen or texture mismatch, usually from priming only the patch instead of the area around it | Sometimes. Scuff-sand lightly, reprime a wider area, then repaint |
| A visible ridge or lump under the paint film | Filler left proud and not sanded flush before priming | Yes, if caught before the finish coat. Sand it down and touch up |
| A shallow dip or dish that catches shadow | Filler shrank after painting because it was applied flush instead of proud and only filled once | No. It has to be filled again, feathered, and repainted |
| Fine cracks across the surface of the patch | Too much filler applied in one thick pass instead of thin coats cured between applications | No. Cracked filler has to be dug out and rebuilt in thin layers |
| The same nail or screw head pushing back through months later | The fastener was never reset before filling, so it is still working loose behind the patch | No. The fastener needs fixing first, then the hole filled again |
Anything caused by insufficient sanding or priming can usually be corrected on top of the existing patch, because you are only adjusting the surface. Anything caused by the filler itself, whether that is shrinkage, cracking, or a fastener still moving underneath, means going back through the wall rather than over it. That distinction is worth making honestly before you reach for a paintbrush to cover a problem sanding will not touch.
A poorly kept wet edge across the rest of the wall can also make a perfectly good patch look worse than it is. If you fix one spot and then repaint only that section rather than rolling the whole wall in one pass, the join between old and new paint can show as its own line, for the same reason lap marks show up when a wet edge is not kept, explained in Keeping a Wet Edge, and Why Lap Marks Happen.
What to settle before you open the tin
A few decisions made before you crack open any filler will save you from redoing the work later.
Check the age of the building first
If the home was built before 1978, the existing paint may contain lead, and sanding, scraping or otherwise disturbing it releases lead dust into the air and onto nearby surfaces. Check the EPA’s guidance on lead-based paint before you start sanding an older wall, and do not treat a home test kit as a final answer either way. The only reliable way to settle the question is through the process the EPA describes, not a kit from a hardware store.
The EPA’s Renovation, Repair and Painting rule requires paid contractors working on pre-1978 housing to be certified in lead-safe practices. If you are doing this work yourself in your own home, you are not covered by that requirement, but that exemption is legal, not medical. The dust from sanding old paint is exactly as harmful to you and anyone else in the house whether a contractor is involved or not.
Decide where the light will hit the wall
Stand where you or anyone else actually stands in that room and look at the wall in the light it gets during the day and again at night with whatever lamps get used. A patch invisible under a ceiling fixture can stand out badly next to a window or a floor lamp casting light sideways across the surface. Check this before you sand and prime, not after you’ve already painted, since a patch that fails under raking light usually needs re-sanding and repriming, not just another coat.
Set up ventilation before you start
Sanding filler and old paint throws dust that lingers in still air far longer than it looks like it does. Open a window, run a fan to move air out rather than just around, and keep the door to the rest of the house closed while you work if the space is small. This matters in any closed room, regardless of the size of the patch or whether the paint underneath is old enough to be a lead concern.
Common questions
Do I really need to prime a patch before painting over it?
Yes. Filler is more porous than cured paint, so it absorbs topcoat differently and can dry to a different sheen even from the same can. Priming the patch, and a few inches beyond it, evens out that absorption before color goes on.
Can I skip sanding if the patch already feels smooth to the touch?
No, feel is not the same test as light. A patch can feel level under your fingers and still sit a hair proud or hollow relative to the wall, and that difference only shows once raking light or a coat of paint hits it. Run a hand across it at an angle, not just flat, and check it under a lamp before you decide it is done.
How do I know if my house has lead paint?
You cannot know for certain from a look, a home test kit, or the age of the last repaint. If the structure was built before 1978, treat any sanding or scraping as a possible lead exposure and check the EPA’s guidance on lead-based paint for how to test and work safely before you start.
What’s the difference between spackle and joint compound for a repair like this?
Lightweight spackling paste is built for small nail holes and dents and usually shrinks less over a small volume, while joint compound is a heavier material meant for taping drywall seams and larger patches, applied in thin coats over more than one pass. For a fist-sized hole or bigger, a setting-type compound built for that scale of repair generally holds up better than pushing a small-hole spackle to do a job it was not designed for.