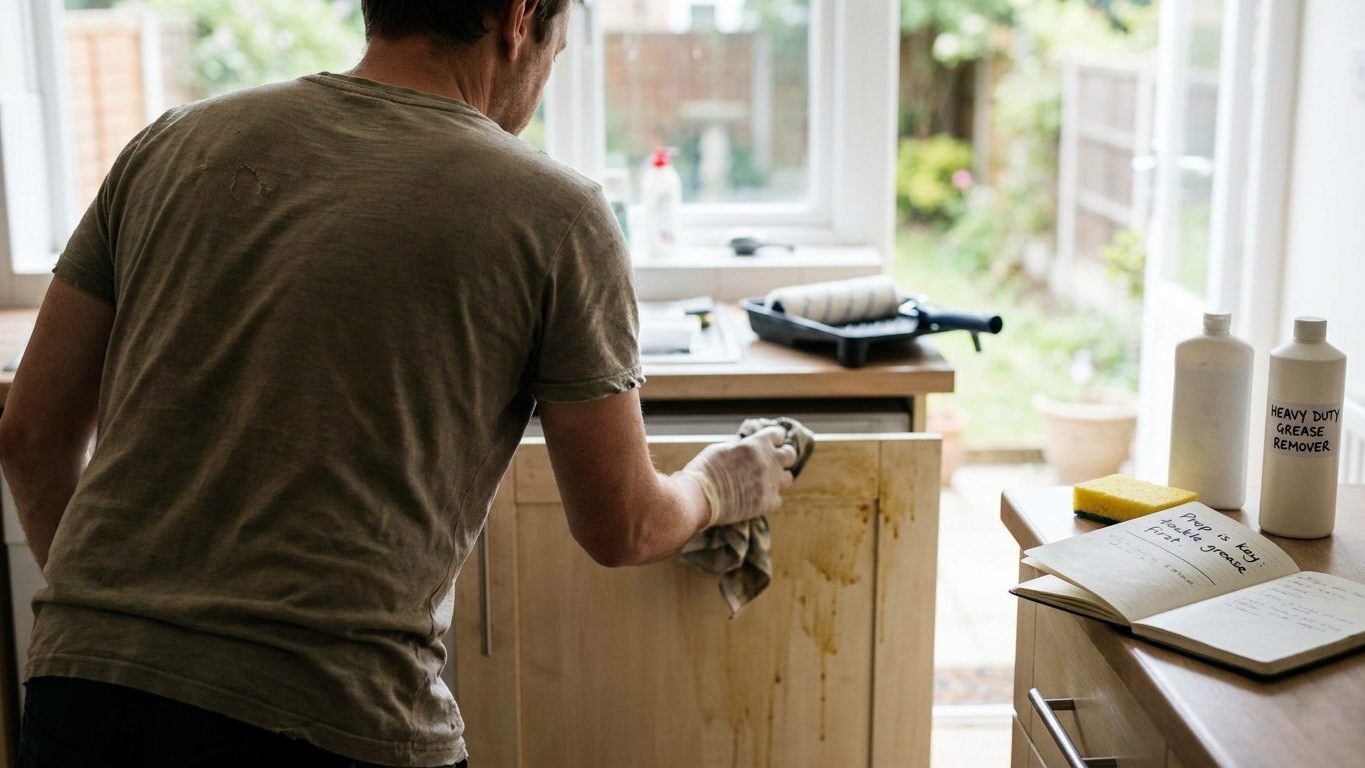

Grease is why kitchen paint peels first and worst, long before any other room in the house shows a problem. Wash every wall and cabinet frame with a degreasing cleaner and rinse it clean before you pick up a roller. Skip that step and the paint looks fine for a season, then starts lifting at the corners and behind the stove.
What is actually going on

Every time you cook, tiny airborne droplets of oil rise off the pan and drift across the room. They don’t stay near the stove. They settle on the ceiling, the upper cabinets, the wall behind the fridge, anywhere air currents carry them, and over months and years they build into a film too thin to see but continuous enough to matter. That film sits between the wall and whatever you paint over it, and paint cannot grip a surface it never actually touches.
Why extra coats don’t fix it
A second or third coat of paint bonds to the first coat, not to the wall underneath, so piling on more paint over a greasy surface just adds weight to a bond that was never there. The paint film may look even and glossy for weeks. Then normal kitchen humidity and heat cycling loosen the weak spot, and it lets go in sheets rather than one continuous peel. This is why kitchen repaints so often fail exactly where the first coat looked best: near the stove and the sink, where the film was thickest.
The fix is mechanical and chemical at the same time. A degreasing wash lifts the oil film off the surface so the primer that follows is bonding to bare wall, not to a layer of cooking residue. This is the one step that decides whether the rest of the job holds, and it has to happen before any sanding, filling, or priming, because sanding over a greasy wall just grinds the grease deeper into the texture instead of removing it.
Ventilation while you work
Degreasing cleaners and the fumes from primer and paint build up fast in a closed kitchen, especially one with no window over the sink. Run the exhaust fan, open a window even in cold weather, and prop the door so air actually moves through the room instead of just past it. This isn’t a comfort measure. It’s what keeps you from getting lightheaded or nauseated halfway through a wall, which is when people start rushing the job and skipping the rinse step that matters most.
If you’re doing a full room and not just the kitchen, the general order of prep, from washing to sanding to priming, is the same one that applies to the rest of the house, and Interior Painting: Preparation Is Most of the Work covers that sequence in full. The difference in a kitchen is that the wash step is not optional and not cosmetic. It’s the entire reason kitchen paint jobs succeed or fail.
Doing it
The grease film travels further than most people expect, so treat the whole room as contaminated, not just the wall behind the range. Ceilings, the tops of cabinets, the wall around a doorway into the kitchen, and any trim within a few feet of the stove all carry some film even if they look clean.
The sequence that actually holds
- Clear the room and set up ventilation first. Move small appliances off the counters, cover the range and countertops, open windows, and turn on the exhaust fan before you open any cleaner. Skip this and you’ll be working in fumes with wet cleaner running into outlets and appliances you forgot to cover.
- Wash every surface with a degreasing cleaner, then rinse with clean water. Work top to bottom so dirty runoff doesn’t drip onto a wall you’ve already cleaned. Skip the rinse and a thin film of cleaner residue stays behind, which causes the same adhesion failure as the grease it was meant to remove.
- Let the walls dry fully before sanding. Sanding a damp wall clogs the sandpaper and smears rather than removes what’s left of the film. There’s no fixed number of hours for this. It depends on the humidity in the room and how much water you used, so judge by touch, not by the clock.
- Scuff-sand any glossy or enamel paint already on the wall. A dull, even scratch pattern gives the primer something to grip. Skip this on old semi-gloss trim or cabinet frames and the new paint sits on a slick surface with almost no mechanical bond, regardless of how clean it is.
- Wipe down dust with a tack cloth or damp rag before priming. Sanding dust left in place gets trapped under the primer and shows up as a gritty, uneven texture once the topcoat goes on.
- Prime with a product rated for the surface and the grease history of the room. The label on the tin tells you the recoat window for that specific product in normal conditions, and that figure is the only one worth trusting, since temperature and humidity in your kitchen will shift it either way.
- Finish with a washable sheen, applied in even coats. Kitchens get wiped down constantly, and a flat finish shows every mark within weeks.
The same grease film that coats the walls sits on cabinet frames, door casings, and window trim near the stove, and those surfaces need the identical degreasing pass before anyone reaches for a brush. If you’re tackling those next, Painting Trim, Doors and Skirting covers how to prep and finish them so the enamel holds up under the same kind of daily wiping.
What it looks like when it goes wrong
Most of the visible defects in a kitchen repaint trace straight back to the grease film, and they show up at different points in the process, which makes it easy to misdiagnose them as a paint quality problem instead of a prep problem.
Defects and what they mean
- Fisheye, where the wet paint pulls back into small round craters as you roll it on, means grease or silicone residue is still on the surface repelling the paint. This is correctable. Stop, let the section dry, wash it again properly, and reprime before repainting.
- Alligatoring or crazing, a network of fine cracks across the dried finish, usually means a harder top coat went over a softer, still-flexible layer underneath, or the surface underneath was never sound to begin with. This is not correctable by patching. The cracked area has to be sanded back to a stable layer or removed and redone.
- Peeling in sheets, where whole patches of paint lift away cleanly rather than chipping, is the classic sign that the grease film was never removed before painting. It cannot be fixed by recoating over it. The peeling area has to come off down to sound material, get washed and sanded properly, and get repainted from scratch.
- Flashing, patchy dull spots in an otherwise even sheen, often means uneven grease residue left different amounts of texture or absorbency across the wall. This is usually correctable with a light scuff-sand and an even coat over the whole wall rather than just the patchy spot, since spot-priming alone tends to show through.
The honest rule here is that anything caused by contamination under the paint, fisheye and peeling especially, needs the surface addressed again before more paint goes on. No amount of extra coats papers over a bond that never existed, and trying anyway just delays the same failure by a few more months.
What to settle before you open the tin
Before any cleaner or paint goes on the wall, a few things need deciding, and getting them wrong costs far more time than getting them right the first time.
The surface and the building
Figure out what’s actually on the wall now: flat latex, old oil-based enamel, or something applied decades ago that nobody remembers. Oil-based paint needs a scuff-sand and often a bonding primer before new latex paint will hold, so a quick test, rubbing a cotton ball with rubbing alcohol on an old finish, tells you roughly what you’re dealing with before you commit to a plan. If the walls are papered rather than bare paint, don’t assume the paper has to come off. “/painting/painting-over-wallpaper/”>Painting Over Wallpaper: When It Works covers when painting straight over it holds and when it doesn’t.
If the kitchen is in an older building and any sanding or scraping is going to disturb the existing paint layer, treat that as a separate question before you start. Lead paint was used widely in older homes, and disturbing it by sanding or scraping releases dust that’s a real health hazard, particularly to children. Test before you sand anything you’re not sure about, and if the test comes back positive, get guidance on safe containment and cleanup rather than working it yourself.
Light, ventilation, and sheen
Look at the room in both daylight and the kitchen’s usual evening lighting before you pick a sheen. A flat or matte finish shows grease and moisture damage faster in a kitchen than almost anywhere else, and a higher sheen that looks harsh under one light can look right under the other. Confirm you have real cross-ventilation, not just one cracked window, before you plan a day of washing, sanding, and priming in a closed room. And confirm you’ve got enough daylight hours or work lighting to actually see fisheye, flashing, and missed spots as you go, since most of those defects are far easier to catch wet than dry.
Common questions
Do I really need to wash the ceiling too?
Yes, if it’s a kitchen ceiling near a stove or open cooking area. Grease rises with cooking heat and settles on ceilings just as it does on walls, and a ceiling left unwashed can flash or peel even if every wall in the room was prepped correctly.
Can I just use a stronger paint instead of washing the walls first?
No paint bonds to a greasy surface no matter how it’s marketed. A tougher, more washable topcoat resists stains and scrubbing once it’s properly bonded, but it still needs the same clean, degreased surface underneath as any other paint. Skipping the wash and relying on a “better” paint just delays the peeling, it doesn’t prevent it.
How do I know if the grease film is actually gone?
Run a clean white cloth over the wall after washing and rinsing. If it comes away with any oily residue or discoloration, wash again. A wall that feels slightly squeaky rather than slick under a damp hand is a decent sign the film is gone, though a proper rinse afterward still matters.
Is it worth priming if the old paint looks fine?
Usually, yes, in a kitchen specifically. Even paint that looks sound can be sitting on a grease layer you can’t see, and priming after a proper wash gives the topcoat something reliable to grip rather than gambling on an old finish of unknown history.