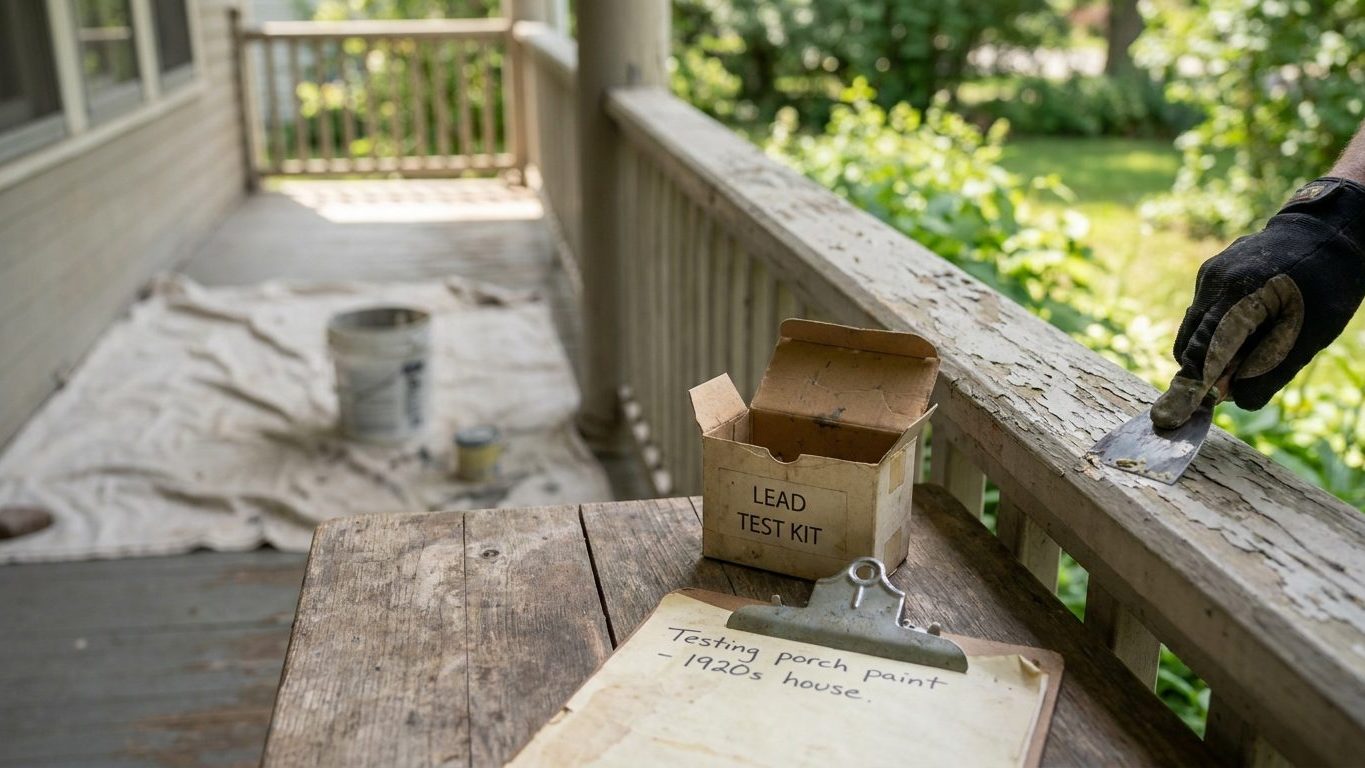

A house built before 1978 may have lead sealed under every layer of paint on it, and that one fact decides how you prep the surface, not whether you’re allowed to paint at all. Test the paint before any sanding, scraping, or dry-abrasion touches it, using a recognized lab or test method, not a guess based on the house’s age alone.
What is actually going on

Lead dust, not lead paint itself, is what puts you at risk when you start prepping an older house for a new coat. Intact paint, even paint loaded with lead, sits on the wall doing no harm at all. It only becomes a hazard the moment you disturb it: sanding, scraping, dry-brushing, even the friction of a window sash sliding over a painted sill can grind old paint into a fine powder. That powder is small enough to float, settle on floors and windowsills, and get tracked through the house on hands, feet, and pets long after the visible chips are swept up.
The mechanism matters because it tells you what actually needs controlling. It isn’t the paint can on the shelf that’s dangerous. It’s the cloud of particulate that rises off a scraper or a sanding block, and the dust that settles afterward in places you won’t think to clean. Any method that generates friction or heat against old paint is a dust-generating method, whether that’s 80-grit sandpaper, a heat gun, or a wire brush on a drill.
Why the building’s age is the first question
Homes built before 1978 may contain lead-based paint, often buried under several later coats that look perfectly ordinary from the top. The federal ban on residential lead paint took effect that year, which is why 1978 is the line every renovation guide, home inspector, and the EPA itself uses to decide whether a house needs to be treated as a lead job before anything else happens. A house built in 1985 doesn’t carry that risk. A house built in 1965 and remodeled twice since still might, because the older layers are frequently still there under the newer ones, not removed.
Before any sanding, scraping, or heat work on a pre-1978 house, check the EPA’s guidance on lead-safe work practices and testing options first. This isn’t a formality to skim past. It’s the only way to know what you’re actually dealing with before a sander throws it into the air.
Ventilation is not optional in any of this, and it isn’t about comfort or fumes. Open windows on at least two sides of the room to create a cross draft, run an exhaust fan pointed outward, and seal the work area off from the rest of the house with taped plastic sheeting at doorways. Dust from paint prep travels further than most people expect, and a closed room with the door shut just concentrates what you’re trying to get rid of.
Doing it
The EPA’s Renovation, Repair and Painting (RRP) rule requires that paid contractors working on pre-1978 housing, child care facilities, and schools be certified in lead-safe work practices before they touch the paint. It sets out how the work area must be contained, how debris gets cleaned up, and how the job is verified afterward. If you’re paying someone to scrape and repaint a farmhouse built in the 1920s, that firm is legally required to follow it.
If you’re doing the work yourself, on your own house, the rule doesn’t apply to you. That exemption is a legal one, not a medical one. The lead dust generated by a DIY sander is chemically identical to the dust generated by a certified contractor’s sander, and it does the same damage to a nervous system, particularly a child’s. The rule exempts you from paperwork and certification. It does not exempt the dust from being dangerous.
The order that keeps it controlled
With that settled, the sequence below keeps a paint job from turning into a house-wide cleanup.
- Test or assume. Confirm the paint’s age and test it where you can before starting. Skip this and you’re guessing at the one fact that decides every precaution after it.
- Contain the room with taped plastic sheeting over doorways, floor coverings, and closed HVAC vents. Skip this and dust migrates into the rest of the house through the duct system and open doorways.
- Ventilate to the outside with cross-draft windows and an exhaust fan aimed outward, not just a fan moving air around the room. Skip this and airborne dust simply resettles once you stop working.
- Use mechanical prep methods that limit dust, such as wet-sanding or hand scraping, rather than dry power-sanding. Skip this and you generate the exact fine particulate the containment is meant to catch.
- Clean with a HEPA vacuum and a wet wipe-down, not a broom or a standard shop vacuum. Skip this and the room looks clean while fine particulate is still settled into every crack.
- Bag debris separately from household trash if your local waste authority has specific disposal instructions, which is worth confirming before the job starts, not after.
Chemical strippers deserve a separate note. Don’t reach for one in a closed room, or at all, without professional guidance. Several strippers use solvents that are dangerous in enclosed spaces on their own, aside from anything to do with lead, which is why this page sticks to mechanical preparation. If a surface needs more than scraping and sanding can manage, that’s a job to hand to a professional.
What it looks like when it goes wrong
Some failures here show up on the wall. Others show up nowhere you can see, which is what makes this step different from an ordinary painting mistake.
The visible ones are familiar to anyone who’s repainted an old house badly. Paint applied over incompletely scraped, loose paint blisters and lifts again within a season, often showing the ridge of the old edge right through the new coat. Paint applied over sanding dust that was never wiped down looks gritty and uneven under raking light, with a texture that reads as a bad paint job even after it’s fully dried. Both of these can be corrected: strip back to sound material, clean the surface properly, and repaint. It costs time, not the whole job.
The failure you can’t see
The one that can’t be fixed after the fact is dust contamination that’s already settled into the house. If a room was sanded dry, without containment, without a HEPA cleanup afterward, the fine dust doesn’t announce itself. It settles into carpet fibers, HVAC ducts, upholstery, and the gaps around baseboards, and it stays there until it’s specifically cleaned out or tested for. You cannot repaint your way out of a contamination problem, because the dust isn’t on the wall anymore. It’s in the house.
This is the practical reason the order of operations in the section above matters more than the quality of the finished paint job. A beautifully finished wall over a room that was never properly contained and cleaned is not a successful job. It’s a job that looks finished while leaving a hazard behind it, and the only way back from that point is a proper cleanup and, where there’s real concern, professional testing of dust and surfaces, not another coat of paint.
If you suspect a room was sanded or scraped without containment before you understood the risk, treat the cleanup as its own project, separate from the painting. Wet-wipe hard surfaces, HEPA-vacuum soft furnishings and carpets, and don’t move on to finish coats until that’s done. Painting over an uncleaned mess doesn’t seal the problem in. It just puts a fresh coat over a house that’s still carrying dust in places a paintbrush never reaches.
What to settle before you open the tin
Before you open a can of paint on any surface with old paint under it, settle the age question first. If the house or the specific surface predates 1978, treat it as a potential lead job until you know otherwise, and check the EPA’s guidance on testing and safe work practices rather than trusting a quick home test kit to settle the matter on its own. No test performed at home should be treated as conclusive. If there’s real doubt, a certified lab or a professional risk assessor is the way to get a clear answer.
Settle who’s doing the work next, and settle it on paper if you can. If you’re hiring the job out, ask to see the contractor’s RRP certification before signing anything, not after the plastic sheeting is already up. If you’re doing it yourself, plan the same containment and cleanup steps you’d expect from a certified crew, since the legal exemption for DIY work changes nothing about what the dust does once it’s airborne.
The practical checklist
- Surface condition: sound paint that’s just dull or faded needs far less aggressive prep than paint that’s already cracking, chalking, or peeling.
- Light: work in daylight or strong raking light so you can see what you’re scraping and where dust is settling, not just where the roller is going.
- Ventilation setup: confirm cross-draft windows and an outward-facing exhaust fan are ready before you start, not improvised halfway through.
- Containment: plastic sheeting, taped seams, and closed HVAC vents in the work area, especially if anyone in the house is pregnant or has young children.
- Disposal plan: know where debris and dust are going before you generate them, not after.
Once those things are settled, the actual painting is the easy part. Most of the risk in an older house lives in the prep work, a point Interior Painting: Preparation Is Most of the Work makes for houses of any age, lead or no lead. If the surface underneath is wallpaper rather than bare old paint, the lead question doesn’t disappear, but the mechanics change, and Painting Over Wallpaper: When It Works is worth reading before deciding whether to strip it or paint over it. And if the room in question is a ceiling rather than a wall, the dust settles on you directly instead of the floor, which is its own separate problem covered in Painting a Ceiling Without Ruining Your Neck or the Walls.
Common questions
Can I paint over old paint without scraping it first?
Yes, if the existing paint is fully intact, sound, and well-adhered, painting directly over it is generally fine and doesn’t disturb anything underneath. Problems start when the existing paint is already cracking, peeling, or chalking, because covering that over doesn’t fix adhesion and it hides a lead question under a layer you can no longer see. Scrape only what’s already failing, not sound paint just because the house happens to be old.
Do home lead test kits actually work?
They can catch paint that’s clearly loaded with lead, but they’re not reliable at every concentration, and a negative result doesn’t rule lead out the way a certified lab test can. That gap is exactly why the EPA doesn’t treat home kits as conclusive on their own. If a home test comes back negative but the house predates 1978, a professional test is still the more trustworthy answer.
Does the lead rule apply if I’m only touching up a small patch?
Possibly not, since the EPA’s RRP rule does include some allowances for very minor repair work, but the exact size and conditions of that allowance are worth confirming directly with the EPA rather than assuming. Getting it wrong in either direction costs you: either paying for certification a small job didn’t need, or skipping a requirement a larger one did.
Is it safer to sand outside instead of inside?
It’s different, not automatically safer. Wind carries fine lead dust onto the soil around the foundation, where it can sit for years and later get tracked back inside or end up in a garden bed nearby. Outdoor work still needs ground coverings, containment at the base of the wall, and a real cleanup afterward, just adapted for open air instead of a sealed room.